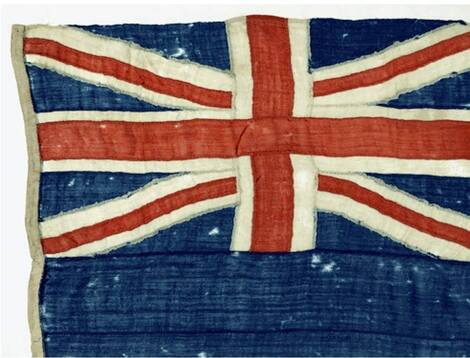
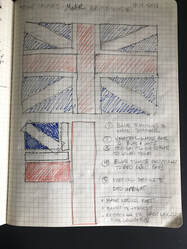
I decided to start with the most manageable (smallest) part of this project first: the canton. Remember that this is a small union jack, and is itself comprised of four sections joined by horizontal and vertical bands. In the Tecumseh flag at the NMAI (above), the horizontal red bar is continuous. In this flag, it will be the vertical bar (see image at left).
For all that I put the pieces into Illustrator and move them around, I still find hand drawing important to really understanding a piece and the process I need to make it.
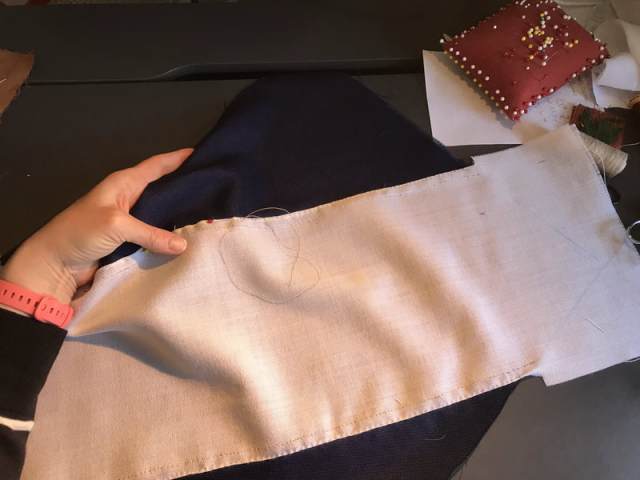
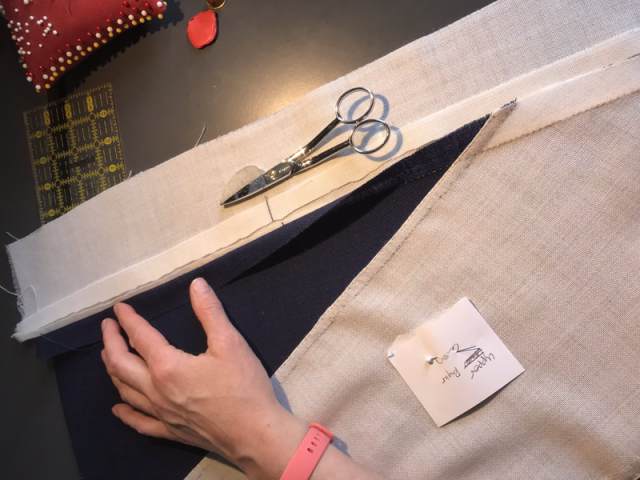
Thankfully, the Museum’s Gallery Interpretation Manager, who is overseeing this project, had a diagram and explanation to help me understand and construct the four blue-and-white sections of the canton.To start, I had to decide where to place the blue triangle on what will be the white diagonal, calculating for the seam allowance and the trimming required to square up the pieces. It wasn’t all that hard, considering the seam allowances and the generous cut that put the finished piece measurement down the center of the large white rectangle. (Also, three cheers for not being cut on the bias!)
From the initial layout to the finished stitching took about four days working around my day job schedule. There’s no good way for me to calculate how long this would have taken in the 18th century, or how long it’s really taking me. I’m not recording my hours, and I’m not sewing every day. The point of the exercise (aside from making an enormous flag) is the assembly process.


