Brown Gown

Gown, ca. 1765. CW 1985-117,1

The very first dress in the Costume Close Up book matches my measurements pretty well, so I thought I’d be quite clever and pattern it up for my own use. I want a stomacher front open robe for Battle Road and a 1763 event this summer, so what better place to start than with an original ca. 1756-1760 gown?

I laced up my stays on Friday and spent much of the day measuring, drawing, cutting, and sewing. By mid-afternoon, I had a muslin with the devil’s own sleeve and a large measure of frustration.

Yes, I ate, it wasn’t just low blood sugar that caused all this unhappiness. For the public safety, there are no photos of the ensuing debacle. But the situation was not irreparable, as I have been in this miserable place before.

Patterned up from the little illustration.

( To add to the fun, my stays have stretched, and now give the impression that they slip down throughout the course of the day. They do this even while I am not especially active: I’d dismissed the sensation at Fort Lee. Oh, it’s the hours in the non-18th century seat, it’s running around the site, it’s one more lame excuse I’m making up. Nope. Suckers have stretched and will require attention. Also, for being slightly more than one year old, ought they to have wear marks from tying on petticoats? Next time, I’m using cotton, since it doesn’t stretch like linen.)

Gown, 1750-17651988-223, CW
Gown, 1750-1765,  CW 
1988-223

I got out the basic bodice block I’d patterned in June, and adjusted that to have a straighter, more horizontal waist line and made the bodice fronts narrower. The robings with be pleated to have a layered look, for which this Norwich wool gown at CW is the inspiration. I stitched up a muslin of the altered bodice block, and wouldn’t you know, it fit. It’s a relief to know that some measure of frustration eventually pays off. Maybe.

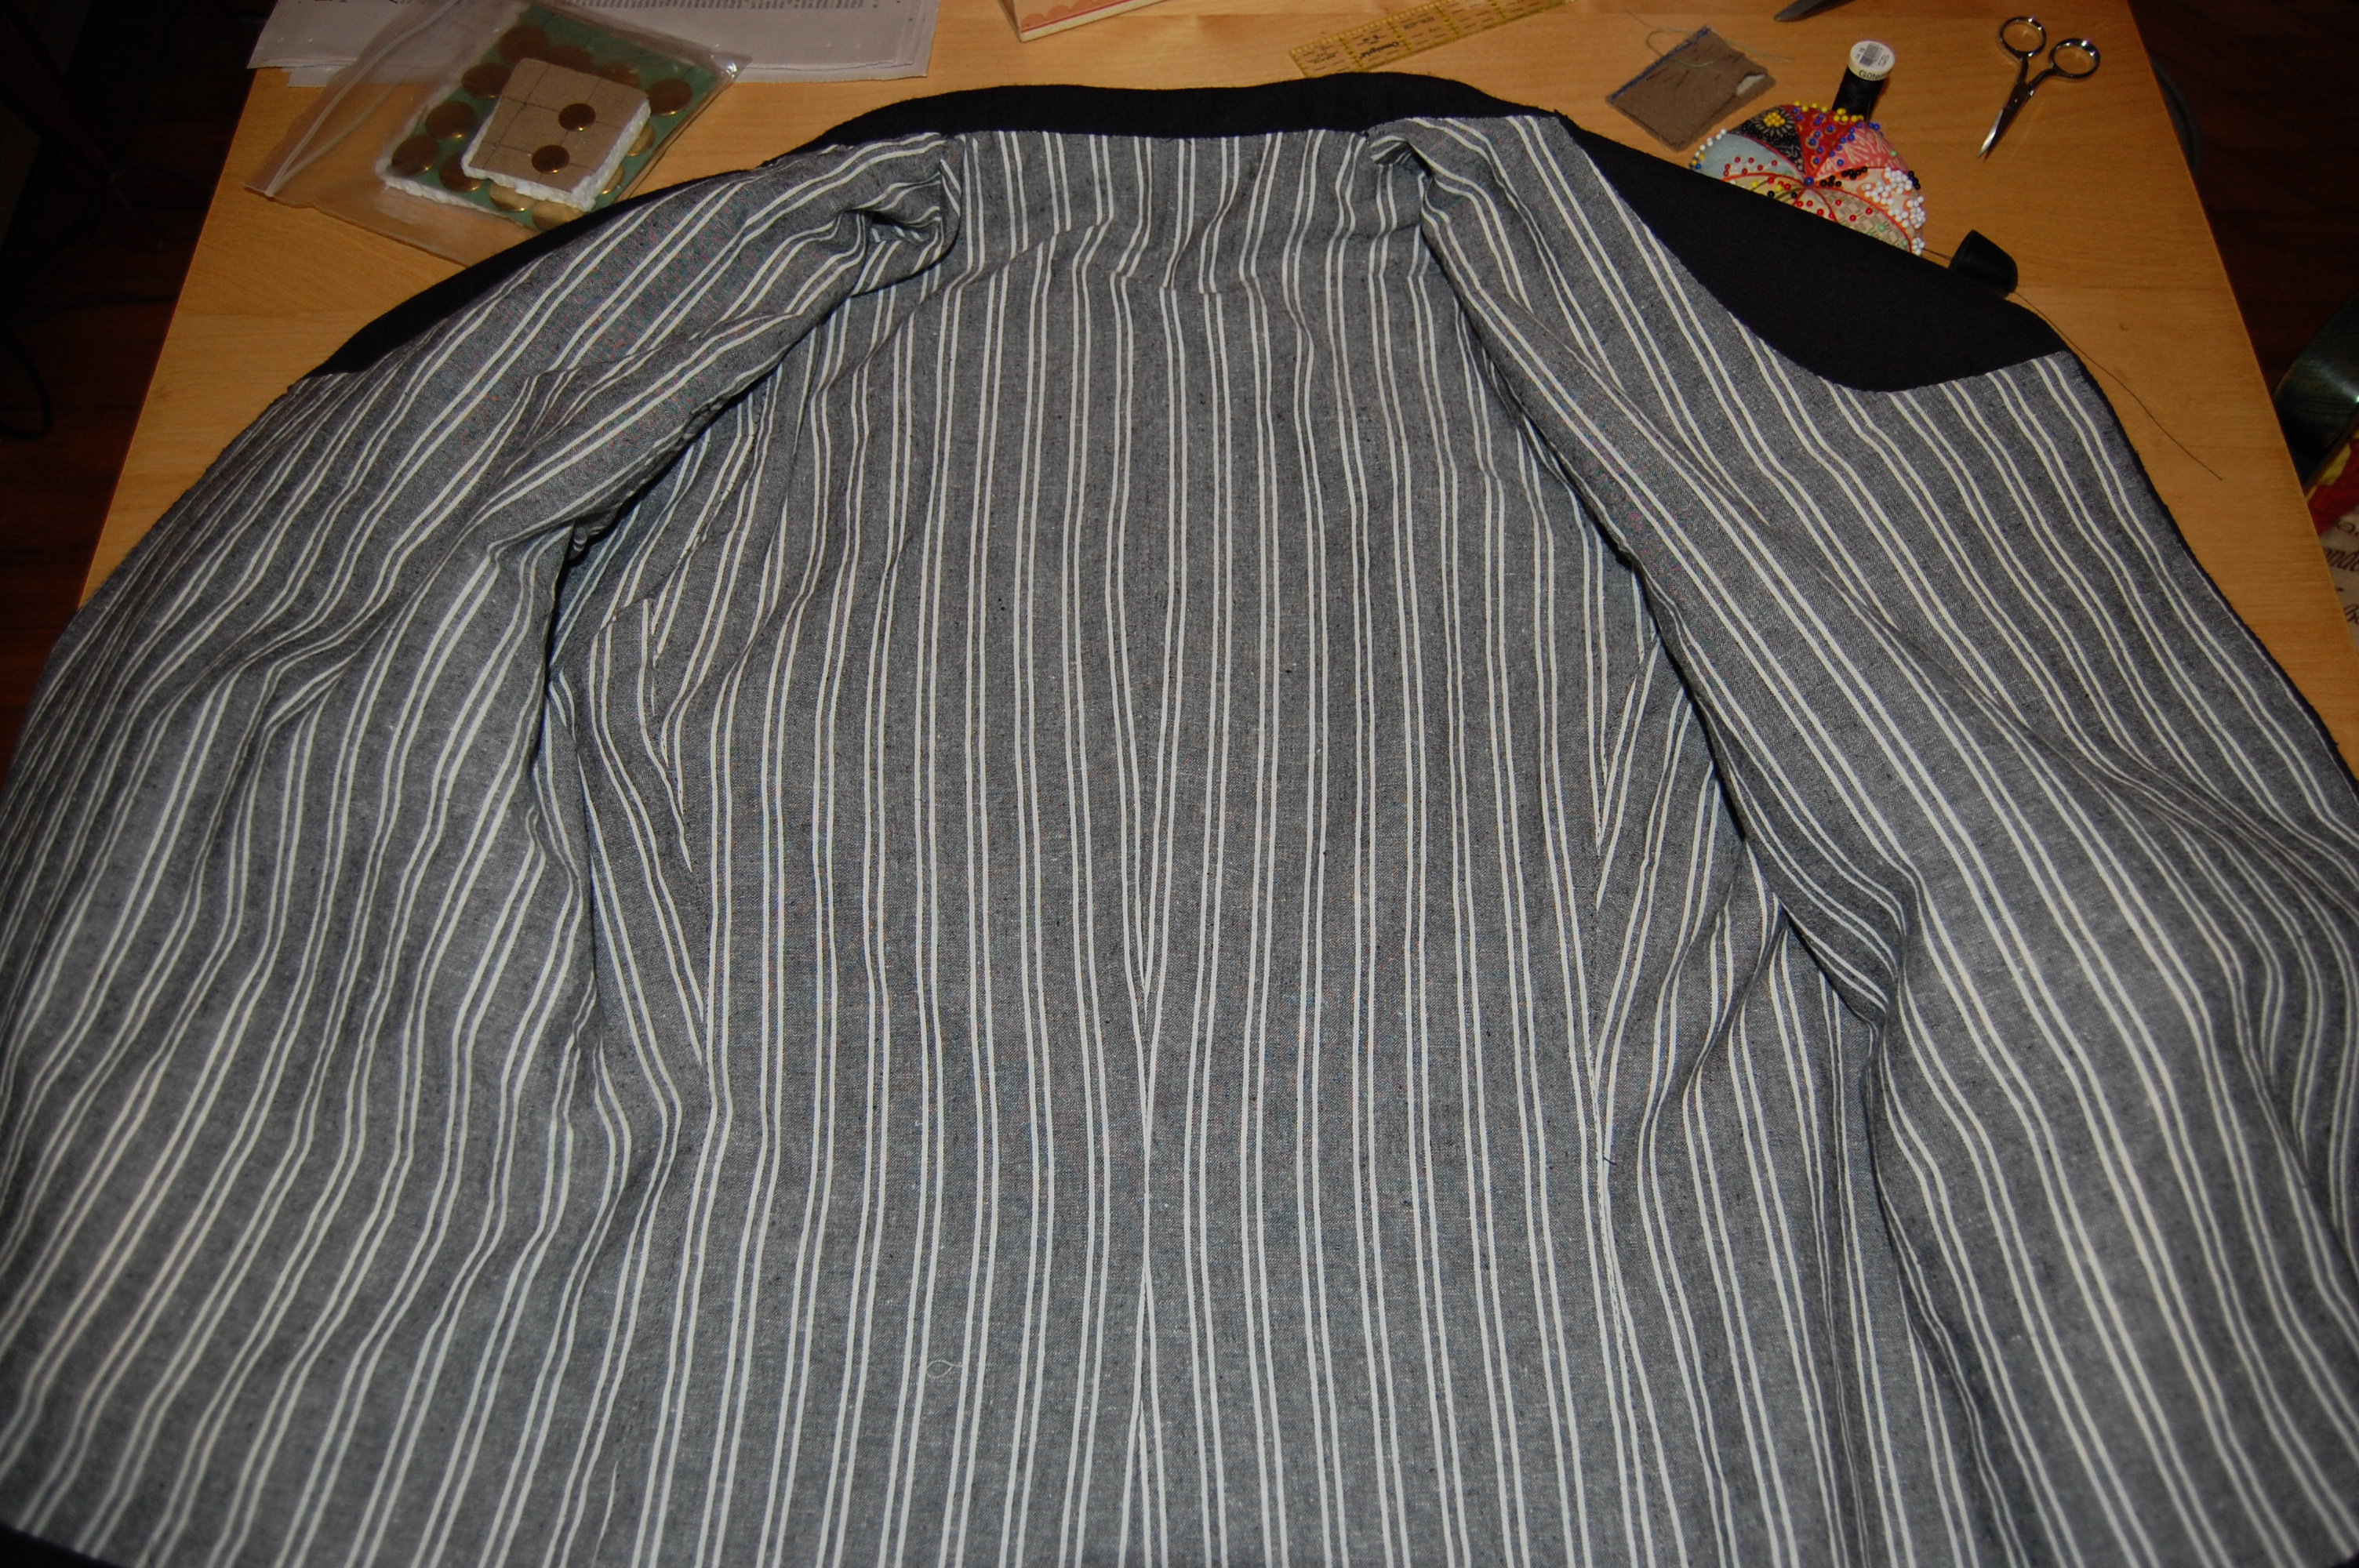
By Saturday night, I had the lining sewn up and Sunday morning, I attached the lining sleeves (I like to check the fit and have something to beat the fashion fabric sleeve against.) That meant I was ready for the terrifying step of cutting and sewing the actual wool. I have enough of it that I can mess up and redeem the problem, what I don’t have enough of is time. Certain gentlemen have garments in need of alteration, and creation, you see.

The back, with pleats sewn down, and skirts on their way.

Since this is the third or fourth or fifth time I have wrestled with the 18th century gown cut en fourreau, I know what I am getting in to. I know about the three hours for four pleats. I know the heartache of hand stitching the back only to realize you have introduced a wiggle. What I don’t know is how to keep this in perspective.

I followed along with Koshka the Cat’s en fourreau tutorial, which I found incredibly helpful. It won’t keep you from introducing a wiggle into your seams, but you will get the seams in pretty much the right place, as long as you’re honest about your measurements. It’s only a little bit Richard III up there in the center seam….

It’s good to be a perfectionist, but sometimes you have to just let go and sew. I’m still learning how to live with that.

Working the Curtains

Like most people, I have good days and bad days at work. Unlike most people, I sometimes get to use my hobby at work.

MuseumStaff

We have a new audio tour at the museum, and one of my colleagues is working on the rack card for the tour. He got an idea that needed people in costume, and lucky for him, my friend and I have wardrobes handy. He dressed, too–those deerskin breeches are really fantastic–and another colleague took the photos.

Taking tea, with a coffee pot.
Taking tea, with a coffee pot. It won’t matter on the card!

This was the first outing for the Curtain-A-Long dress, and its friend IKEA Curtain petticoat. I like it, though I have petticoat issues. Every time I wear any dress, I find some new thing to tweak. Fortunately, the problems are pretty simple to solve and involve channels for petticoat waist ties.

It was a fun morning, playing in the house, and only makes me want to do more living history tours and costumed interpretation. (Apologies to my Library compatriots for being late getting back!)

CityShower
I do love this one,and the original print, too.

When I wear the Curtain Gown, I think of the Sandby drawing of Sarah Hough, and I think of well-turned out housemaids. It would be a great deal of fun to develop more behind-the-scenes tours. After attending the first-person interpretation workshop, I had hoped to work on more tour ideas. Not yet, but I’ll get there someday this year!

We probably won’t actually spray filthy water on those lovely breeches, though. It would be a shame, and I know who made them!

HSF #5: A Peasant’s Jacket

WIth the buttons to be installed

A Workman’s Jacket…not quite done. I had to work Saturday, so there went 7 hours; I got sick, I got tired, so it’s an almost, oh-so-close jacket. Buttons and buttonholes are all we lack. Of course, for a man’s jacket, that’s, you know, a significant lacking. However, I don’t want to have the crack-addled monkey buttonholes again, so I’m not doing them until I’m not rushed or distracted.

You’ve seen it already here, and know that it has chamois pockets. The Facts:

Buttons, with button holes to come

The Challenge: Peasants & Pioneers

Fabric: Blue wool broadcloth, with a blue and white striped linen lining

Pattern: Kannik’s Korner Double-Breasted Short Jacket

Year: It will be worn for 1775, but can be worn from 1760-1800.

Paul Sandby, A Sandpit. YCBA B1975.3.930

Notions: Linen thread, brass buttons, interfacing, cotton twill stay tape

How historically accurate is it? Well…the fit is a trifle off. It’s better than the base pattern, as I altered the shoulders, but it could use another round of alterations and fitting if the intended wearer would tolerate it.  Still, like the man to the left, the kid is supposed to be working in this, so he’ll need some room.

The edges of the wool are unfinished, as I’ve seen in originals, with the lining turned back. It is all hand sewn. But, I don’t have any documentation for the striped linen lining, (it’s fine for quilted petticoats) so I would not go above 8/10 for this.

Stripes!
Stripes!

Hours to complete: I can remember about 18 to this point, and the buttonholes will add another 5 to 7. They’re about 20 minutes each, with 16 – 18 to do, plus sewing on buttons. Total time likely to be 22-24 hours.

First worn: To be worn April 13, 2013.

Total cost: $79.36 can be accounted for in materials. The broadcloth was purchased from Wm Booth’s remnants and the buttons are Burnley & Trowbridge: those I have numbers for. The striped linen, purchased at Jo-Ann Fabrics,  was in the stash.

What’s in your pocket?

A typical rough linen lining

My son’s pockets used to be full of acorns: he collected them at the bus stop, but I don’t know if it was because he planned to feed the squirrels, or if he thought he was a squirrel. Later, he moved on to rocks. Now, rocks, fish hooks, a pocket knife, change and a hankie fill the pockets of his 18th century breeches.

We’ve had some moments of unhappiness when things have gone missing from the pockets, though we’ve usually found them again. When you look at the contents list, you wonder how the linen stands up as well as it does.

There’s a clever way to upgrade pocket bags in menswear, and it’s authentic: leather bags, instead of linen. Original garments have leather bags, probably deerskin, and they’re deliciously soft and very durable. Stuff all the heavy, sharp things you want to in that pocket, and it will probably take it.

1895.4.3A-C
1895.4.3A-C

Based on a suit in the RIHS Collection, I decided to modify the pocket bags on the Young Mr’s new workman’s jacket-in-progress, which I plan to have finished by March 11 for HSF #5, Peasants and Pioneers.

Made of a heavy, rough-finished brown broadcloth (possibly manufactured in New England), both jacket and breeches pocket bags are made of deerskin.

Pocket bag in progress.

To recreate this, I took a trip to the auto parts store, and purchased a large chamois.  Instead of cutting the bags from linen, I cut them from the chamois and trimmed the seam allowances: chamois won’t ravel, so the seam won’t need to be folded over at the top.

A little fuzzy, but you get the idea

I backstitched the bag seam, and in general, I’m pleased with the way it has turned out. I think I’ll look into additional leather options, but otherwise, it seems like a fairly successful experiment.

The real test, of course, will be user testing. How many sharp, heavy things can the kid load in a pocket before it gives out?