You know the fabulous 1797 wedding gown from the Danish Museum? It turns up on blogs as the Tidens Toj gown. Many of the links to the pattern and the gown are broken now, but fear not, it only moved. Wouldn’t know anything about museum website links changing…
The Fashion History- Future Clothing exhibit is still up, and many of the garments have PDF patterns. There is a pretty post-RevWar era “English Dress,” which also has a pattern. The translation that Google provides is a trifle (no, actually, quite) hilarious. Don’t trust it…you’ll end up with sweaters and wrinkles instead of Brunswicks and pleats.
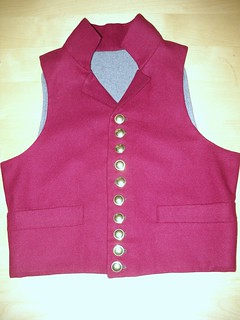
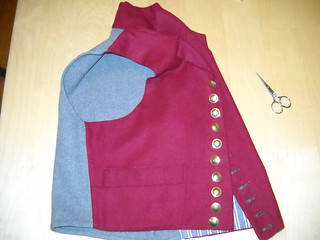
Fabric: Fronts, 100% wool leftover yardage from a petticoat. Back, wool broadcloth left over from remnant (is that a remnant remnant?) purchased for Mr S’s short jacket. Lining, heavy-weight linen.
How historically accurate is it? Well…the pattern has good documentation and the fabric is within reason for the period. The waistcoat is entirely hand-sewn, and the coarse linen pocket linings match extant garments in collections. So I know that’s good. And as it turns out, I completely and inadvertently made…this! So excited to find this! More excited than you’d expect! First quarter 19th century means 1813 is A-OK!!Also, that waistcoat is HOT! So I think I have achieved pretty accurate, even if it will be used in a time machine back to 1799.
Hours to complete: This was much faster than the first one. 12 hours for cutting and sewing, with about 3 hours just on button holes.
First worn: To be worn by the new owner (The Young Mr) January 19, at the Winter Frolic
Total cost: Since I used fabric left over from a petticoat and the jacket, I’d say the cost was really only in the buttons, so $14.50.
Cutting out makes me think of freeing mastodons from glaciers
If this is Saturday, I must be sewing trousers. I’ve managed overalls in a day from cutting out to made up, lacking only buttons and buttonholes, so I have hope for the trousers. It is true I am starting a new pattern, and so I am considering adapting the pattern I already use for breeches and overalls…. except that the style is 20 years out of date for where these are going. At least the first pair is for the kid, for whom oddly-fitted clothes are the norm now because of his size and personality, and would have been then, since he’s not the son of gentry.
He’s got shoes, though, and they fit! His feet stopped at size 12 in fall 2011, and the 12.5 Fugawee straight-lasted Ligonier shoes fit him over his winter socks. His feet are just too big not to put into better shoes–no one can help noticing them, and there are no gaiters to hide them under.
We’ll see how leather-soled shoes go. Expect slipping and falling.
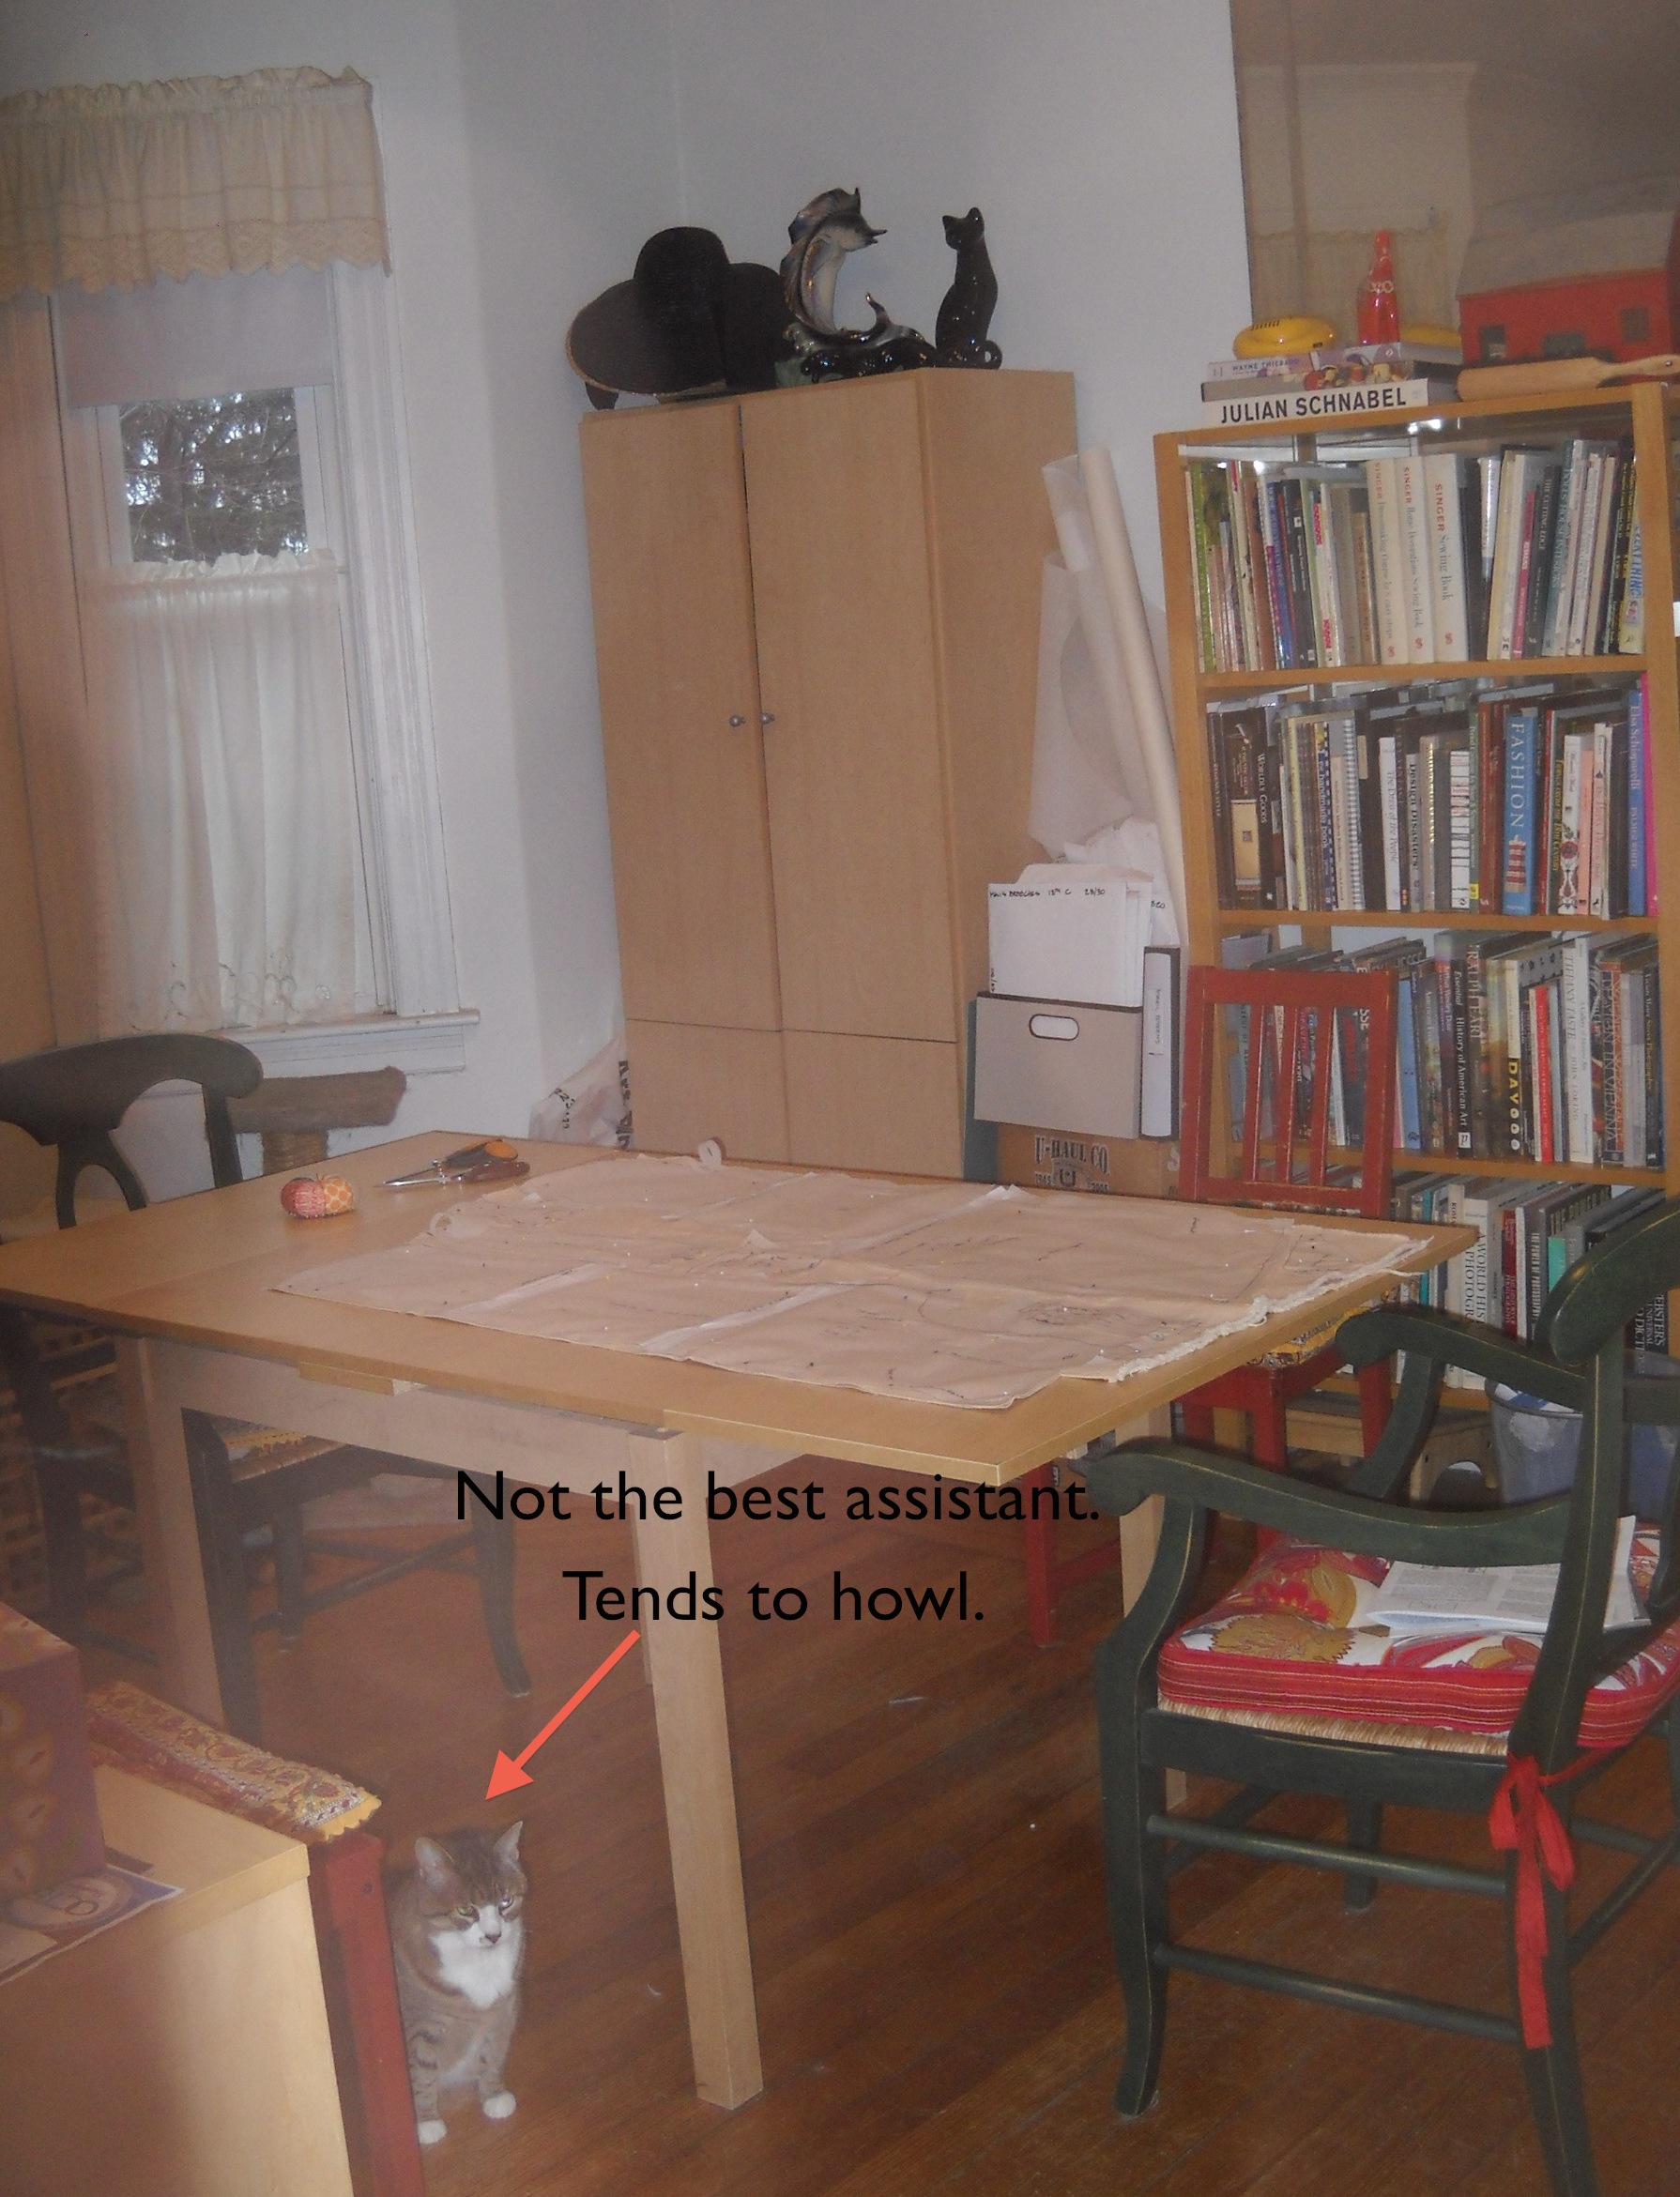
Dining/sewing/library room with “assistant”
My plan is to knock out the trousers today to the point of finishing work, and then finish the waistcoat tomorrow (it lacks only buttons and buttonholes). Having spent Tuesday on costume research scrutinizing seams, and blinking at buttonholes from 1788-1800, I feel better (and less self-conscious) about my sewing skills. They’re not as awful as I think they are, and the worst part of the tan waistcoat was the placement of the buttonholes, not their actual execution. Of course, the placement is the part I can’t fix…
On another note, on Tuesday I also looked at a number of ways to do pockets in breeches and jackets. Some were chamois lined, and then I wondered, how do we know what kind of leather the pockets are lined in? Aren’t they more likely to be deerskin than actual chamois? It doesn’t take long before you’re down the rabbit hole of historical wonderings.
That is to say, alterations are complete to the first pair of early 19th century stays, and now they work: I can sit down, and the dresses look the way they should. Click here for a Pinterest board of stays for visual references for mid- to late-18th and early 19th century stays.
The first pair of early 19th century stays I tried to make using Past Patterns’ Transition Stay pattern, all by hand. They were beautiful, but beyond redemption and failed to fit despite muslins and multiple alterations. The pattern is based on the Connecticut Historical Society stays at left; search for 1963.42.4 in the CHS online catalog.
V&A, T.57-1948
I sent the sad remains of the transition stays to Johnston, and made a muslin from the Past Patterns’ Corded Stay pattern, which is very similar to these stays at the V&A. I do recommend using a sewing machine for speed, and a long hook for pulling the cording, though your mileage may vary.
While the finished stays looked good and appeared to fit, there were certain… idiosyncrasies… that concerned me. Among them was the tendency of the busk to pop up and attempt to greet my chin whenever I sat down. In general, even laced up snug, the garment seemed determined to ride up with wear.
So I tried them on again yesterday with a different, shorter busk slipped in between the the shift and the stays: the busk stayed put. While the stays were about 15″ long, my lap-to-bust length when seated is about 13″. So I undid the binding top and bottom, shortened the cup gussets, shortened the bottom edge, tacked it down, re-bound the stays, and, when Mr S got home, handed him the busk to cut down. I tried the whole contraption on again: Success! The busk stayed down, the breasts stayed up, and we seem to have a winner. It was thanks to the Oregon Regency Society’s page on fitting stays that I reached the conclusion that I needed to reduce the gusset length. I knew from comparing my stays to my friend’s stays that I needed to reduce overall length, because she has to add at least 1.5 to 2 inches to patterns I use…and her stays were the same length as mine. So if they were the right length for her, they were wrong, so wrong, for me.
Next up: the red dress, no train.
Where did I screw up? Probably in not testing the muslin with a busk, and in not testing the muslin by sitting down with the busk. As long as I remained standing, the unaltered stays were fine. So, however you plan to wear your garment, test your muslin. We’re not dress forms: we move and lift, push and pull, crawl under and over things. You will need to test your muslin out by moving, not just standing in front of the mirror. This will be more challenging for some (Going to plow in stays? Maybe you need to push a chair around the house in a muslin) but at least sit down, bend over, and test a muslin the way you would a pair of jeans in a dressing room. If you do already, good for you! If not, you’ve been warned. Failure to squirm will eventually catch up with you.


You must be logged in to post a comment.