Furniture Check

The original, in 2013.

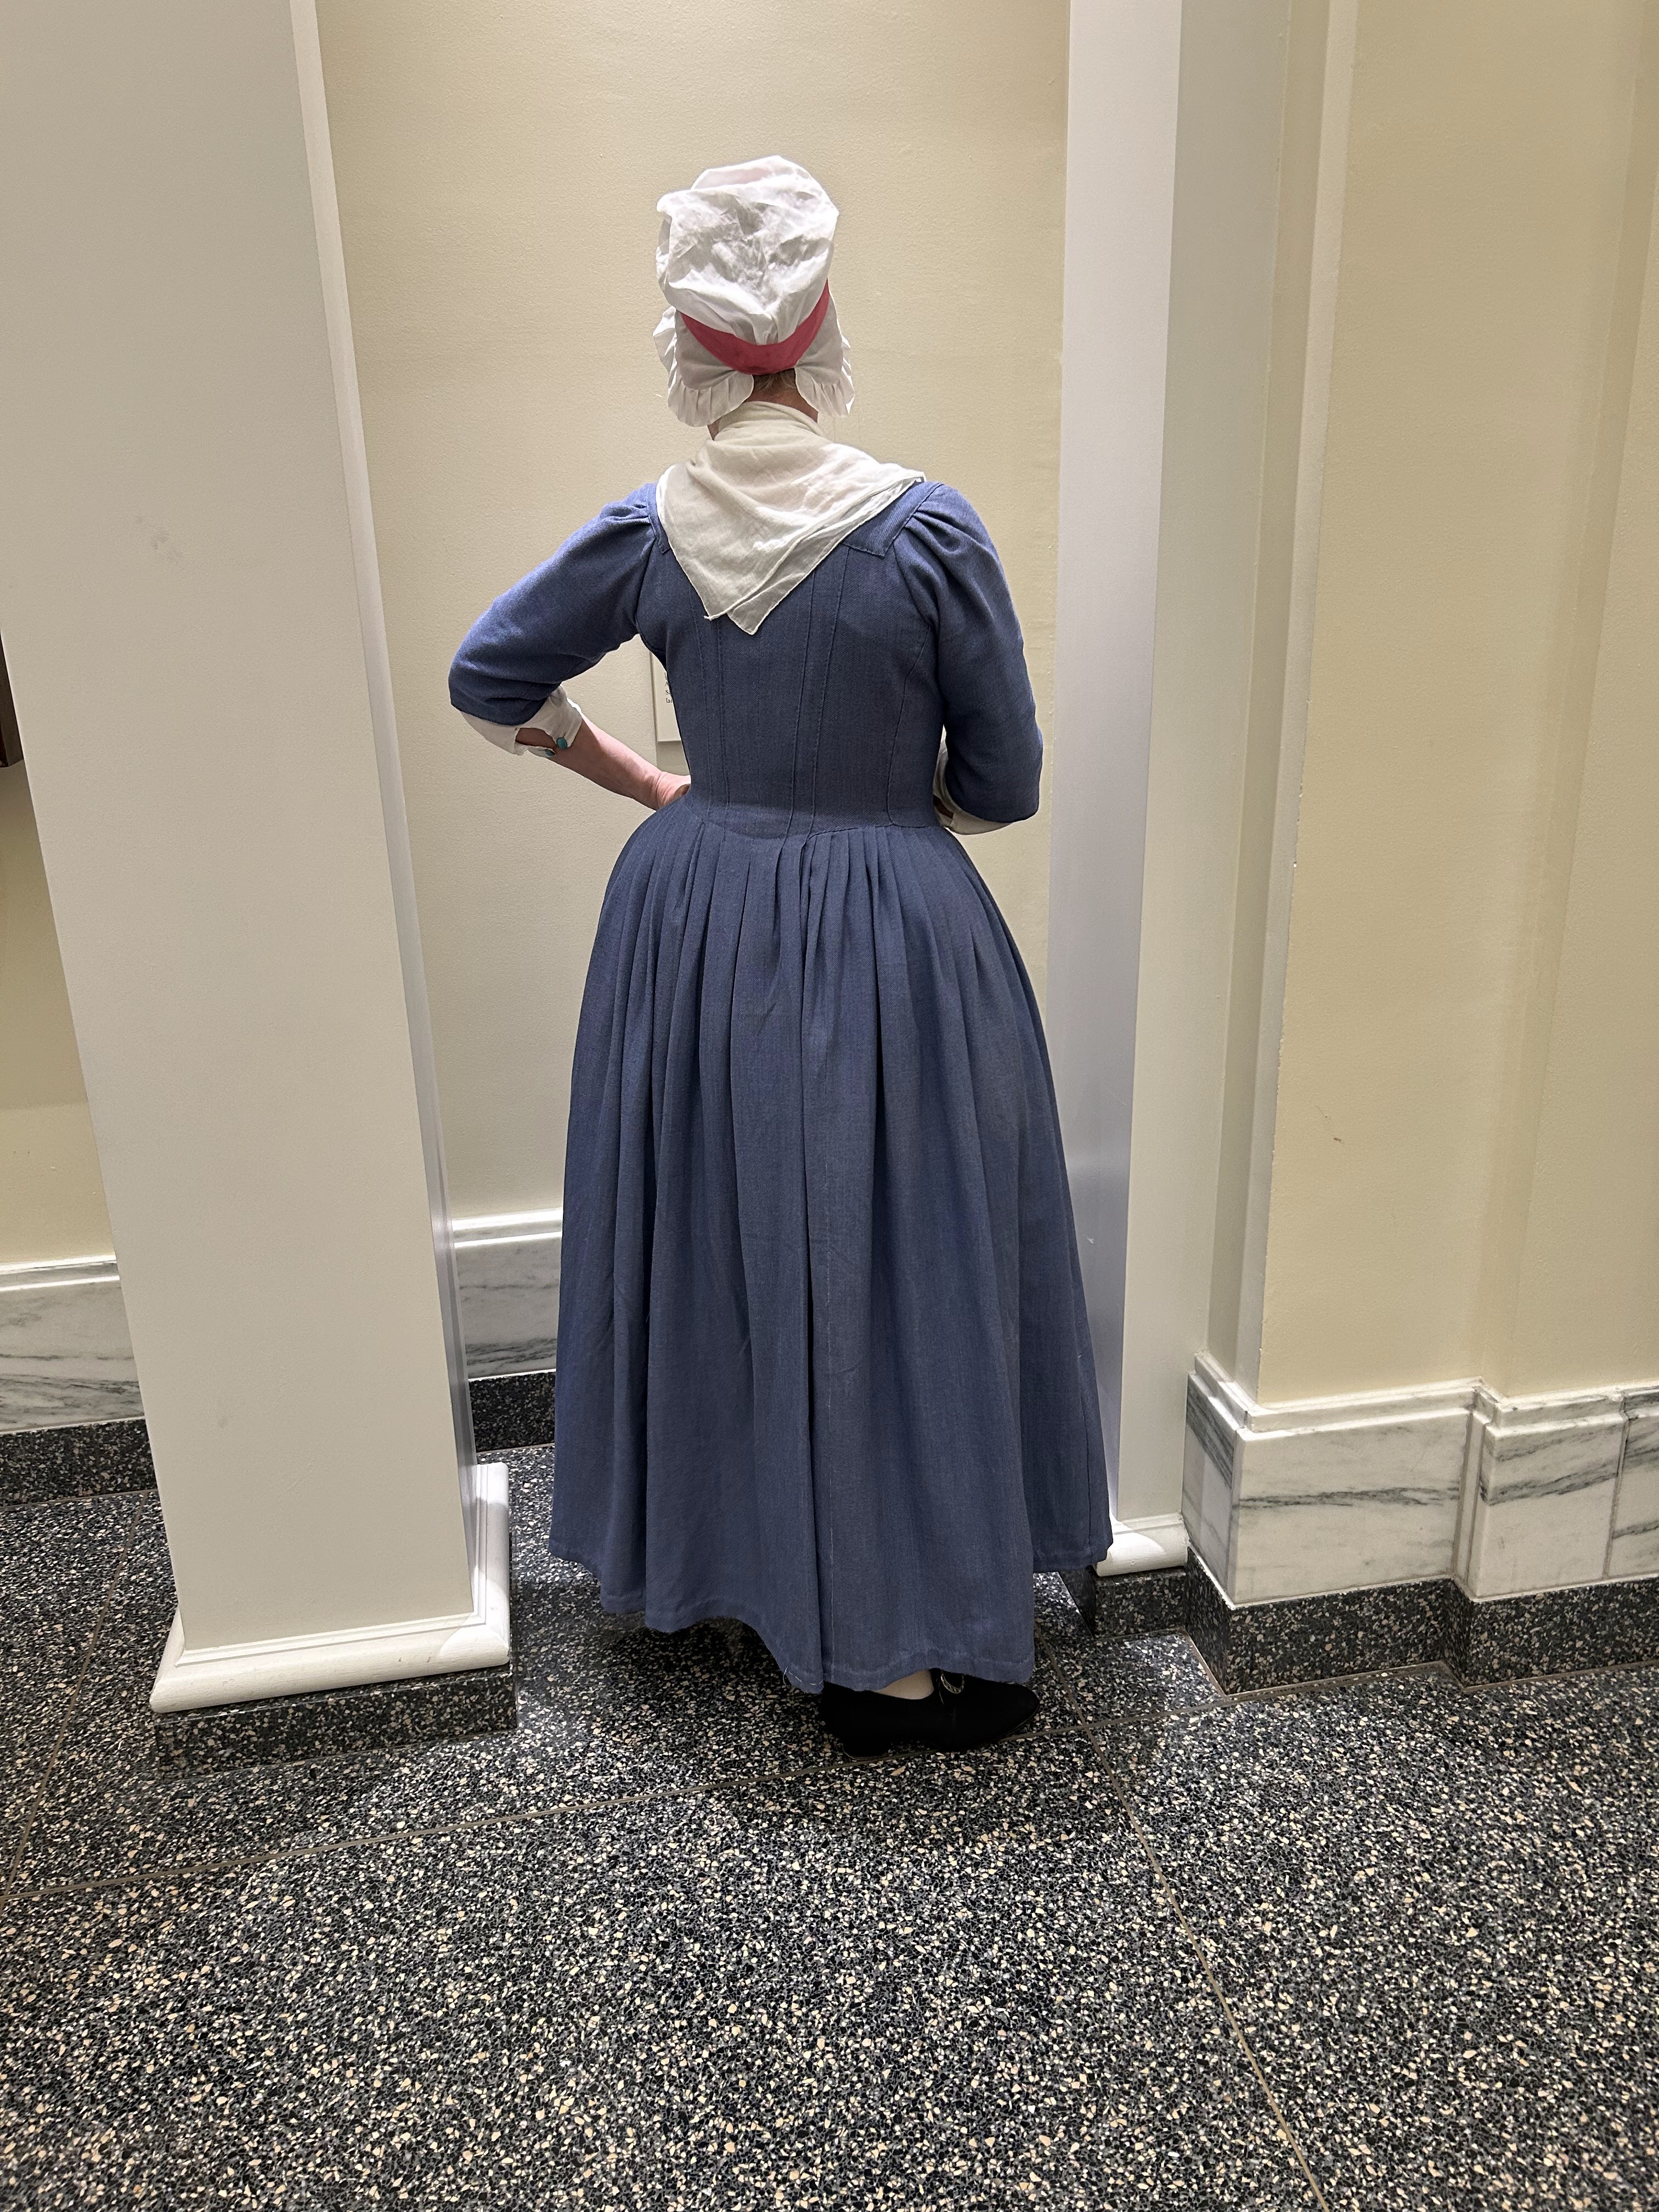
Lo these many years ago (one dozen) I embarked upon a gown-making folly based on the familiar Oyster Seller image. There was collective interest in this gown 12 years ago, probably because the original painting came up for auction at Christie’s in London. There’s more than one of these out there, and mine was not the best. I am okay with that.

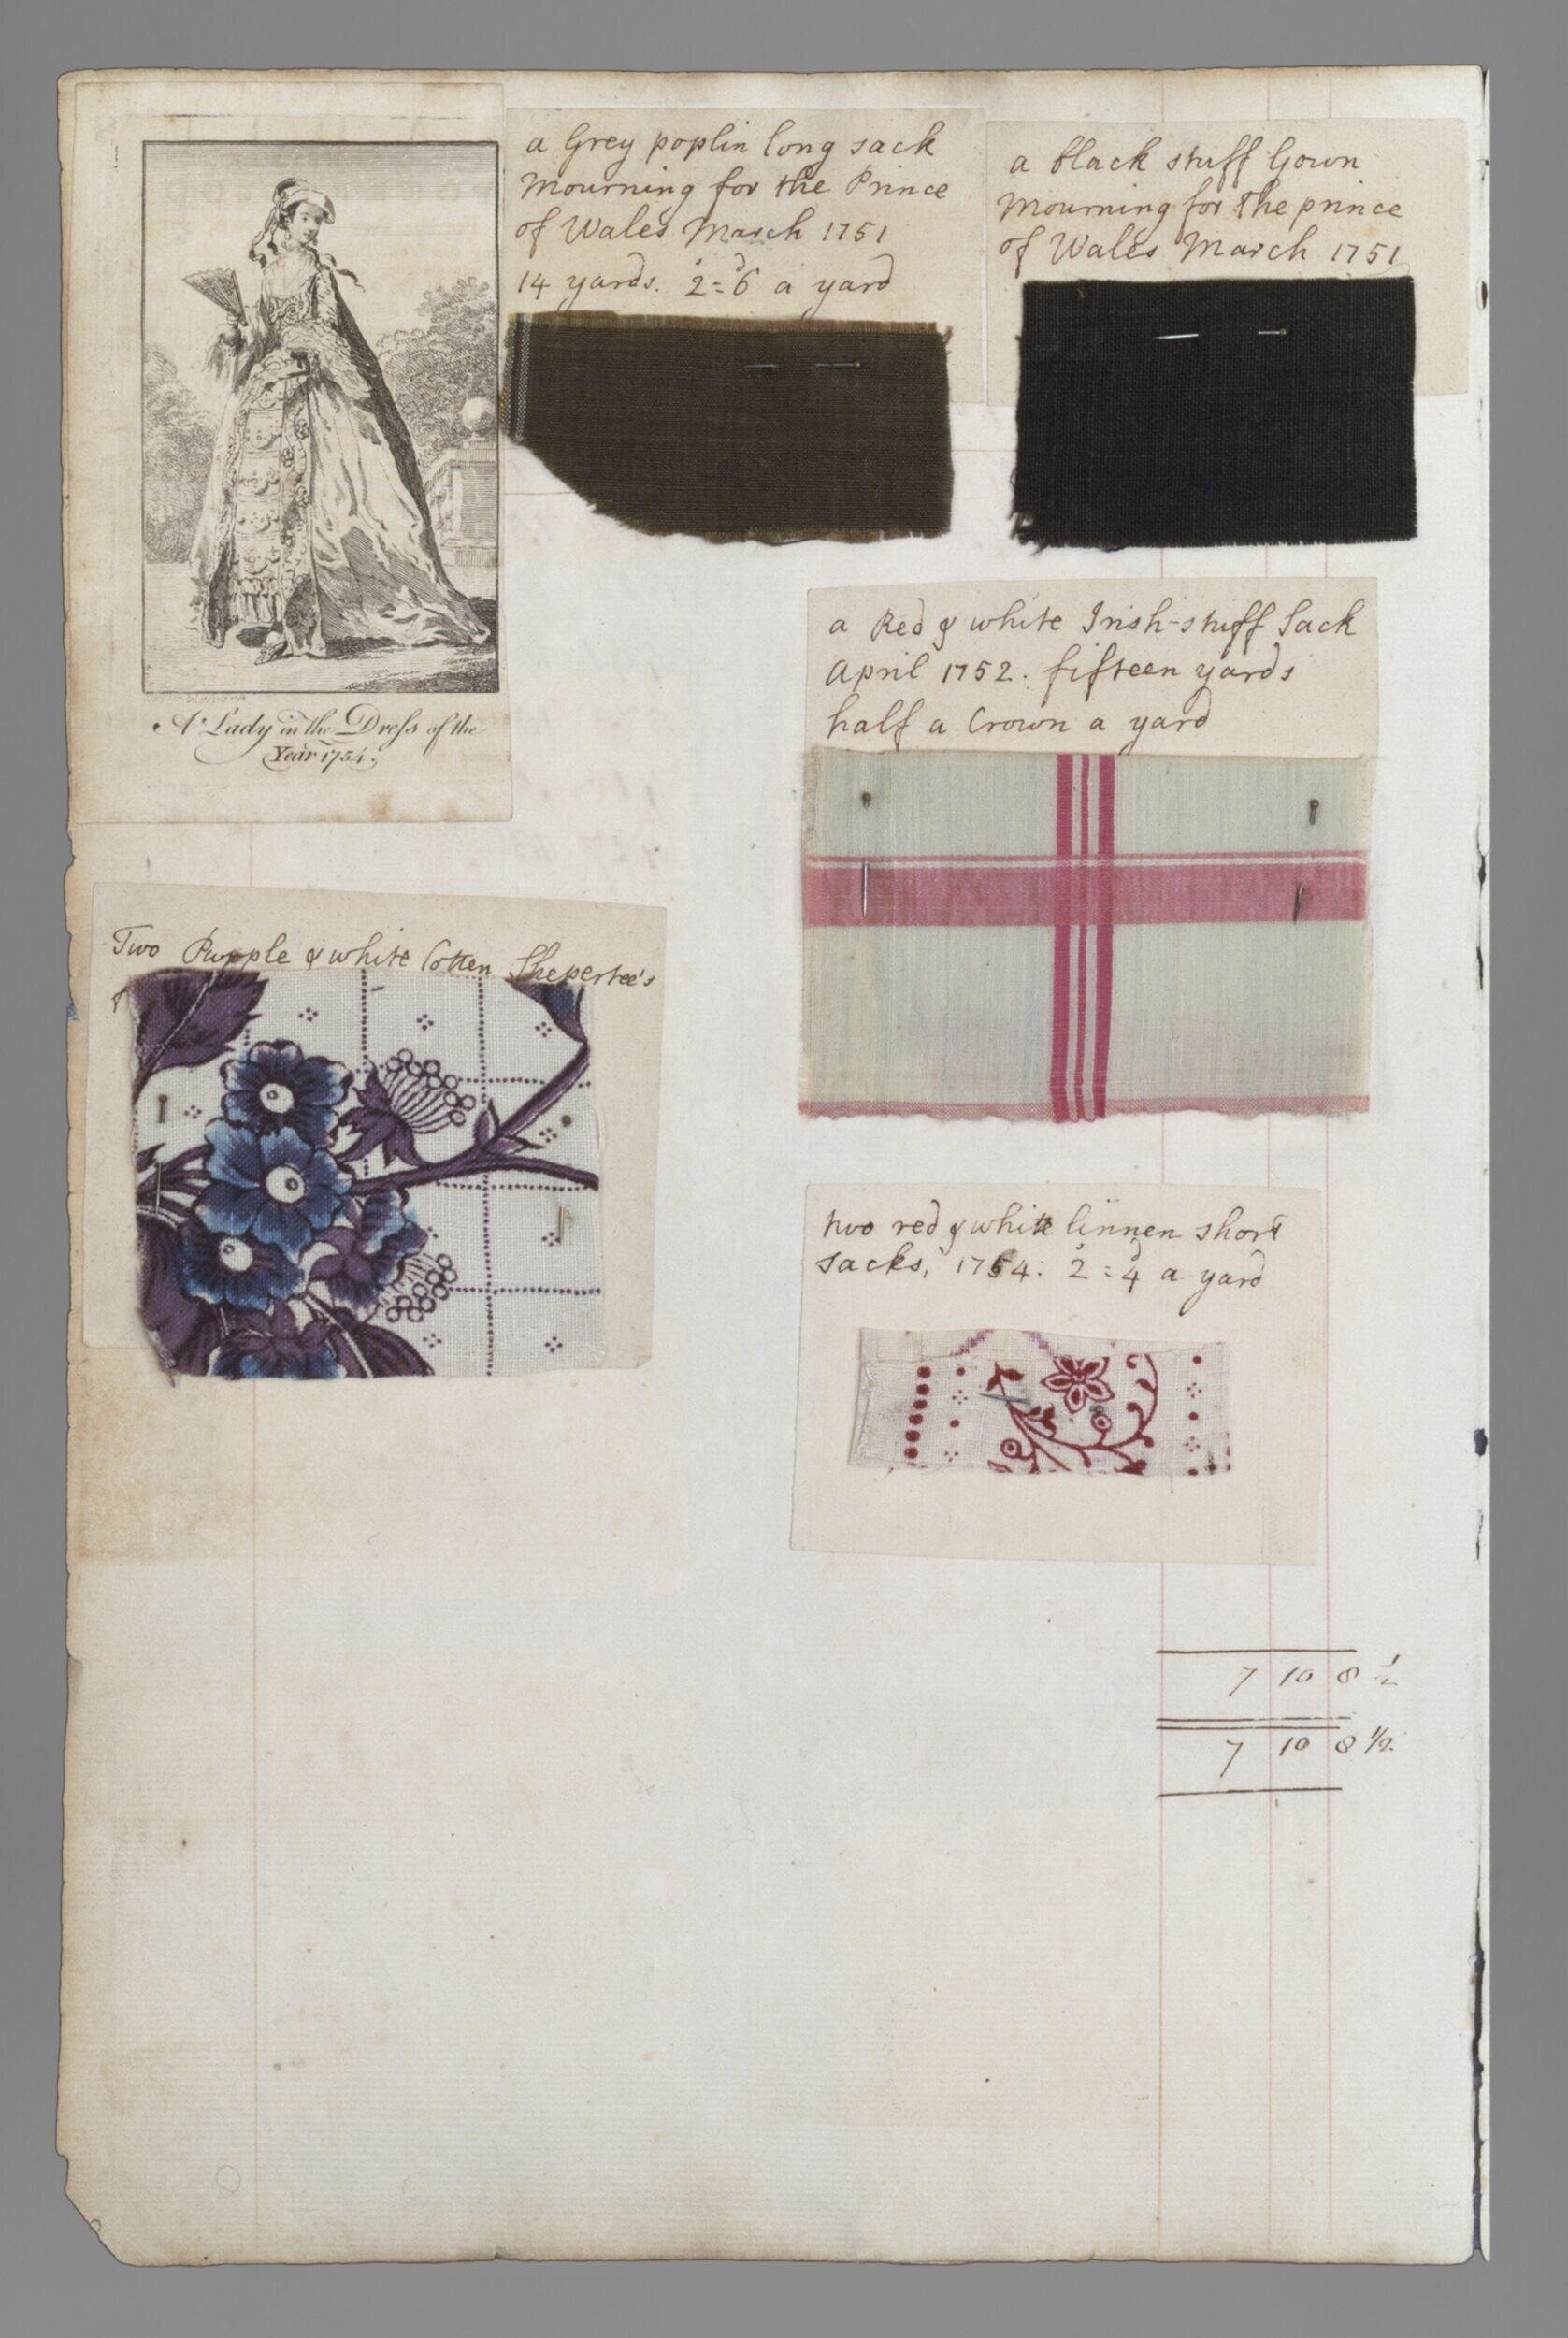
I think we were using the print derived from the painting as a justification for the cross-barred gown, along with a bunch of silk cross-barred sacques. I don’t remember whether or not I’d clicked onto the Barbara Johnson album page with the “red and white Irish [stuff? skiff?] sack, April 1752” swatch. Good stuff, that, and I would be delighted to find fabric like that. However, I had a cross-bar in hand in a form that I did not love.

Barbara Johnson Album, Victoria & Albert Museum

I didn’t alter the gown at the time because… I was embarrassed by the failure. The person who pointed it out to me was renowned for lack-of-tact, and did not offer any solutions, suggestions, or offer assistance. (That behavior is why people leave all kinds of hobbies, folks. Being kind really ain’t that hard.)

But it is hot this month, and getting hotter. So although I went to storage to look for, and not find, another wardrobe option, I did see this old gown. Did a klaxon sound? A siren? A choir of angels?


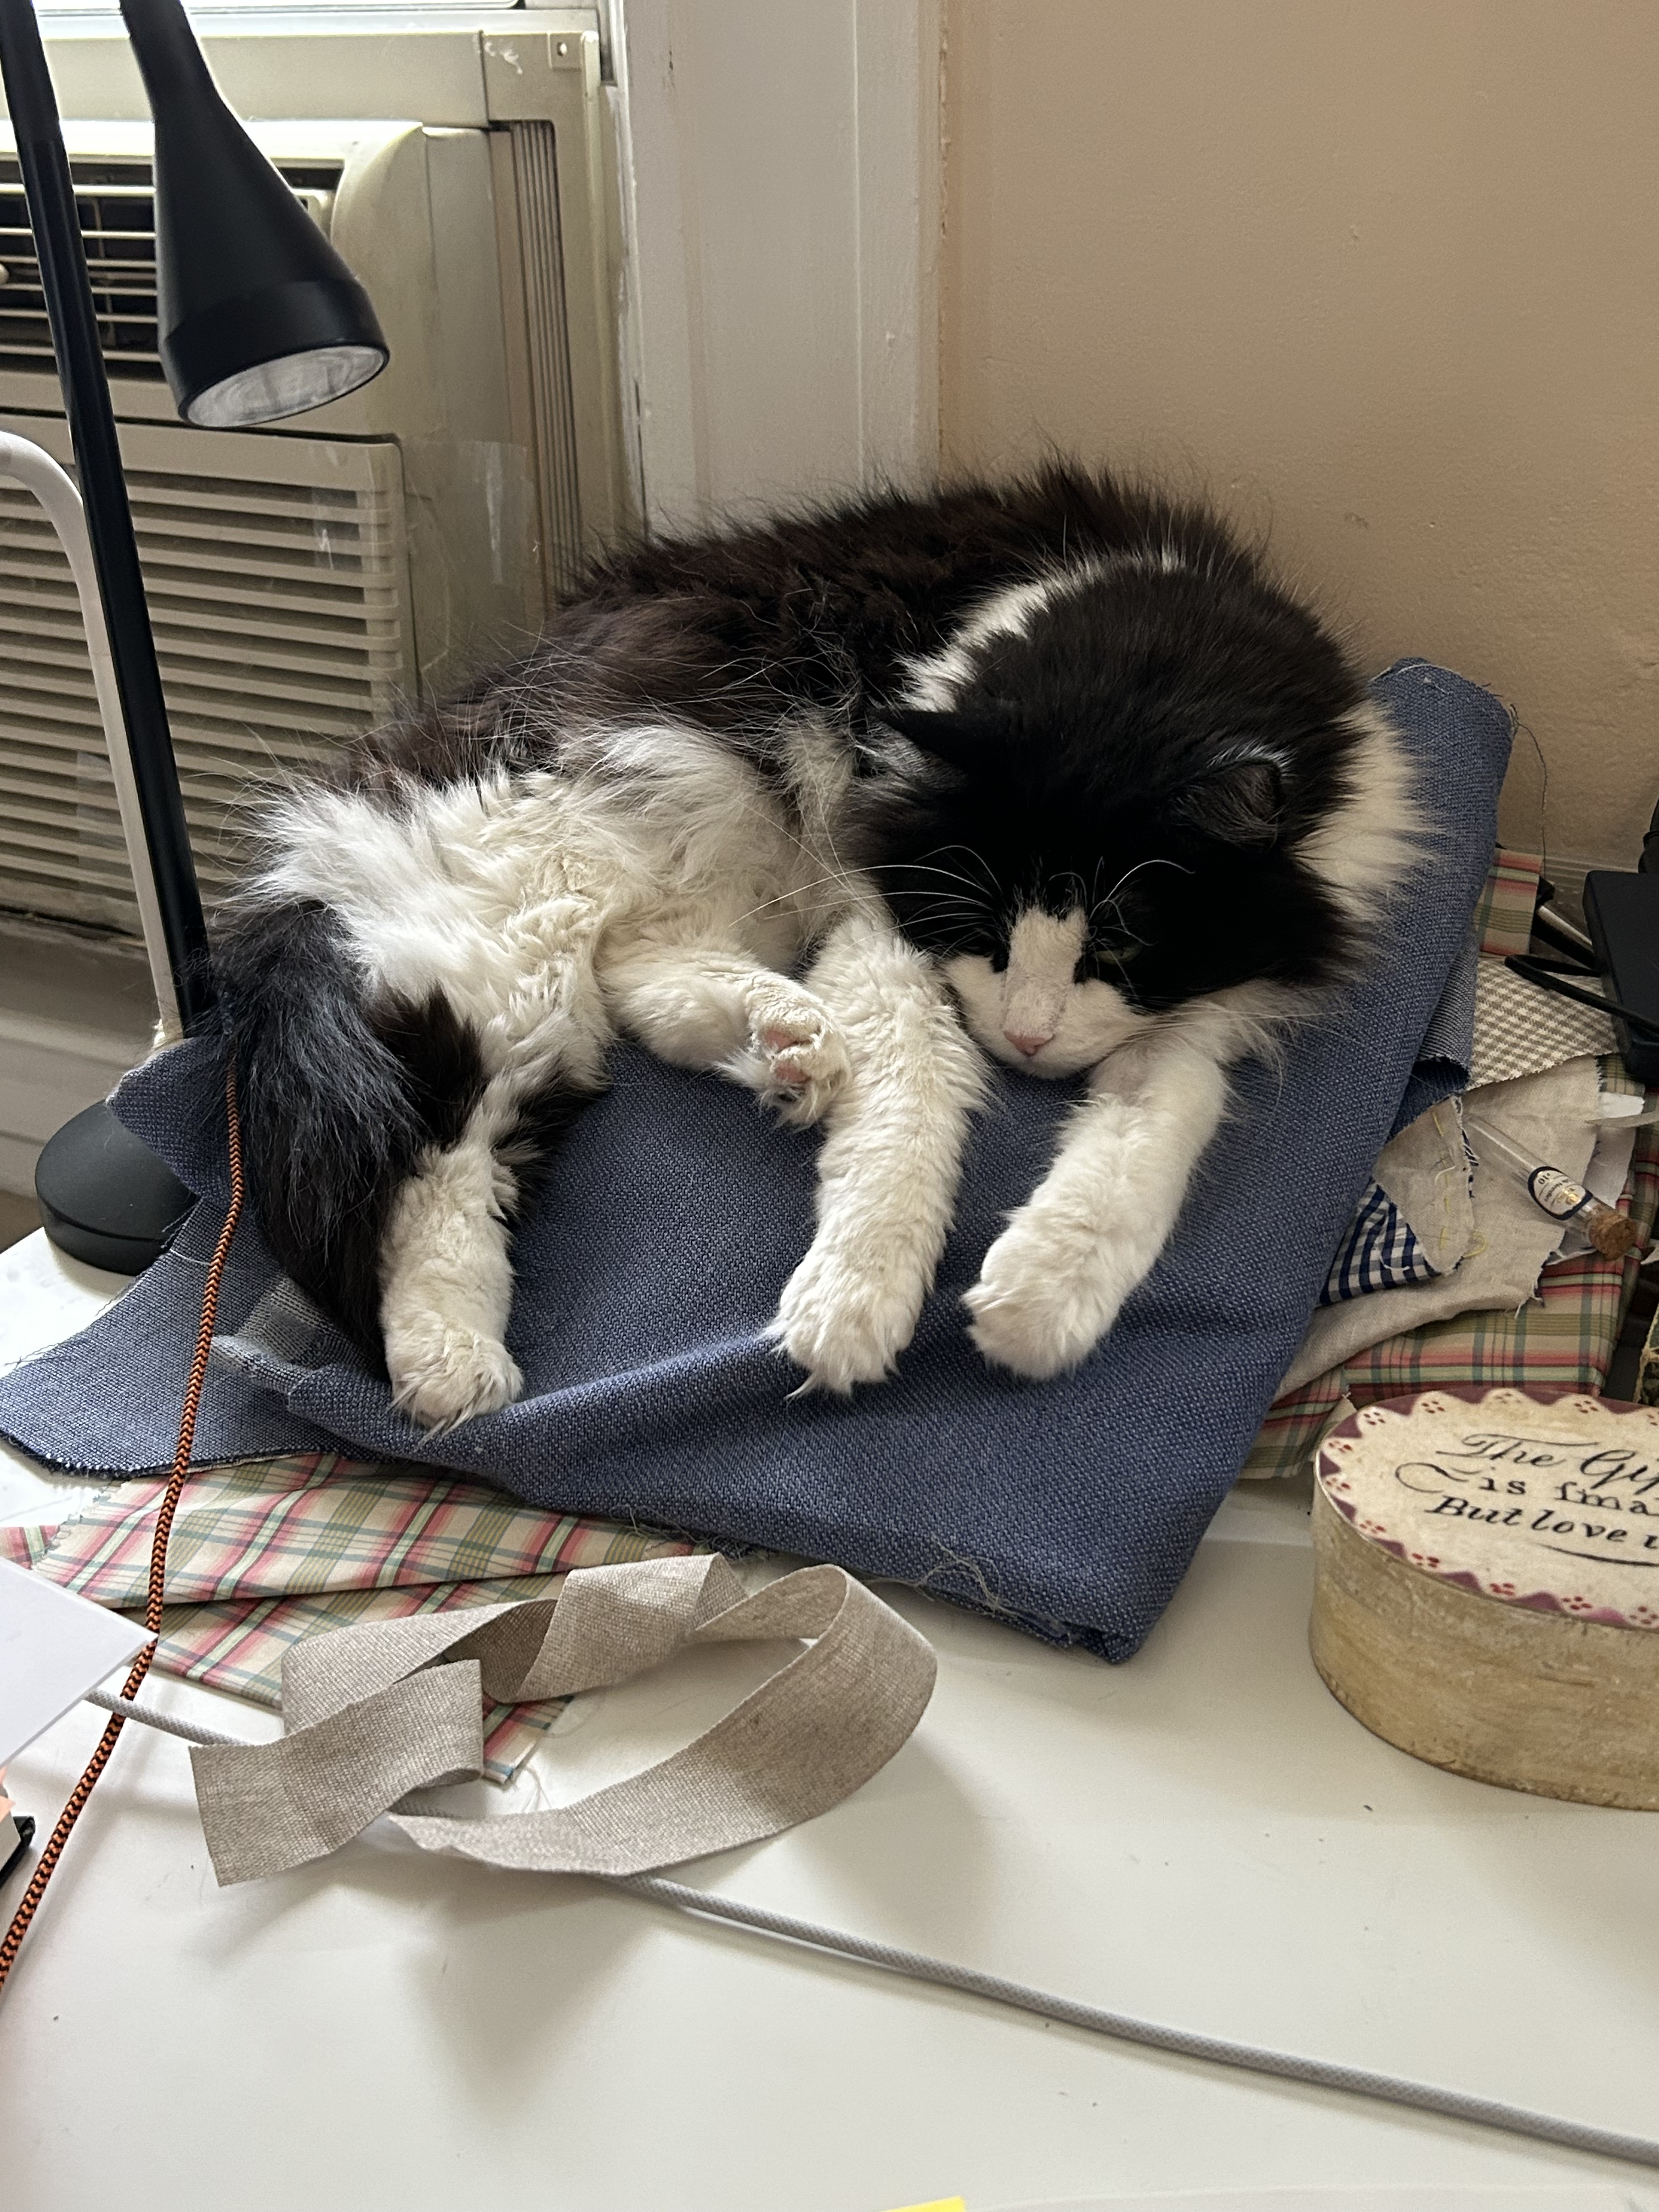
Furniture check on an upholsteress? How could I not?

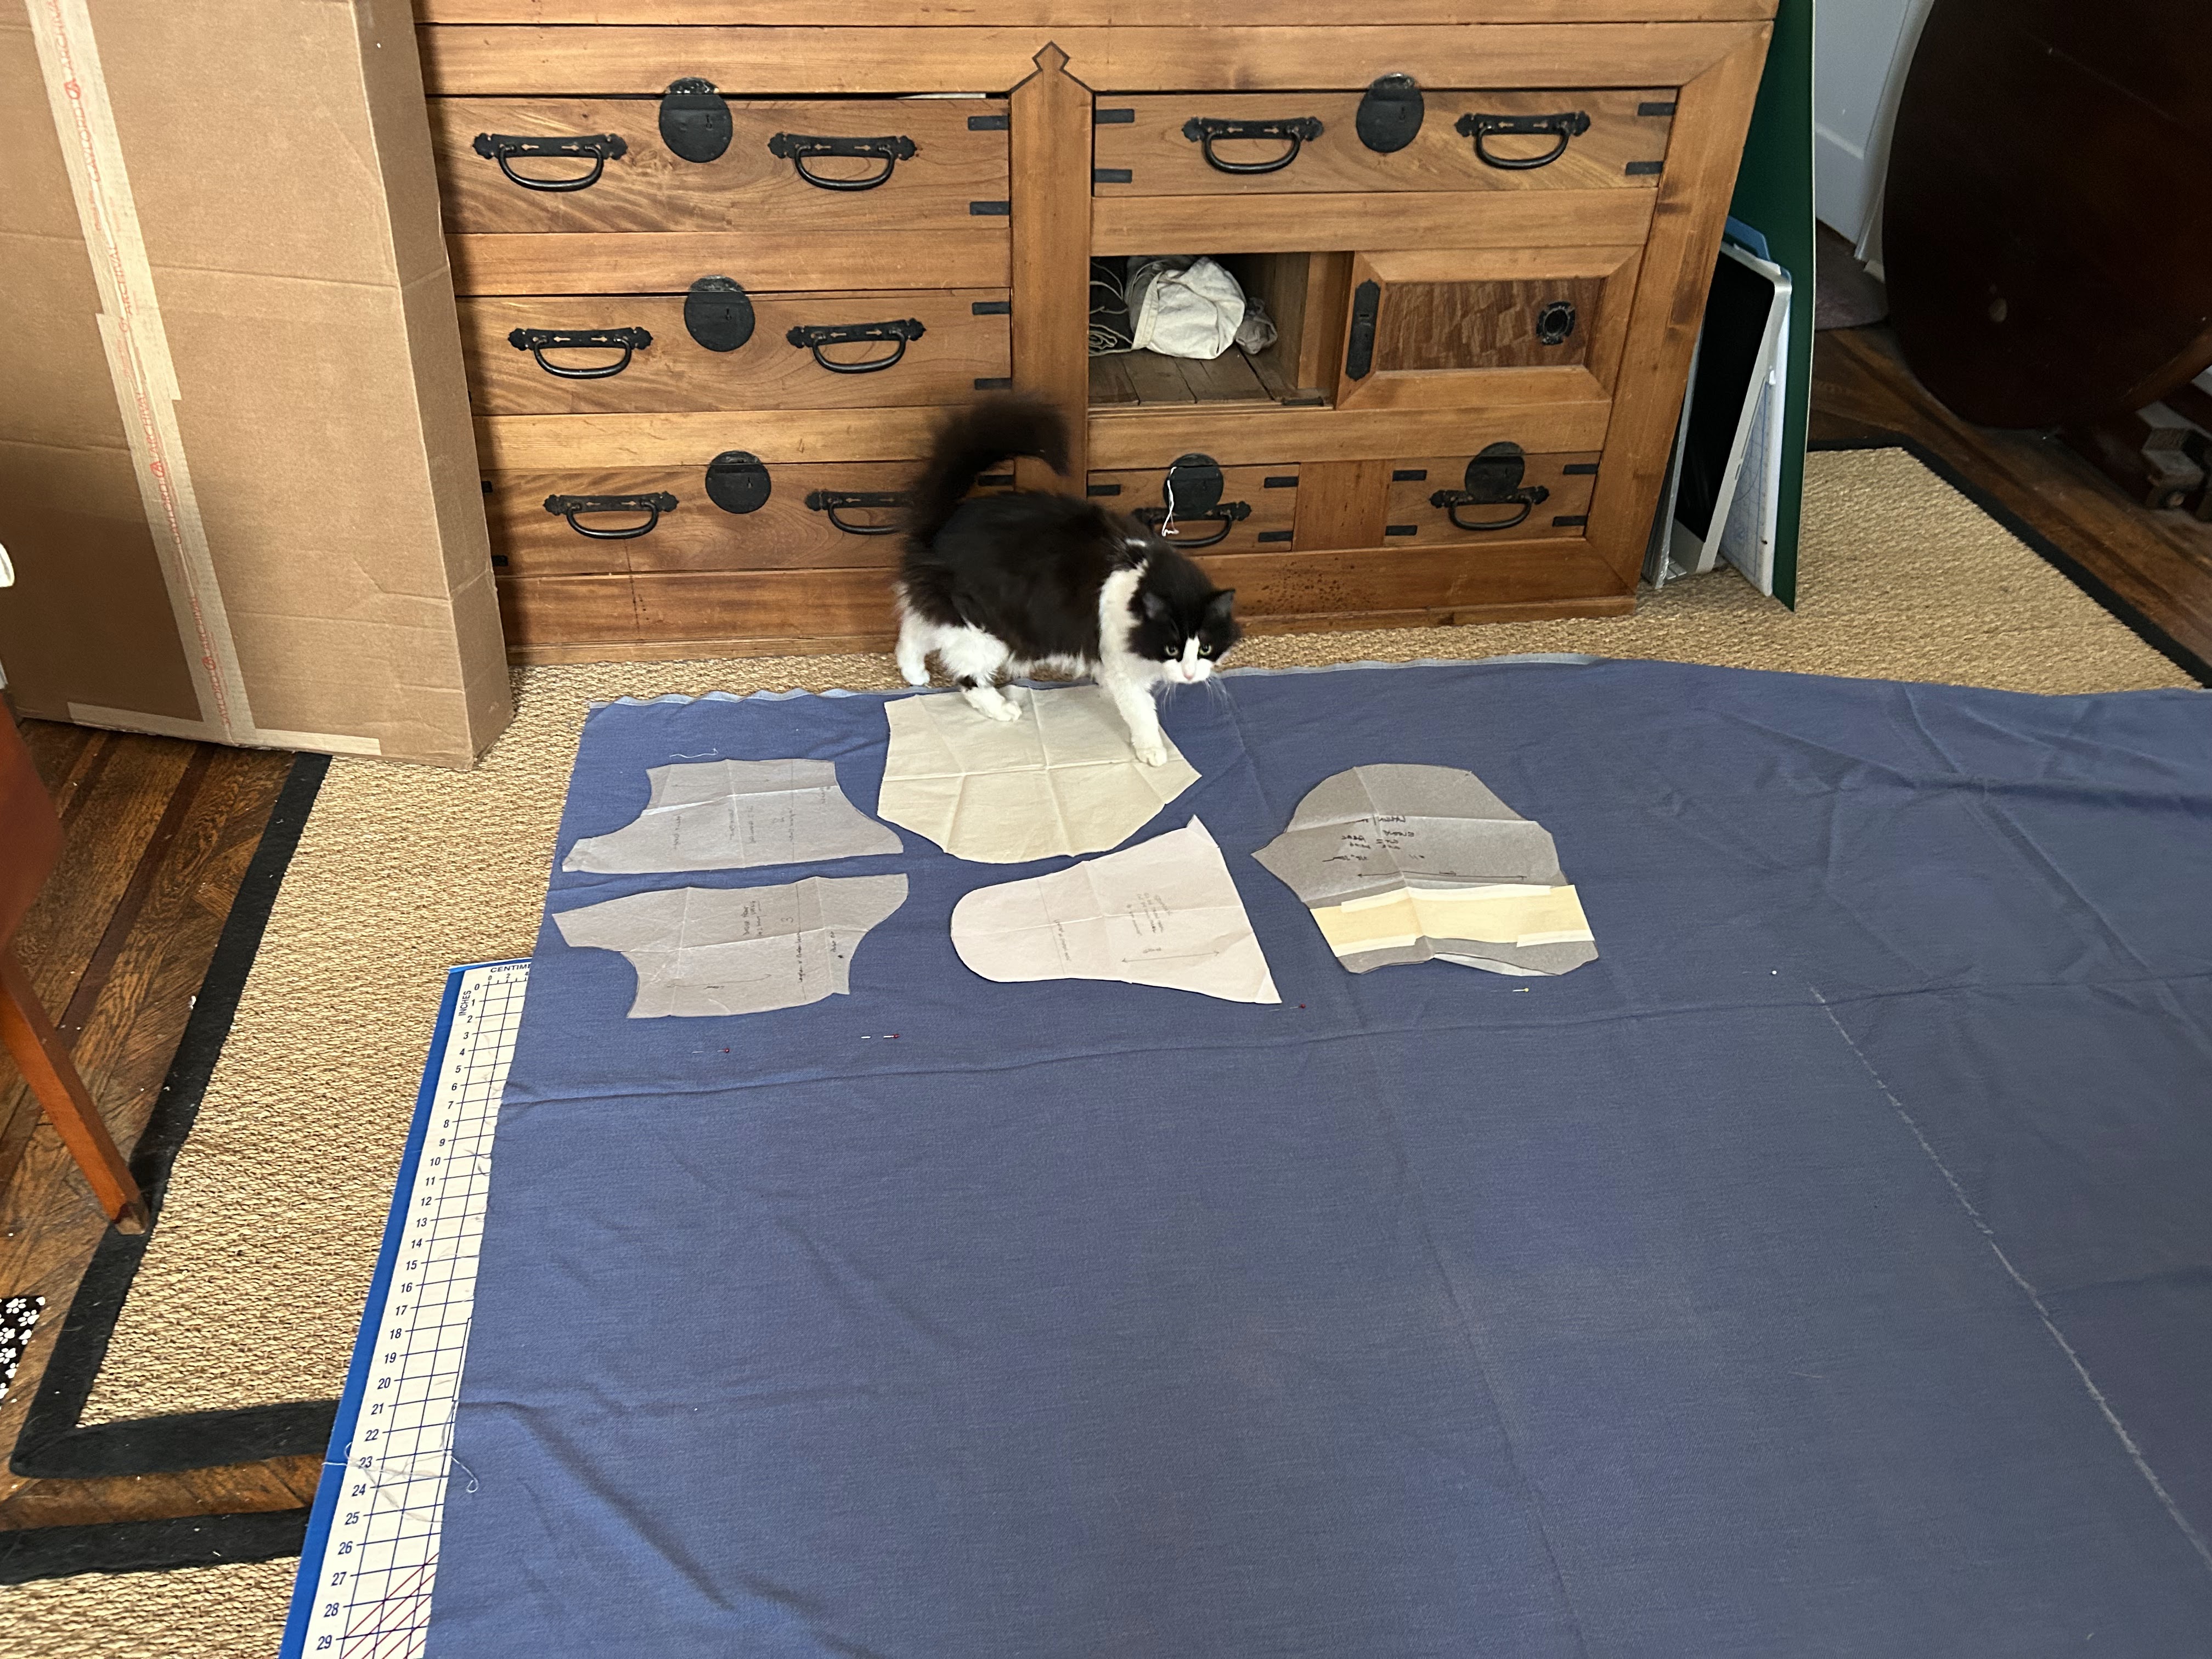
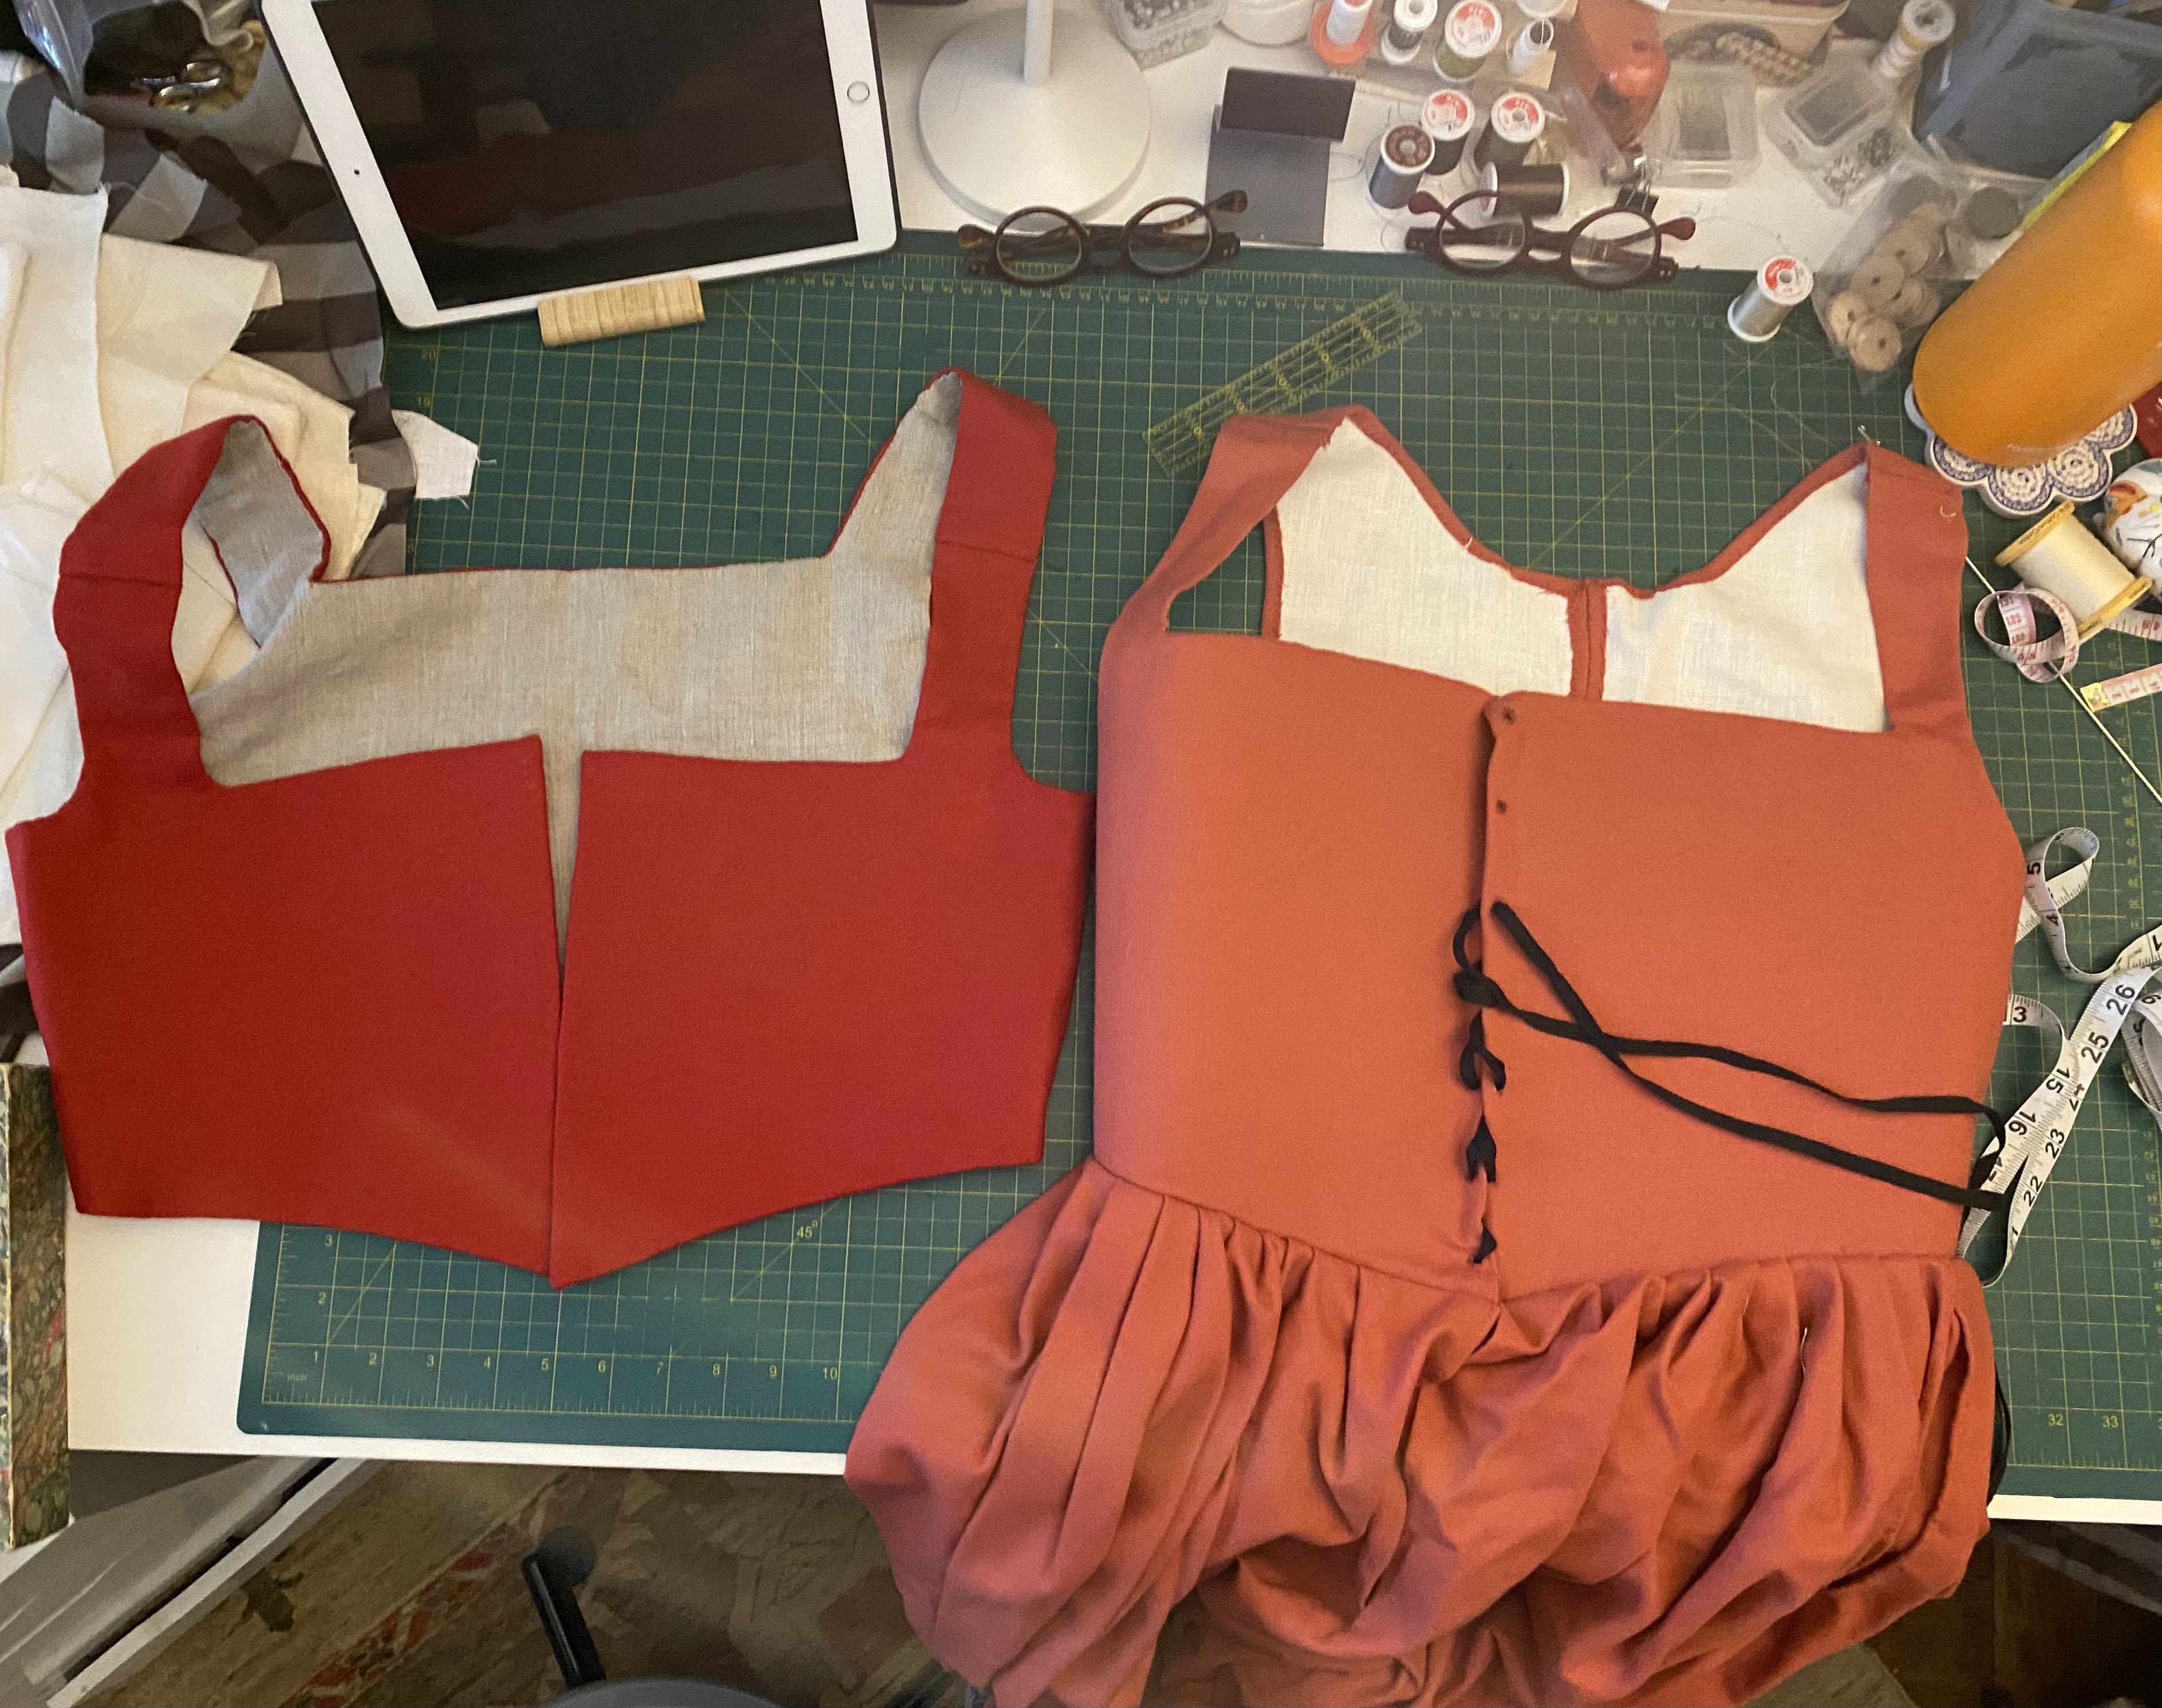
Equipped with more knowledge, and one hopes, more skills, I spent Friday night and part of Saturday disassembling the gown. 
What I like about this project is that not only will I end up with a new gown, I’ll have a new gown that is obviously remade from an old gown. Props to me for developing the patience to do this.

It’s not a huge change, but the modifications include making the back pleats actually make sense, and doing them the way Adventures in Mantuamaking taught me to; tweaking the overall silhouette to match the sleeves and cuffs; and adjusting the robings. This should also prevent the various wardrobe malfunctions previously experienced.

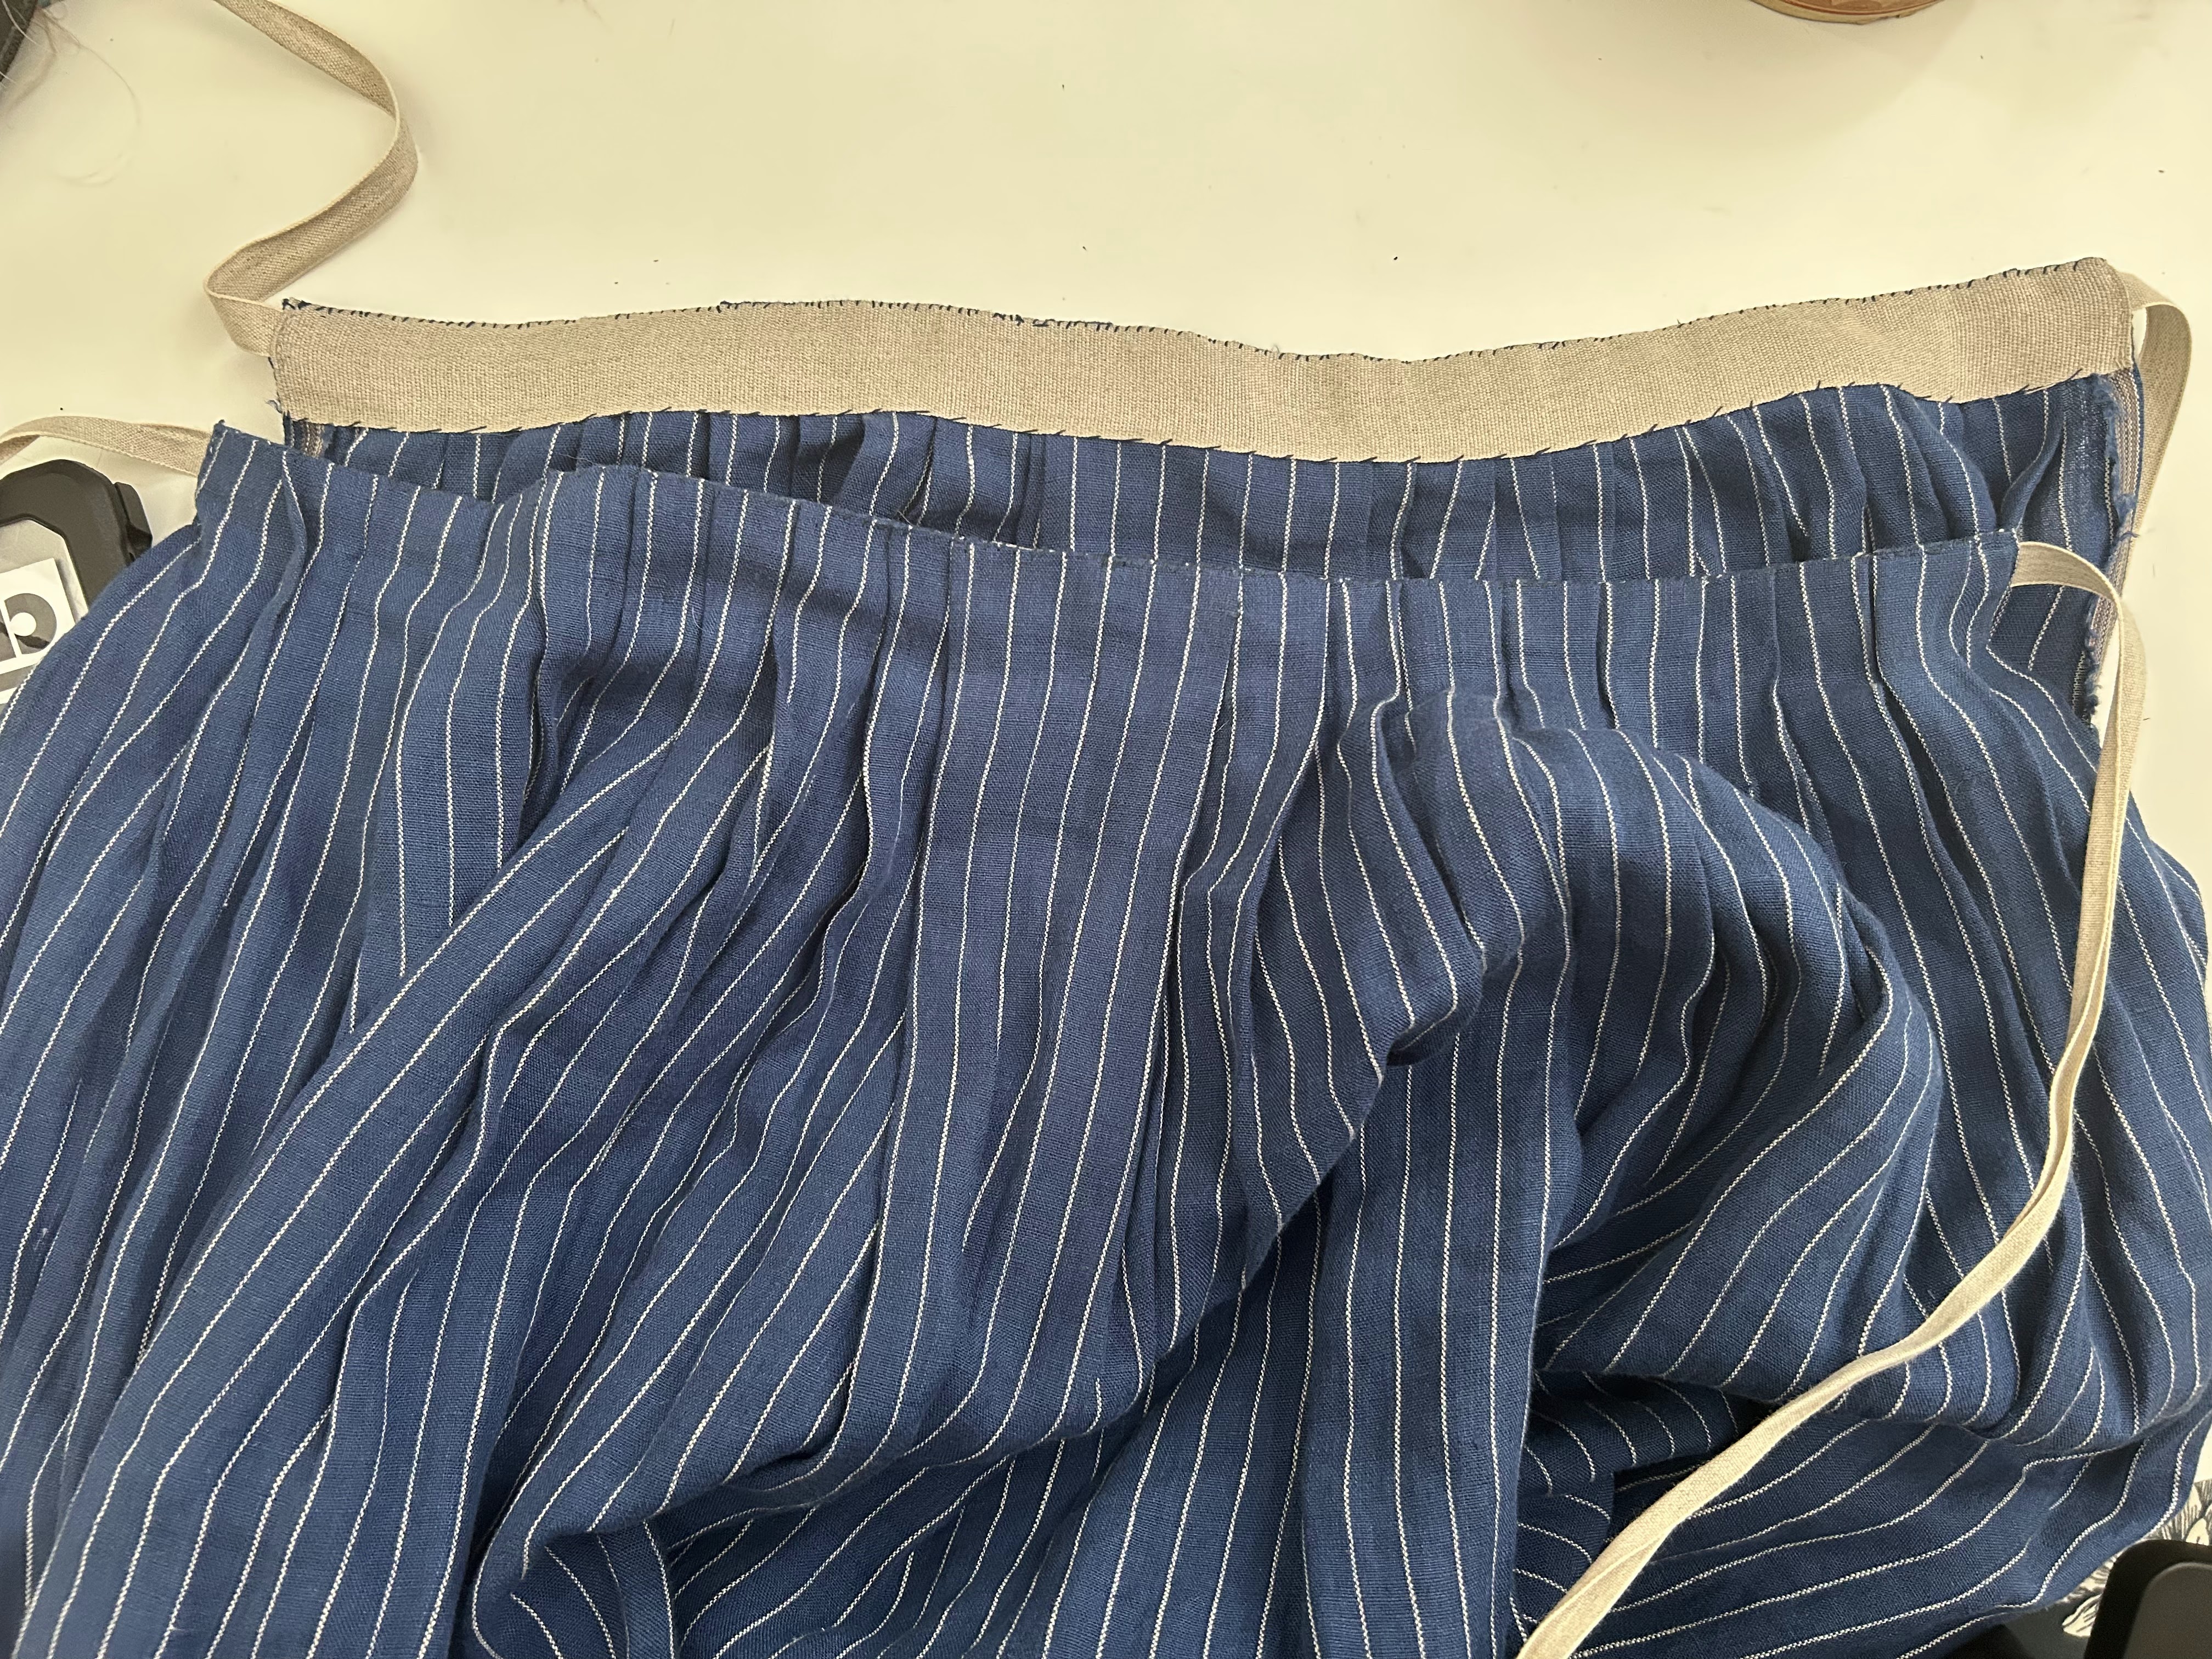
I did recut the back lining from fresh linen; the back strikes me as the most critical structural element, so I made sure to replace that. I then stitched a center seam in the upper back, as you do, to mark the center of the back and set the total bodice back length. Overall, the back seemed far too long, and the front too short.

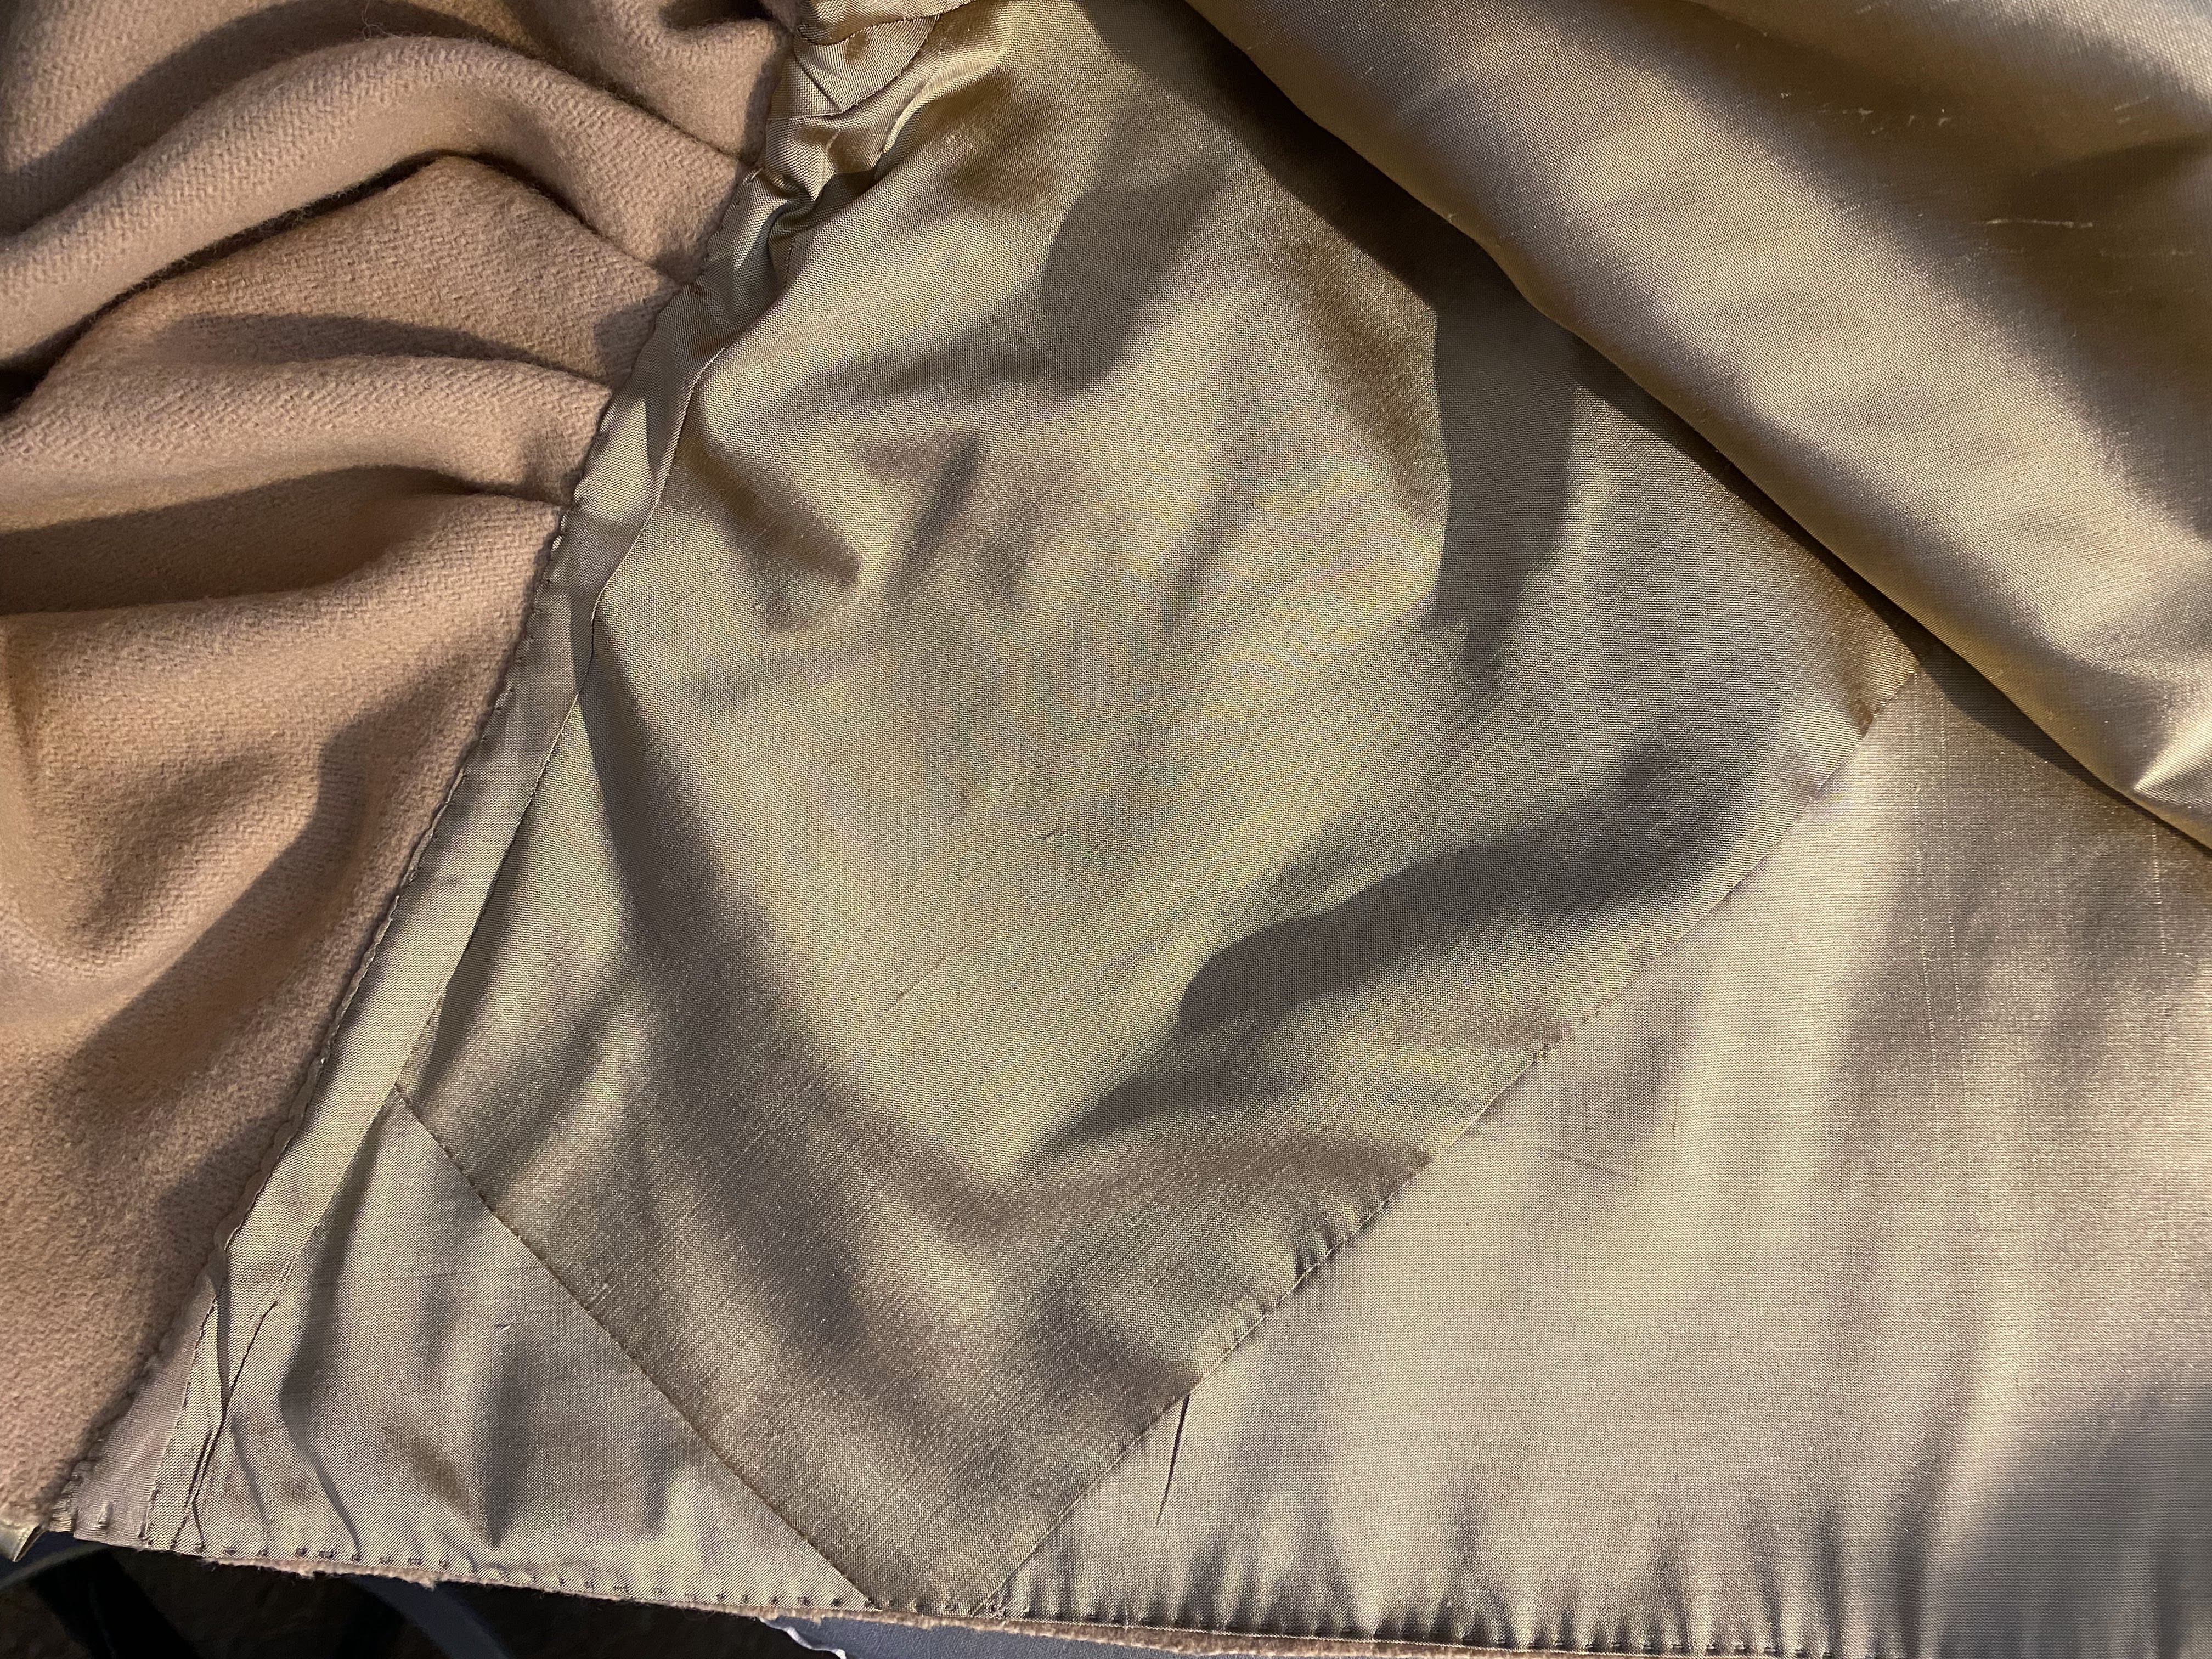
Re-pleated and stitched, the back was ready for new fronts. These required piecing (which is period) and I almost managed it on the lining, but they needed extra work. Even if the piecing is “correct,” it will likely be hidden by an apron.

Fortunately, the sleeves worked with the new bodice shapes, and are actually a better match to the style– they are too narrow for the initial style. I have enough to to rework the robings, but I don’t think I can get a stomacher out of what I have– not unless it’s massively pieced, which is also OK. 

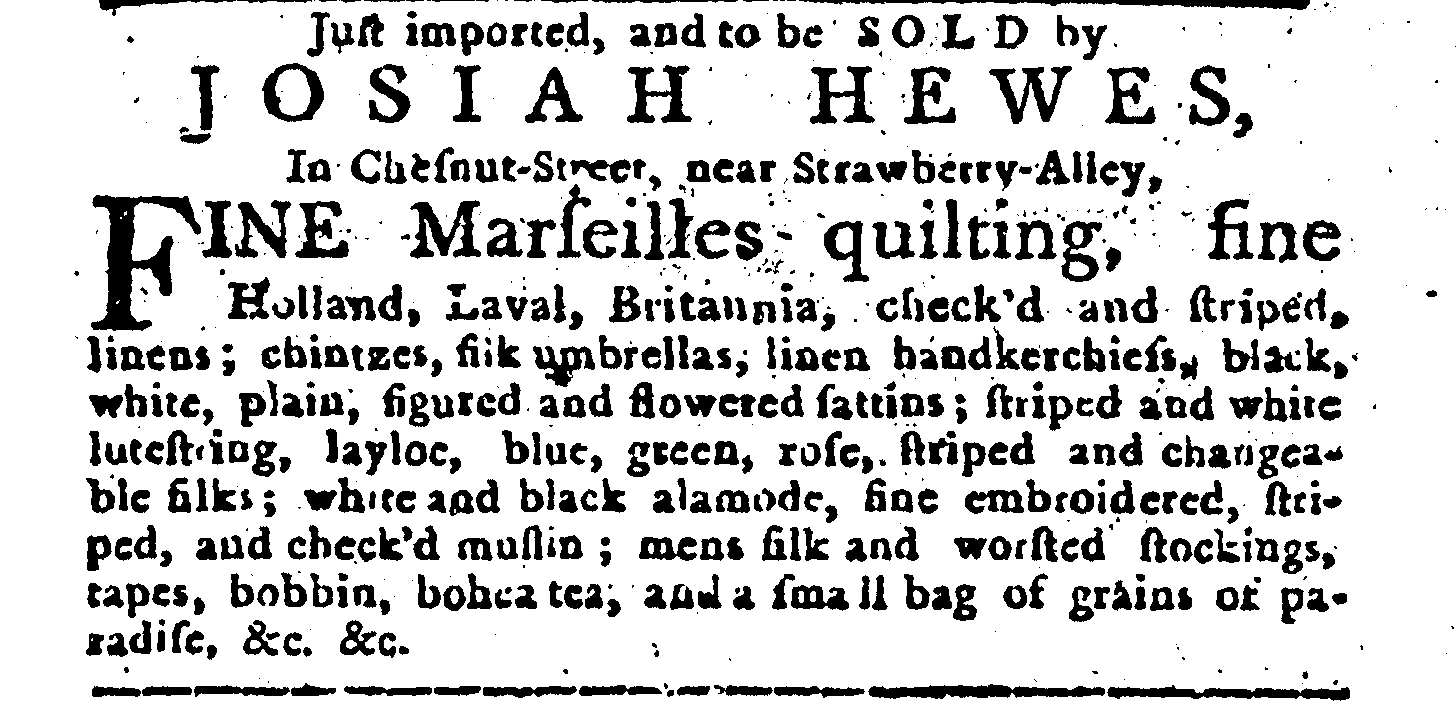
I spent some time digging into Pennsylvania newspaper advertisements looking for checks, check’d, and check fabrics. They’re there– plenty of them– though linen checks for women’s gowns are a lot harder to find. Oops. 

Still: I found  “check’d mantuas” (silk for gowns) and “Holland, Laval, Britannia, check’d and striped, linens.” Holland linens tend to be heavier, utility linens; Laval designated linen woven in Laval, in Pays de Lorraine (northeastern France), a town noted for fine linens. Could one of those be a lighter-weight check, suitable for a working woman’s gown? (That’s from the Pennsylvania Journal or Weekly Advertiser, December 26, 1781). It’s hard to say there weren’t checked linen gowns, just as it is hard to say there were. The possibility exists, partially because myriad types and patterns of linen were available in Philadelphia, and partially because we lack visual documentation of non-elite women in the Anglo-American colonies.

Pennsylvania Journal, or Weekly Advertiser, December 26, 1781

The runaway ads describe some Scots women and one English servant running away in checked gowns from 1753-1778. This does suggest checked gowns are associated with “lower sorts,” which isn’t exactly what I’m going for, but since I portray a working woman while also not melting, I’ll keep going. 

Pennsylvania Chronicle, July 10, 1769

A Blue Homespun Gown

How long does fabric need to ‘season’ in your stash? 

I like to savor yardage for half a decade or so, as once I have fabric I really like, I never think I’m adept enough to use it. I need to build up more skills before I cut into that silk/wool/what-have-you.

So, five years ago or so, I bought some lovely blue homespun from a friend who had determined she would not manifest her plans for it. It’s the same Burnley & Trowbridge fabric that Mr. K’s 1824 coat was made from, just not washed, and thus retains a smoother texture.

There was not quite five yards, but that never matters. Josie and I argue about whether or not I can make what I have work, and while she always says no, I can usually get an English gown out of four and a quarter to four and a half yards if the fabric is wide enough.

It took long enough to make that the fabric became a bed for the cat.

I was interrupted in the process: I took two classes this semester, taught a workshop, went to a friend’s birthday party in Philadelphia, tried to buy a house, and endured the world. I was glad to get back to the work, though, since sewing is always satisfying. It’s “just” another English gown with a pleated back and stomacher, in classic blue. I wore it to the Makers’ Event at the Museum of the American Revolution in May, just days before my final papers were due.

To make it fully a colonial lady stereotype, I wore it with a blue petticoat. The petticoat was remade from the first gown I ever made. Not only did the gown no longer quite fit, it wasn’t made to the standards I live by now. The linen was far too nice to let sit, another Burnley & Trowbridge fabric from over a decade ago.

A Snuff-Coloured Cloak

In August, the Museum of the American Revolution contacted me about making a snuff-colored cloak. Although many 18th-century women’s cloaks were red, some were not. Newspapers carry ads for stolen goods and runaways in brown camblet cloaks lined with baize; white silk cloaks; black silk cloaks; and cloth cloaks, which are probably “cloth colored” wool– what we would think of as drab or beige. The Museum referenced an ad from the Pennsylvania Gazette of April 30, 1777, May 7, 1777, and May 21, 1777. 

Run away from the subscriber, living in Evesham township, in the State of New Jersey, Burlington county, on the 20th of April. 1777, a certain Sarah McGee, Irish descent, born in Philadelphia; she is about 23 years of age, about 5 feet 7 inches high, very lusty made in proportion; she had on when she went away, a snuff coloured worsted long gown, a spotted calico petticoat, stays and a good white apron, a snuff colored cloak, faced with snuff coloured shalloon, a black silk bonnet, with a ribbon around the crown: She was seen with her mother, in Philadelphia, who lives in Shippen street, where it is supposed she is concealed. Whoever takes up said servant and brings her to her master, or puts her in confinement, so that her master gets her again, shall have the above reward, and reasonable charges, paid by Barzillai Coat
Pennsylvania Gazette, May 7, 1777. page 3

 “Run away from the subscriber, living in Evesham township, in the State of New Jersey, Burlington county, on the 20th of April. 1777, a certain Sarah McGee, Irish descent, born in Philadelphia; she is about 23 years of age, about 5 feet 7 inches high, very lusty made in proportion; she had on when she went away, a snuff coloured worsted long gown, a spotted calico petticoat, stays and a good white apron, a snuff colored cloak, faced with snuff coloured shalloon, a black silk bonnet, with a ribbon around the crown: She was seen with her mother, in Philadelphia, who lives in Shippen street, where it is supposed she is concealed. Whoever takes up said servant and brings her to her master, or puts her in confinement, so that her master gets her again, shall have the above reward, and reasonable charges, paid by Barzillai Coat”

I was not clever enough to latch onto the snuff-coloured shalloon facings, but I made up a hooded cloak with a snuff-coloured silk lining and dispatched it just before school started. (I doubt I could have achieved a happy color match in any modern “shalloon.”) I’d picked up the wool and silk in Natick, Massachusetts on a summer trip in 2018, and had planned — and put off– a snuff-coloured cloak of my own. Oh well. 

a hand drawn sketch of a cloak layout, showing an arc with measurements
Highly Scientific

As the semester drew to a close, the cloak started gnawing at me. That was really nice wool! And such a nice color! I really had wanted my own cloak. I succumbed to ordering some substitute wool, and over the winter break, made myself a cloak. They only a day or so, once you’ve done the math to chalk and cut the pieces. I have a handy diagram to help me figure it out, adapted from Sue Felshin’s classic post on cloaks. You don’t need much else. 

the pleated back of a cloak hood made of butterscotch colored woolThis wool is heavier than what I’ve used before, and I’m not fully enamored with the drape. Still, this will go a long way towards completing the Cinnamon Toast Crunch Quaker look when I wear it with the brown gown I made this past summer. I love my red cloak, but for a Philadelphia Quaker’s brown gown, a snuff-coloured cloak is a better match. 

The making is really simple. You do want to start with a well-made wool broadcloth or coating that will hold a cut edge– that eliminates a lot of hemming, and takes advantage of the natural characteristics of the wool just as 18th-century makers did. You don’t need a lot; I used 1.75 yards of 52-60” wool, which makes an acceptable length cloak even for me (I am 5’-10”). 

a snuff colored wool cloak on a female mannequin
The finished cloak (and a fancy petticoat)

The cloak neck edge is pleated to a neck size that suits you (annoying, I know, but that’s how this works). The hood is stitched up the center back (I used a butt stitch), with the last 6” or so pleated. This is the trickiest bit. Even strokes make a nice array, but the real trick is stitching the pleats flat so that they hold the shape. Sometimes it turns out better than others; heavier weight wool will be harder to wrangle, as this was. 

a tan and beige cloak hood seen from inside, piecing seams visible
Piecing is period, and appropriate for the inside of hood.

I ended up piecing the silk for the hood lining (piecing is period) and I’m pleased with how that turned out. I barely had the patience to do it, but the result was pleasing and I saved silk, so there’s that. For ties, I used some silk satin ribbon purchased for some other, now-forgotten project. I tend to save materials, thinking I’m not “good enough” to use them– that is, not skilled enough. Well, if not now, when? The cloak and its ribbon ties mean much more worn than that they will stashed in storage. Eat the cake. Buy the shoes. Make the dress, the cloak, the apron, the ruffles. Make whatever brings you joy.


Workshop Lessons

There’s always something new to learn, even when you’ve been sewing for a while. This past weekend, I took the Comfortable Kirtle workshop at Burnley & Trowbridge with Samantha Bullatt. I already had a kirtle that I’d made and fitted myself using The Tudor Tailor, but I was unhappy with the fit and silhouette. By the time the workshop was over, I understand more about the error(s) I made.

For one thing, the bodice is too long. The side seam is too far back. It is too large in the bust and waist. It laces crosswise instead of spirally. 

I was skeptical about the efficacy of mere buckram in containing and supporting me, but I was proven wrong by Samantha’s fitting. Now that I can compare the two, the new kirtle reminds me of a yoga top or sports bra. Somehow, the smaller higher waist works to support the breasts, and a tight fit helps compress them. I think that gravity worked against me in the larger kirtle: the flesh had room to move. 

In any case, I completed the bodice to the point of eyelets, which is pretty good for me. Eyelets are fun (to me) so as long as I can find the time, finishing the kirtle should not be an impossible task. Once I got home, cut the bodice from the skirt of the original kirtle and recut the bodice to match the size and construction of the new one. Again, it’s simple enough once I find the time to chip away at the construction step by step, one side at a time. 

When will I wear it? I thought I’d wear this to the Fort Dobbs Timeline in November, but now I may have other plans that weekend. There is an event I’m planning to attend in Richmond in November, and while this isn’t quite up to that level of festive, it is an excellent base layer for what that outing calls for.

In other regards, what did I learn? More about fitting, costume history, how quickly I can work, and how to organize a mobile workspace. My partner kept remarking on how neat I was. Without order, I’m overwhelmed. It also saves a lot of time to put tools and materials back in the same place every time.