Yes, six toiles.
That’s how many it took to get a coat pattern to fit Mr S the way I thought it should. I finally built the pattern around a sleeve and arm scye that I knew worked and suited the period. From there, I built out the back, altering the center back seam curve to suit Mr S’s figure. Arm scyes are still hard for me to figure out, although sleeves are often my favorite part of a garment. I like how flat pieces become three dimensional in a sleeve, and I enjoy setting sleeves– go figure.
Thanks to the three-day holiday weekend and sitting out a parade to pad stitch, I have a coat body.
I’m not thrilled about the size of the lapels, though I have found extant examples and fashion plates showing lapels this size, and sleeves, too. While I’ve pinned up the sleeves in the back, thinking there’s too much fabric there, I can also see from the images that the subject’s posture was not the best– and that was the moment when I realized that I really did want a mannequin for menswear as the subjects are hard to catch at any age, and variable in posture and wiggliness. They also object to being pinned accidentally.
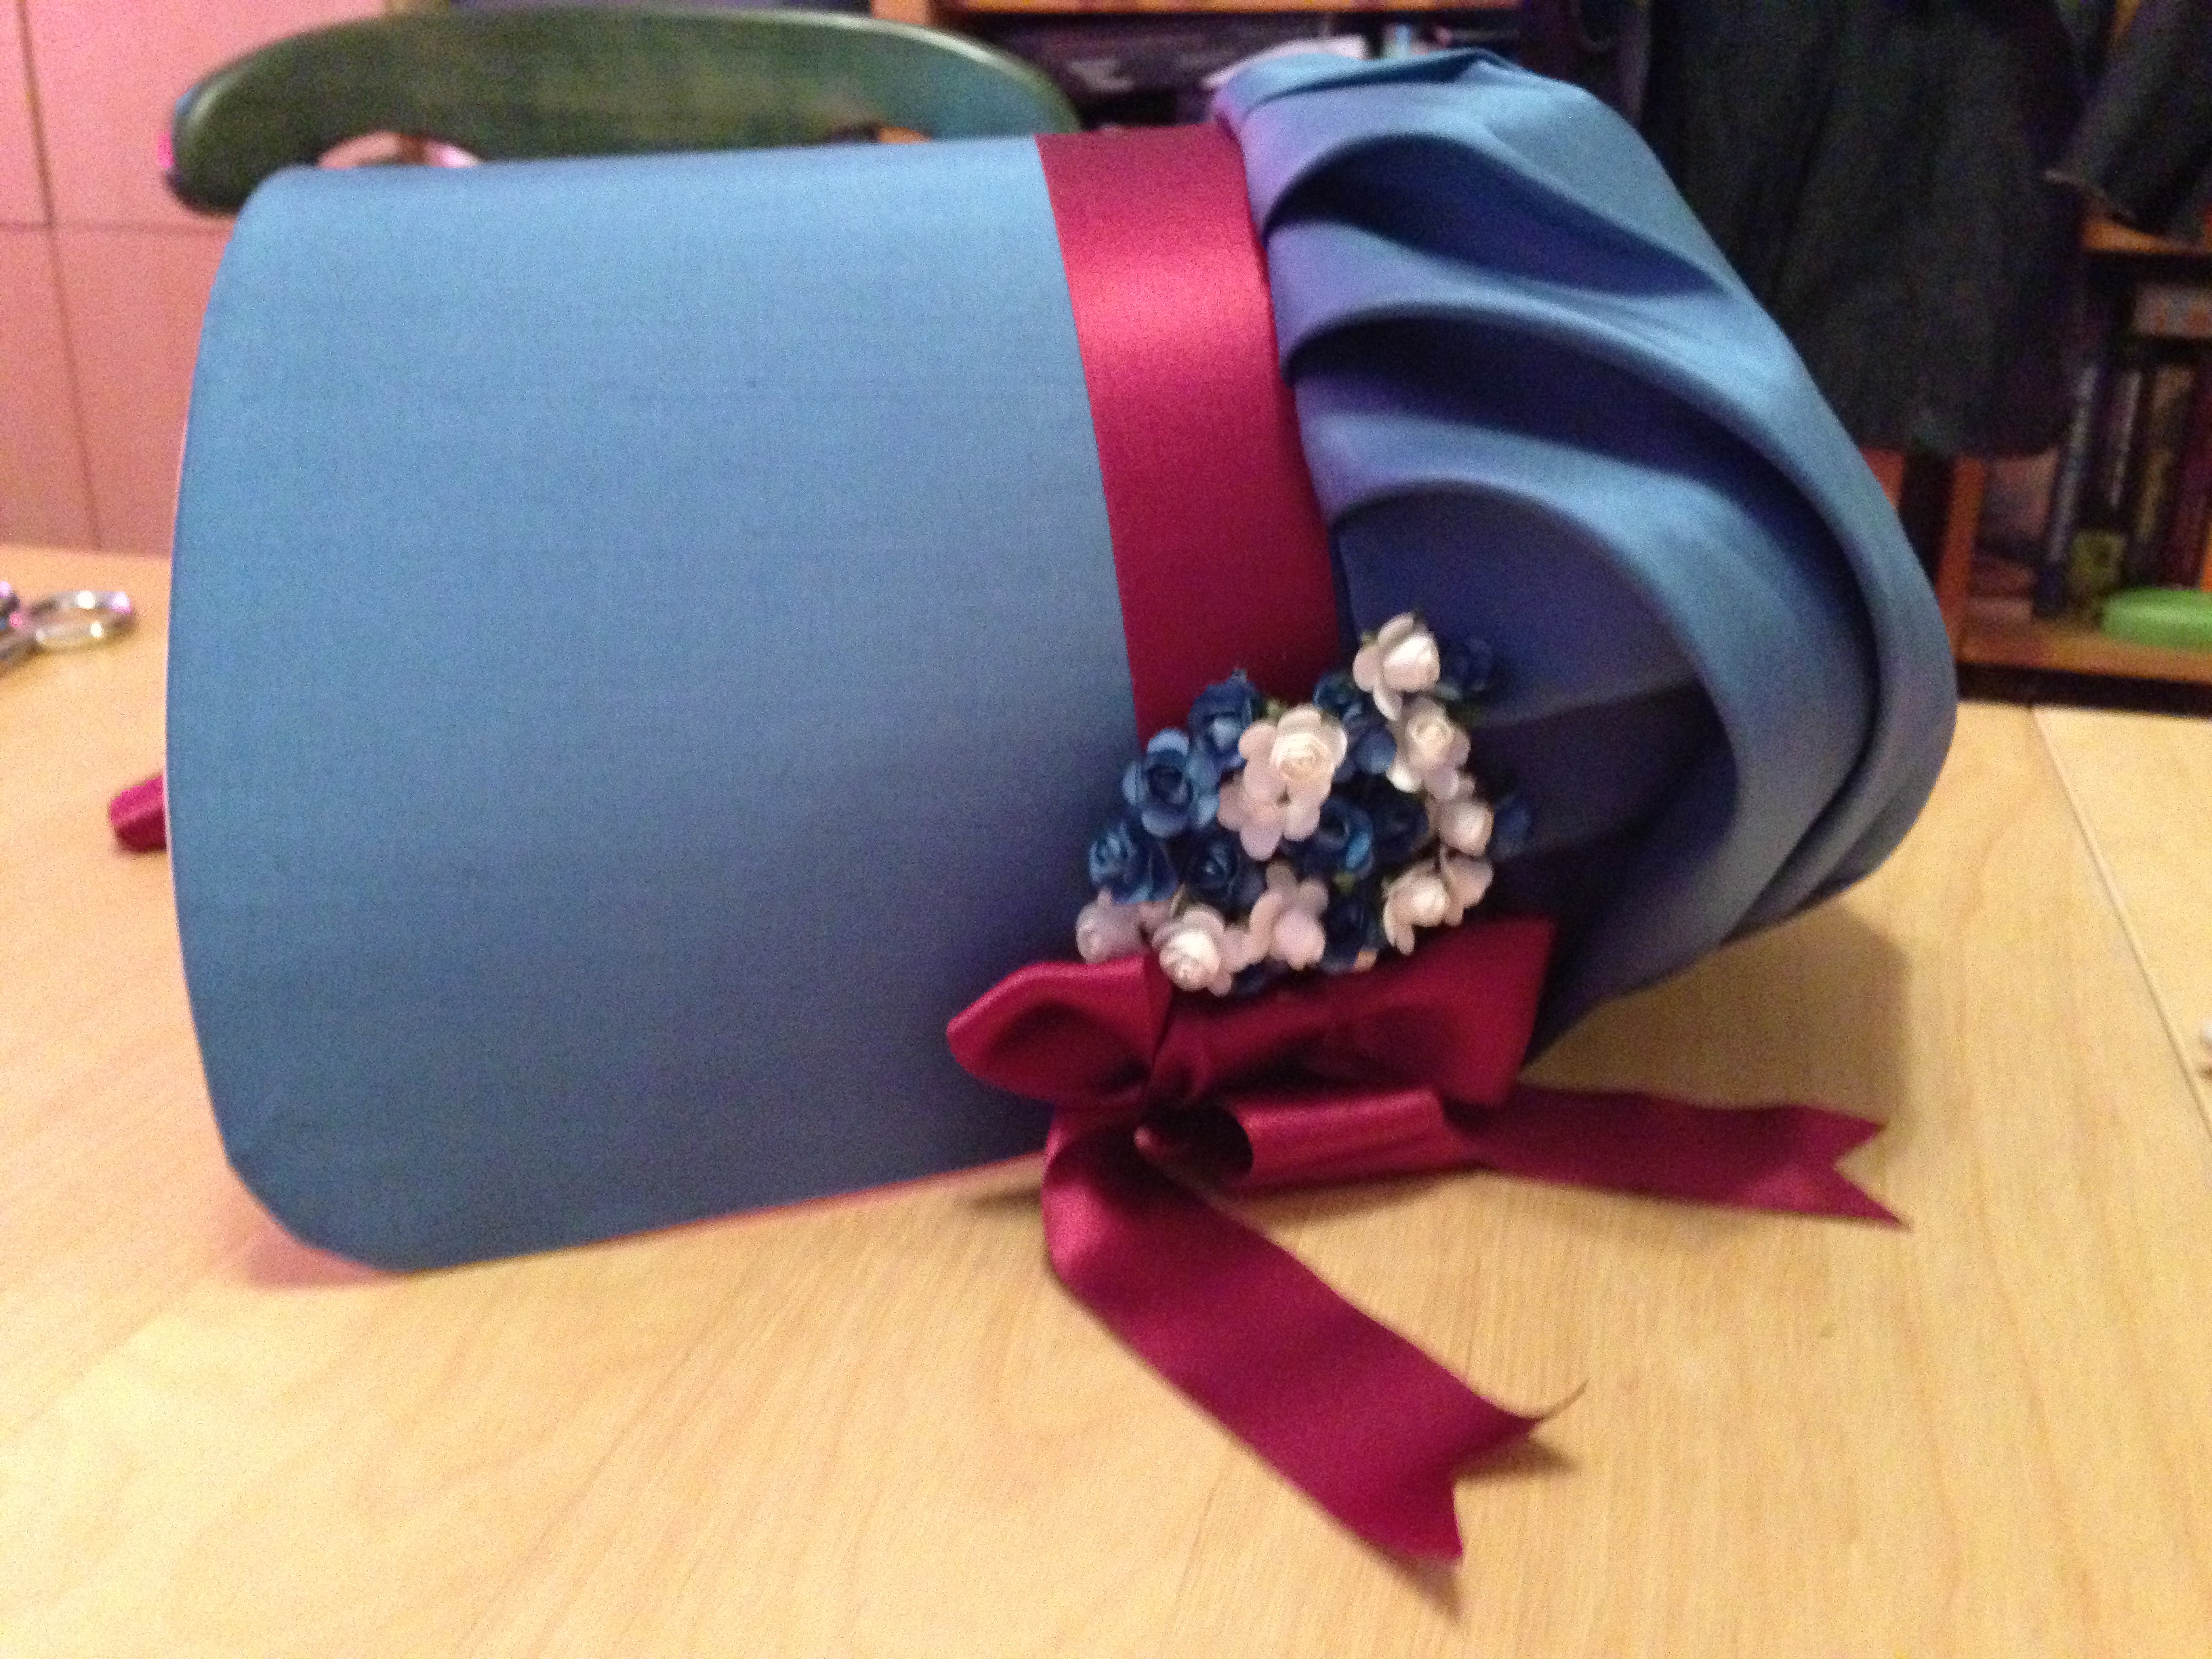
But there is at least a coat body on the way to being done, so I took a break and made a bonnet, which is really the point here <ahem> milliner’s, not tailor’s, shop, after all.
Pasteboard brim, blue silk taffeta lined with white silk taffeta (they had new things at the fabric store, very exciting!), trimmed with silk ribbon from Wm Booth and paper flowers from the V&A.
Now, more bonnets, two waistcoats, a gown, an exhibition, a lecture, and Stony Point are all that stand between me and the milliners’ shop in Salem…
Like Sew 18th Century, I’ve been enjoying preparing for the August 2nd event in Salem.
I’ve not ventured too much into Regency bonnets, or into straw, but I did flirt with a 1794 bonnet. Now I’ve got hats on the brain, and the time to fully indulge my whimsy (though it runs out Sunday).
From the fashion plates, one would almost say, Anything Goes. Of course it doesn’t, really, but you can get a sense of the exuberance of bonnet trimmings in the illustrations, and the lavish use of ribbons, bows, feathers and flowers.
Not all straw bonnets were lined– in fact, they often weren’t– but the lining protects the straw and the wearer’s face, and finishes this off in a way I like. Pleating in my condition was, ah, challenging, but I figure it was good for my brain to have the exercise. The lining in the brim is white taffeta, but I used white linen in the main crown or tip portion of the bonnet. Instead of bagging the lining, or trying to fit it, I mimicked what Mr B does in the hats he’s made for us. The gathered linen closes with a drawstring and required slightly less effort to fit into the hat.
The velvet ribbons came from Lunarain Designs on Etsy, the ties are taffeta ribbon from Taylor’s Etsy shop, and the straw bonnet form came from Regency Austentation. While the finish work takes time and concentration, I do enjoy both making up and trimming bonnets, and look forward to several more.
As promised, my interpretation of the ribbed bonnet in the 1789 engraving. There are a few problems with this beyond the model. (Which is not to say that I don’t like this bonnet– I do!)
I used the Kannik’s Korner bonnet pattern (view F, I think) as the basis for this because I already had a brim, lining, and caul cut and in a drawer. Given my current medicated state, using something pre-cut seemed advisable. That means I didn’t play with the brim to create the line of the Williamsburg bonnet, or the curve of the brim in the “Fortune Teller” engraving.
Detail, The Marquis of Grandby
Is this style acceptable for the period I typically interpret (1775-1783)? Well… there are other examples of the lampshade-style bonnet, as in the Edward Penny painting of the Marquis of Granby. This painting is dated “after 1765” so there’s some room for interpretation there…too much room. But if that’s 1765-1770, and the “Fortune Teller” is 1789, I think we have comfortably covered the 1775-1783 time frame, even if it is a bit like a queen-sized blanket on a twin bed.
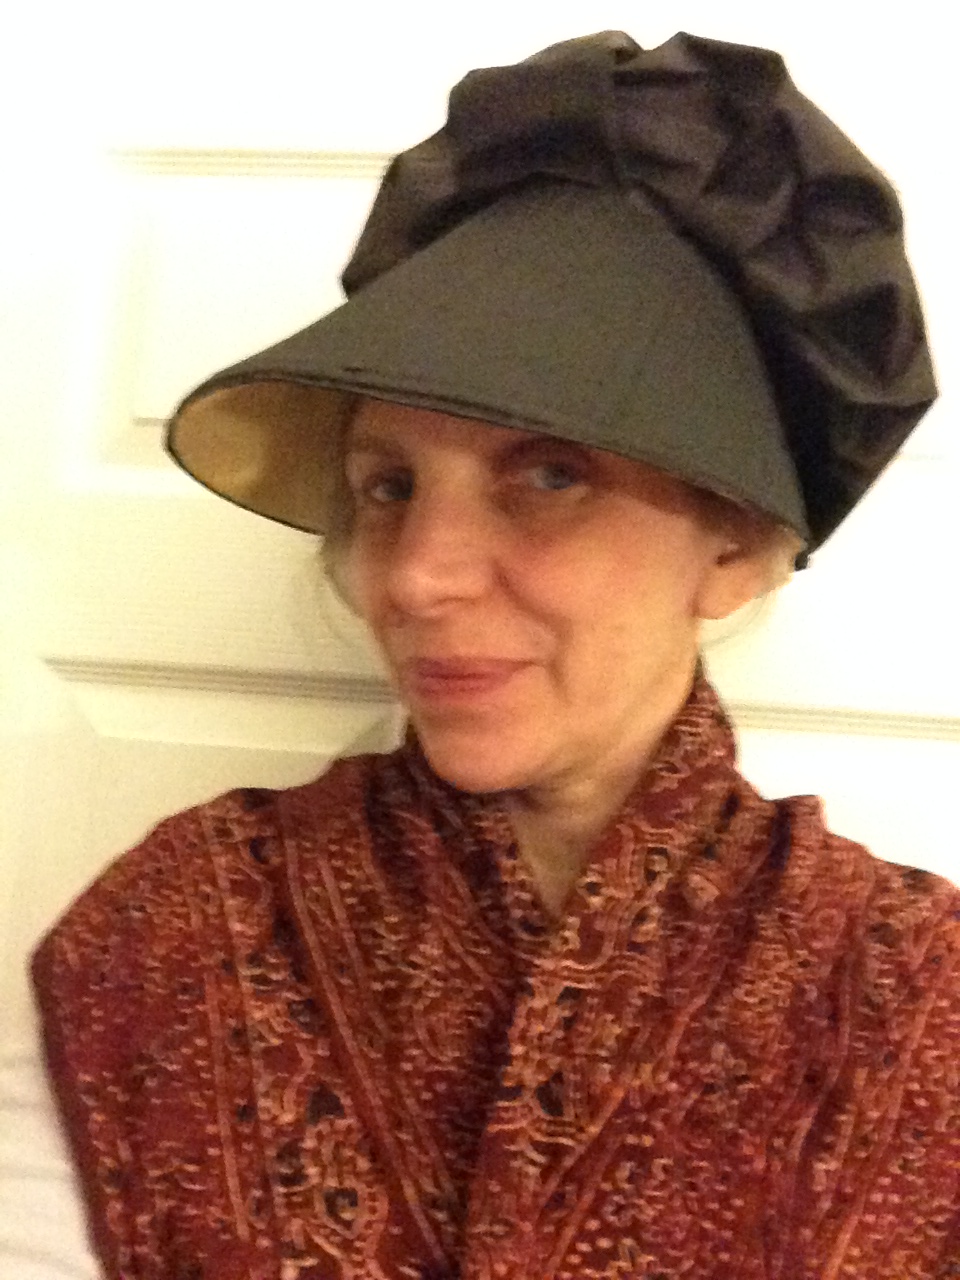
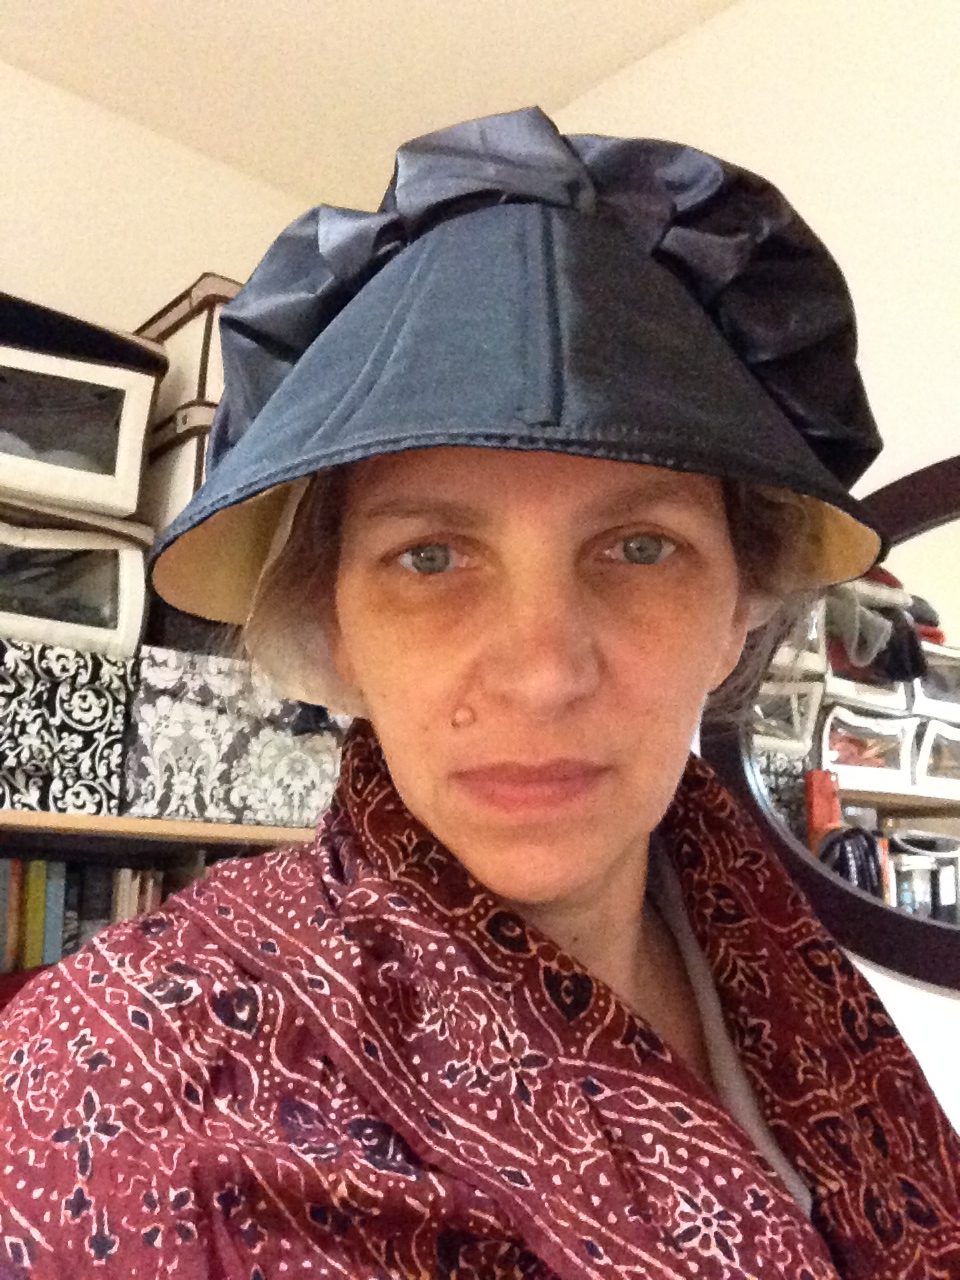
Front view: more lamp-shade like.
As you can see, the bonnet does have some lamp-shade-like tendencies on my head, which I consider a benefit. I like the way the ribs are visible, even if I remain unconvinced by the caning. I think it’s a little too wide, and lacks resiliency, though to be honest, I have only felt baleen at the New Bedford Whaling Museum, where there is a large sample on the second floor.
To compensate for the disappointing cane in the brim, I slipped a piece of millinery wire into the pocket underneath the cane. The layers in the brim are:
black taffeta
horsehair canvas
linen buckram
yellow taffeta
The channels are all hand-sewn, and then the cane was slipped in. I stitched the black taffeta caul to the first three layers, and then lapped the yellow taffeta over the raw edges and stitched it down to finish the brim/caul seam.
No, I didn’t take any in-process pictures…probably because this took considerable snake-eyed concentration last weekend.
Usually, I line the cauls of my bonnets, but through shear laziness or distraction, I opted not to this time, and I think I’ll leave it this way for a while. You will also note that I have not trimmed this: I have some black silk ribbon coming, and I may try that. I don’t have enough black taffeta left to cut self-fabric ties, and there do seem to be some plain examples. A plainer, lamp-shade-like bonnet may be just the ticket for Bridget.
What would I do differently? Next time I would definitely play with the brim shape using a paper template. I’d like a lower, curvier, brim. Once I had the shape worked out in paper, I would use that as a template to cut the taffeta and horsehair or light buckram layers.
The Edenton Tea Party
I’d also try zip ties. I know: not period correct! But short of risking federal prosecution resulting from a trip to New Bedford with some shears, I’m not sure that anything other than plastic will have the resiliency and spring that baleen has, and that made these bonnets so special. I thought of them while making this bonnet, but I think Mr S used them all at work in the past two months. A Facebook friend has been thinking of zip ties, though, and has a hankering for one of these bonnets. I can’t say that I blame her– and honestly, I think I might join her.
The Fortune Teller, 1789. Lewis Walpole Librray. 789.1.2.1
I like hats; I think it’s been made clear here before that I have a bit of a bonnet problem. As it stands, I have something in the neighborhood of a dozen bonnets, and really need to get my Etsy store up and running…
But as in life as in the Richard Scarry story, there’s always room for one more, and more to learn, so my collection hasn’t stopped me. I blame my Grandmother Elsa, who owned a dress shop, collected shoes, and had a particular face for trying on hats.
Black silk bonnet, 1770*1780. Colonial Williamsburg 1993*335
I’ve been thinking about bonnets because I lately came across some engravings showing what might be called baleen bonnets. At left above, a bonnet that is clearly reminiscent of the bonnet in the Colonial Williamsburg collection on the right. The CW bonnet (1993-335) has seven baleen bones, and a baleen rib around the bonnet brim.
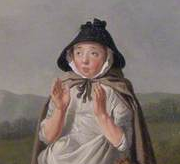
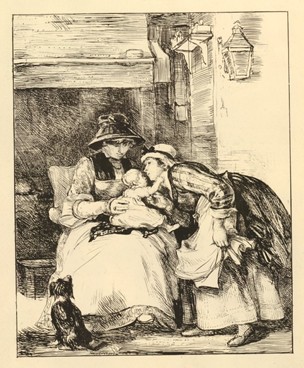
It is strikingly similar to the bonnet in the 1789 engraving, down to the decoration. In “Kissing the Baby,” a lithograph in the collection of the British Museum, the older woman appears to be wearing a ribbed black bonnet in the style my friend calls “lampshade,” and that others call “bucket.”
Kissing the Child. Lithograph by David Wilkie, 1800-1841. British Museum, 1852,1211.134
There are more bucket or lamp-shade-like bonnets depicted in engravings and paintings, and it is possible that flamboyant style was the one that got Ann Warder in trouble in 1788. I remembered this passage on page 223 of Amelia Mott Gummere’s book, The Quaker, A Study in Costume,:
Whalebone bonnet? Interesting… so, having an interest but no whalebone, I send the Young Mr to the basement for the remaining stock of caning I’d used for stays, and came up with a plan to replicate a “whalebone” bonnet, which I will describe and show you next time!

 Yes, six toiles.


You must be logged in to post a comment.