A 1920s-style Dress for a Wedding

It’s the time of year when people post what they accomplished in the past year. I’m late to the party, but I found it helpful to look at what I did manage as I think about what I’d like to do in the coming year. Underlying all these goals is the near-constant existential crisis of daily life in this world, which produces drag on anyone paying a bit of attention. Oh, and health issues like appendicitis twice and an ear infection to see the years out and in with a flourish. As I look back, I’ll break the year down chronologically into multiple posts. 

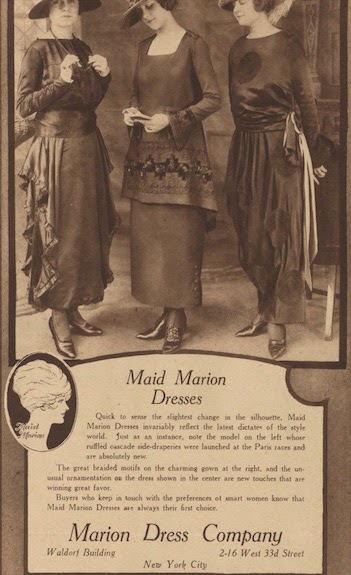
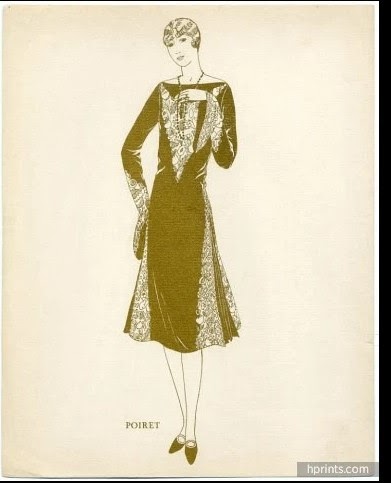
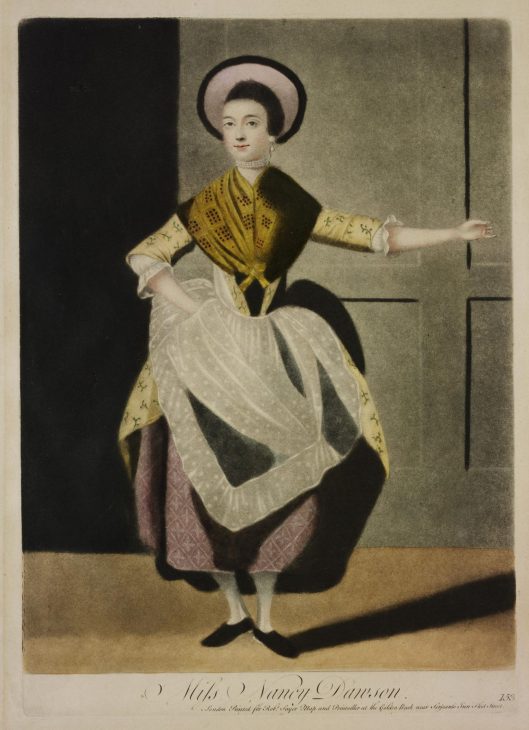
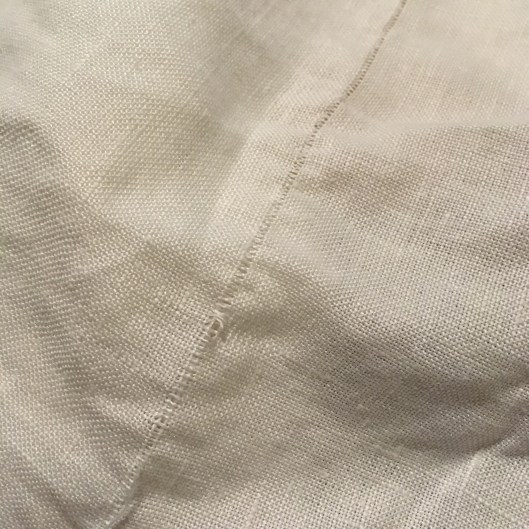
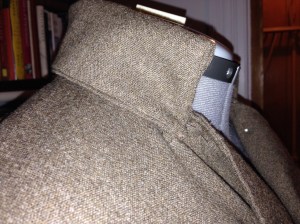
January was packed with disparate projects, each with their problems. There was a big work project that consumed a lot of the month, so Bryan decided that this was the time to plan and schedule a wedding. That meant making a dress at the same time I was working on a quilted hood and padded silk pelisse to represent Emma Smith at the Joseph Smith house in Ohio. Making a dress in this context meant deciding on a time period and a pattern, along with the undergarments, accessories, and shoes. I settled on the 1920s to work with a suit Bryan could comfortably wear– weather was also a consideration, as we anticipated being outdoors– and looked for inspiration and patterns. 

In the end, I made a hat, a corset, a slip, and three dresses. The three dresses were all the same pattern: the first to test the shape in silk, the second to be married in, and the third to wear on our “honeymoon” trip to Atlanta. That dress was made up in a vintage-style cotton print from Mood.

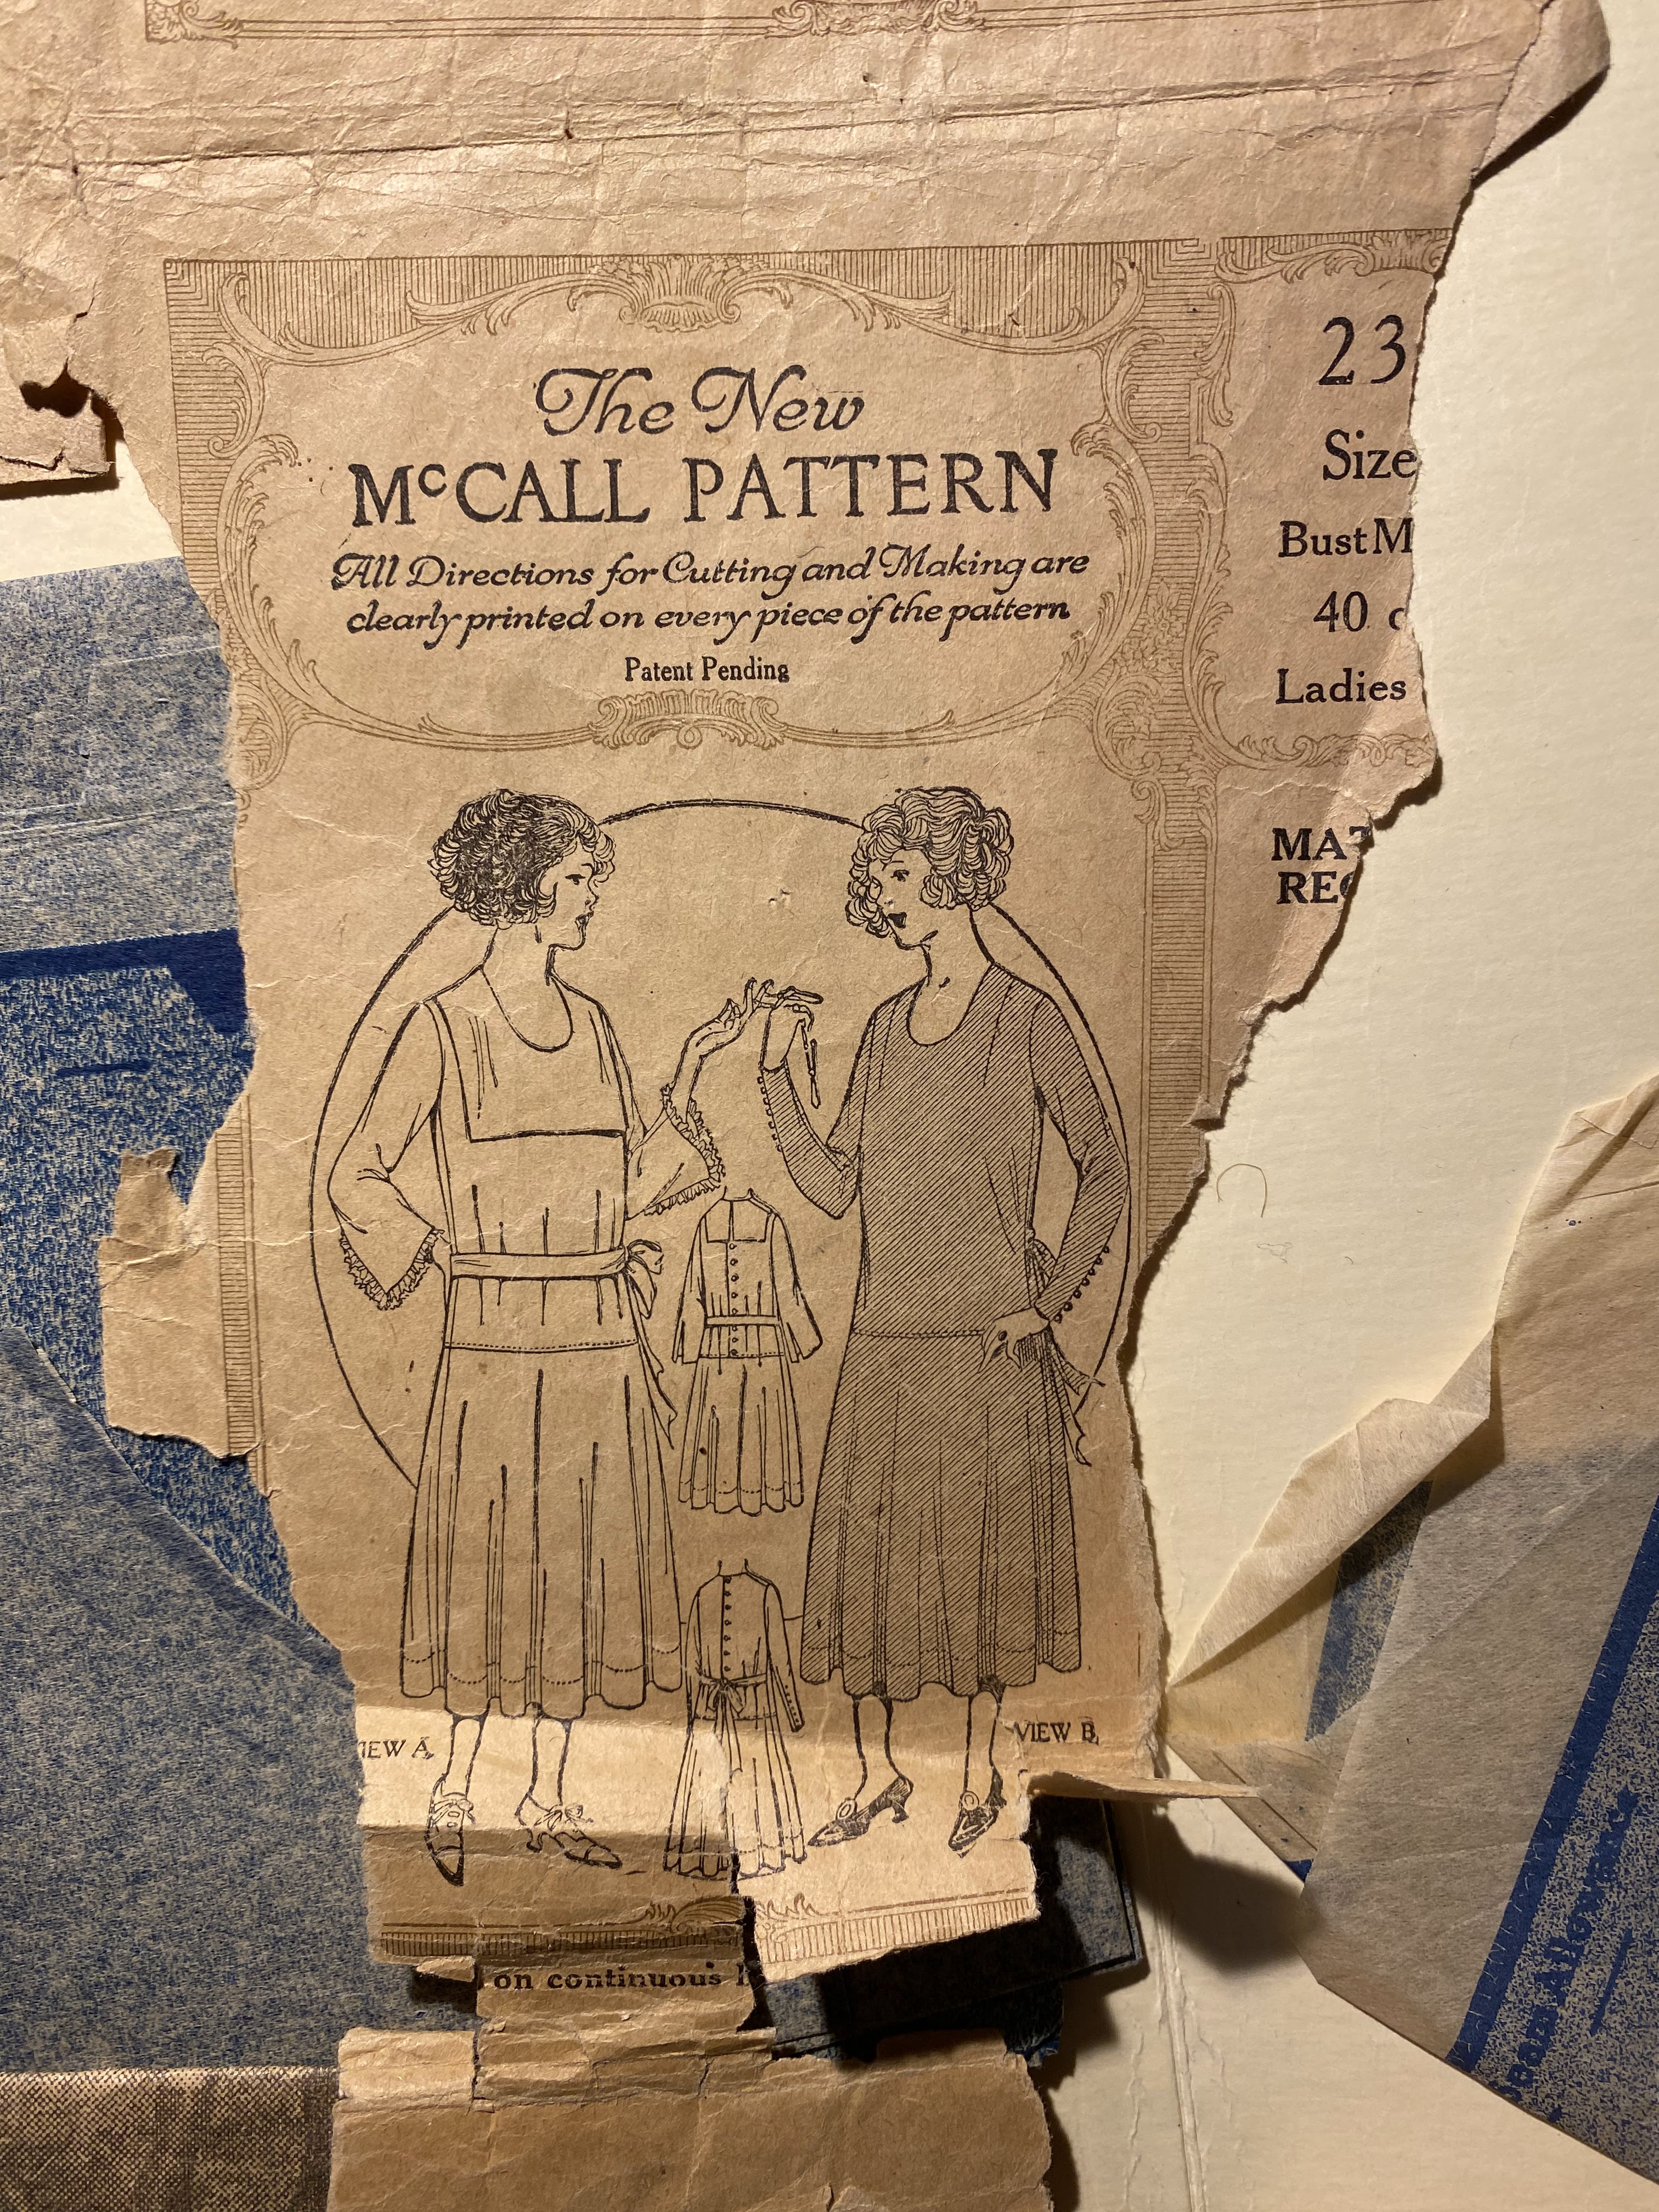
The pattern I used was based on an original 1923 McCall’s pattern in my collection. I traced the entire pattern and then scanned by sections to assemble a full, cuttable version that I could grade. The sleeve pieces were not intact, so I had to recreate the sleeve I wanted. Is this madness? Yes. Is it also my SOP? Again, yes. Obviously, I made up a muslin, but I also made a mockup in some gingham taffeta that I wasn’t particularly in love with, and had forgotten why I’d bought it. I took this step because I knew silk and cotton behave differently, and I really wanted to head off a draping failure.

In the end, It’s a very simple dress: a two-piece bodice slips over the head, with the main interest in the color and trim. The dress trim is vintage velvet ribbon in a simple geometric pattern that didn’t take too much repinning. The accessories are a vintage wool purse I already had and a coat I picked up in a Facebook sewing group. The hat was originally a rose-colored straw sun hat my mother sent me. I covered it in black velvet and finished it with vintage trims.

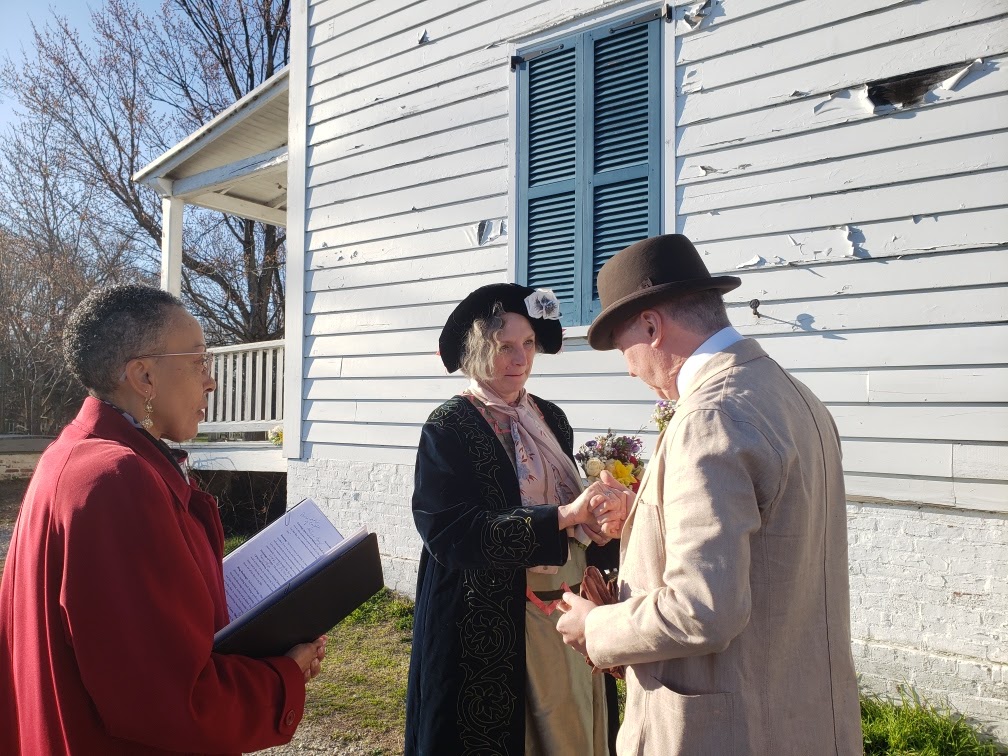
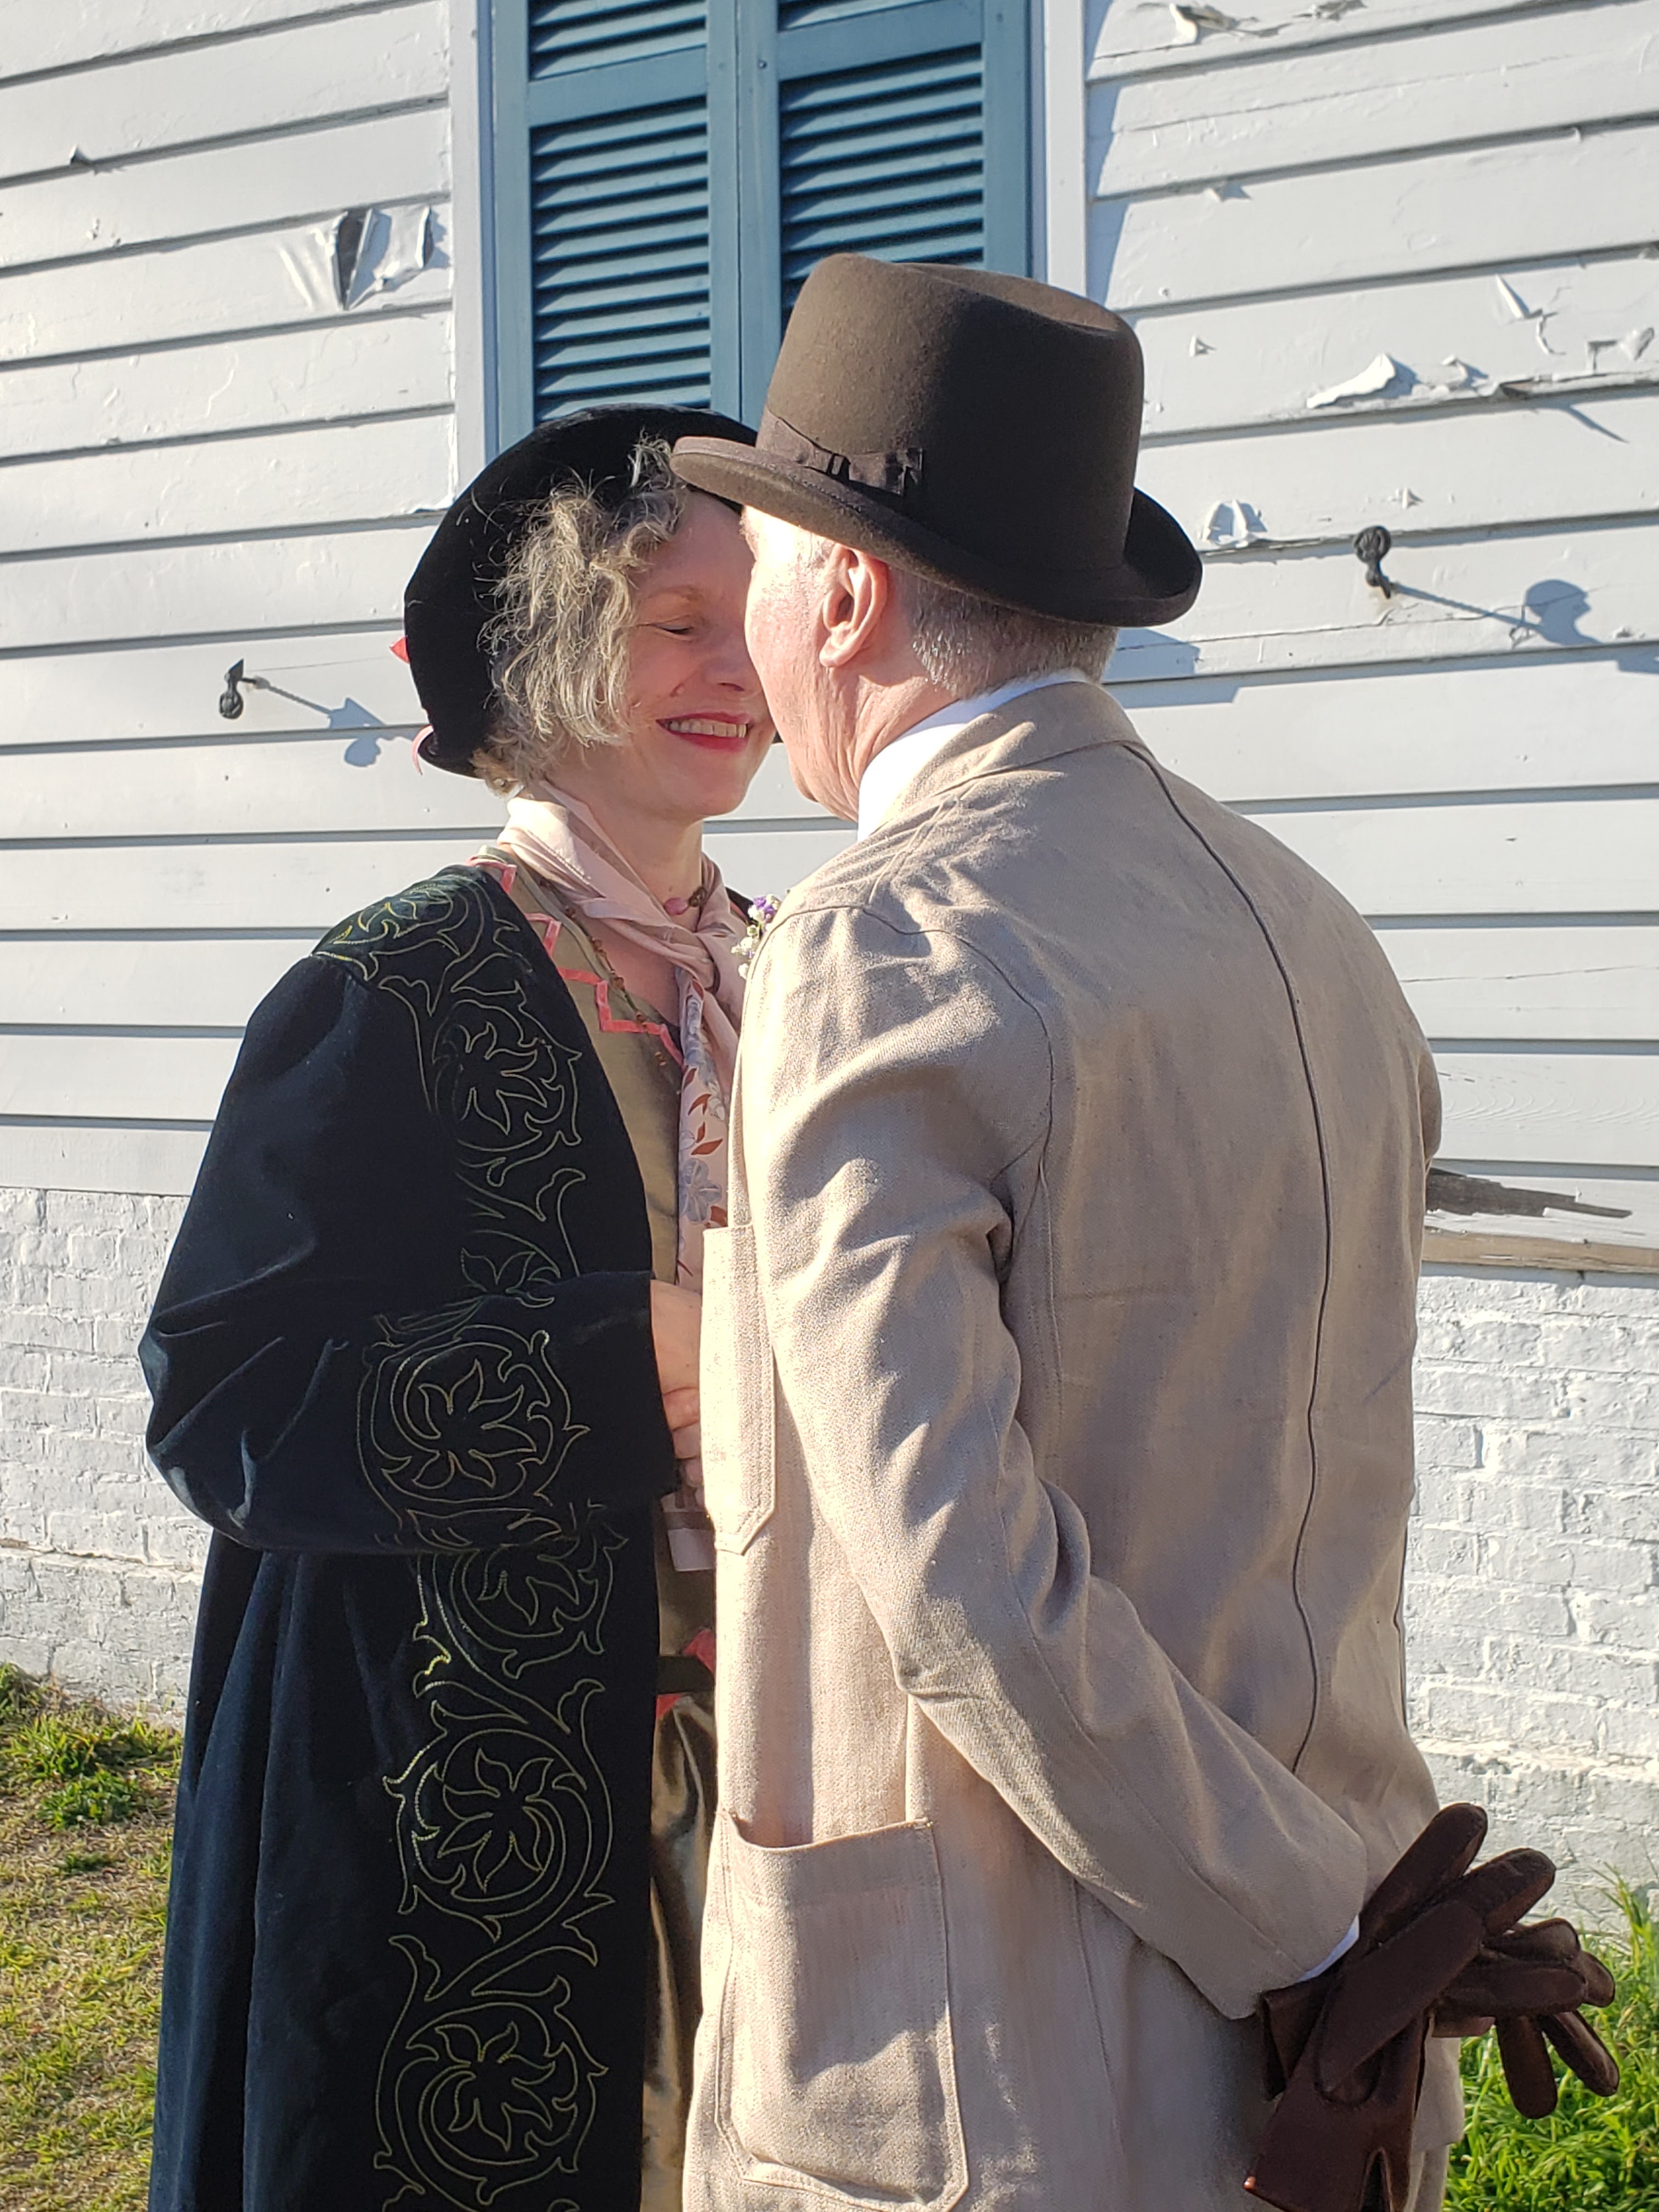
We got married down on the Potomac River at Jones Point Park, with just one friend with us. To celebrate with other friends, we took the cake to them, which made scheduling a lot easier. 

And, in best vintage fashion, the “traveling” dress in the same pattern, worn at the Atlanta Botanical Garden, one of the places we visited on our honeymoon.

Making Plans….

I have set my sights on being at Van Cortlandt House Museum’s Second Annual History and Culture Fair on Saturday, September 21. This is a bit of a stretch: It’s farther than Philadelphia, where I’m scheduled to be the following weekend at the Museum of the American Revolution– and I want tweak that impression and its material culture a bit, too. Still: setting up a ca. 1777-1780 milliner and mantua maker or merchant display has been on my to-do wish list for years, and I’m pretty sure I can pull this off as long as I modify/upgrade items already in my closet.

There are enough images to provide good inspiration and ways to start accessorizing.

Several prints  from the British Museum provide guidance.

It’s clear– as I knew already– that my accessory game requires major upping. But this is solvable! It’s not ideal, being in a situation where I can’t buy new fabric, and I don’t have the time to make up the fabric I do already have in the garment styles I need. This is no time to start a new patterning project!

So this means making accessories to upgrade a gown and petticoat already on hand and known to fit (though they should be fit-tested once again before committing!).

Which dress? Why, Nancy Dawson, of course. She’s the brightest and most stylish gown I have. Thankfully, I have upgraded my cap collection, and could even– probably– manage a new cap in the time allotted.

So what do I need? A well-decorated, possibly floofier cap, a LBB (™) of the kind worn in “The Rival Milleners”, a breast knot or bow, a new fine silk or cotton apron, and some kind of sleeve treatment.

The maid in the back of “A Morning Visit,” carrying in the tea tray, demonstrates the more understated upgrades I think I will be able to manage in the time I have. In a year, a trimmed silk gown can happen. In a month, it cannot.

The main upgrade I’d like to make is to add a red silk quilted petticoat, since they appear in so many prints with cotton print gowns, including a print of Nancy Dawson herself.

Miss Nancy Dawson, aquatint print. Victoria and Albert Museum. E.4968-1968

I almost assuredly have red silk in my stash: the question is, can I find it, back it, and quilt it in time? Probably not. So there are choices to be made, like the sensible one of simply upgrading sleeve finish and apron and adding bow knots.

Those are just the upgrades I hope to make to my personal kit! I need a dome top trunk (underway; I need the one I have for Elizabeth Weed), and there are inventory items to make that have been on the list for a while.

All of this has to get done while I’m splitting my 55-60 hour weeks between commissions and a retail gig (which I am trying to streamline!).

Once again, I start down the path of madness. Won’t you join me? I think it’ll be a blast!

Failure is Always an Option

Or, if not failure, at least screwing up.

The big cold box….

In my more exhausted moments, I make interesting mistakes and choices. Once, I engaged in an argument at work in which I repeatedly used “orange” when I meant “blue.” Another time, I lost the word “refrigerator” and had to coin the phrase “big cold box where we keep the food.” My brain is an interesting place.

When I sat down to start on a commission for some officers’ white linen sheets to be 60” x 85” I was tired. I chose not to do the math on paper as I measured, but in my head. And using a 60” tape measure, I measured and marked 60” and then added 16” to make up 85” plus seam allowance. Yes, I measured 60 + 16 = 85 finished inches.

Obviously not.

Round two of thread pulling to cut the second sheet correctly.

But it was not obvious to me until I held the fabric up, ready to iron, and realized it was just a little bit longer than I am tall. Since I am not 7’ tall, something was clearly wrong. I dropped the fabric to the ironing board, messaged Drunk Tailor, and took to bed in mortification and hope of a nap.

I tell you this story not just to make you laugh, bring you a modicum of schadenfreude, or to make plain that we all screw up sometimes, but to remind you that mockups are good, and so is math on paper.

Really, I’m not sure how this happened. But there it is: upside down.

Starting a project without laying down some ideas on paper or making a muslin is a quick trip to madness, or at least dismay. Creative problem solving will undoubtedly result, but that’s energy you could put into planning your next project instead of salvaging your current one (as I have salvaged my sheet).

Here are some measures I’ve learned to take to prevent repeating hilarious mistakes:

  • After hemming skirt fronts that put pocket slits upside down, I now pin notes to the panels so I know which make up the left, and which the right sides of the gown skirts.
  • I have been known to mark linings extensively in pencil or chalk; I sometimes pin notes to sleeves to denote left and right, front and back, especially if I cut pieces long before I will get around to sewing them.
  • I make lists of which pattern pieces I need and must cut, and then tick them off as I go, to make sure I have all the pieces I need.
  • To make sure I’ll have enough fabric and can minimize piecing, I will do a rough layout of all the pieces before I do actually cut anything.

It is by no means an extensive list, but once you know the types of mistakes you are most likely to make, you can take measures to prevent them. You know, like measuring twice and cutting once, or doing math on paper to double check your work.

Kitty Calash Clothing Company Launch

This isn’t easy, and not because I learned Premiere Rush in a half day, or because failure is painful, but because I never like to ask for help. But I need your help to to take Kitty Calash where I want to go. To that end, I’ve launched a Kickstarter project to help me finish and publish a quilted waistcoat pattern, design more patterns, and prototype more bonnets, reticules, and accessories.

http://www.youtube.com/watch?v=oYiNC3wIm40

Maybe Kickstarter isn’t your thing: maybe you prefer swag. Well, there’s a Teespring store in case you feel like letting people you’re a Known Bonnet Wearer, or that All Your Fantasies are Documented, or that you, too, Will Humiliate Self for History.

I know not everyone can contribute financially, but word of mouth counts in this business– it’s how I get a lot of my work– so even if you can’t make a pledge, please share.