Ready for Bed

With some regularity, I portray an upholsterer-turned-contractor at the Museum of the American Revolution, and I’m scheduled to be there again mid-month. One upgrade I made last year, based on a friend’s adorable creation, was a doll-sized bed.

This is an IKEA bed for children or cats, so it’s an affordable, durable option for hands-on demos. It’s reasonably easy to adapt, with a chisel and a drill (Mr. K has a little drill press which made the rope-bed conversion much easier).

I outfitted the bed with woven ropes and a sack bottom, designed to make the bed more comfortable (the mattress can’t sink through the sacking). That’s topped with a a bed (mattress) of ticking stuffed with wool.

Bed with
Bed with sacking bottom laced to ropes

 Beds were stuffed with a range of materials, including straw, cattails, cornhusks, hair, and wool. Hair is pretty itchy and I had wool on hand; in graduate school round one I slept on a wool futon so I can attest to its loft and comfort.

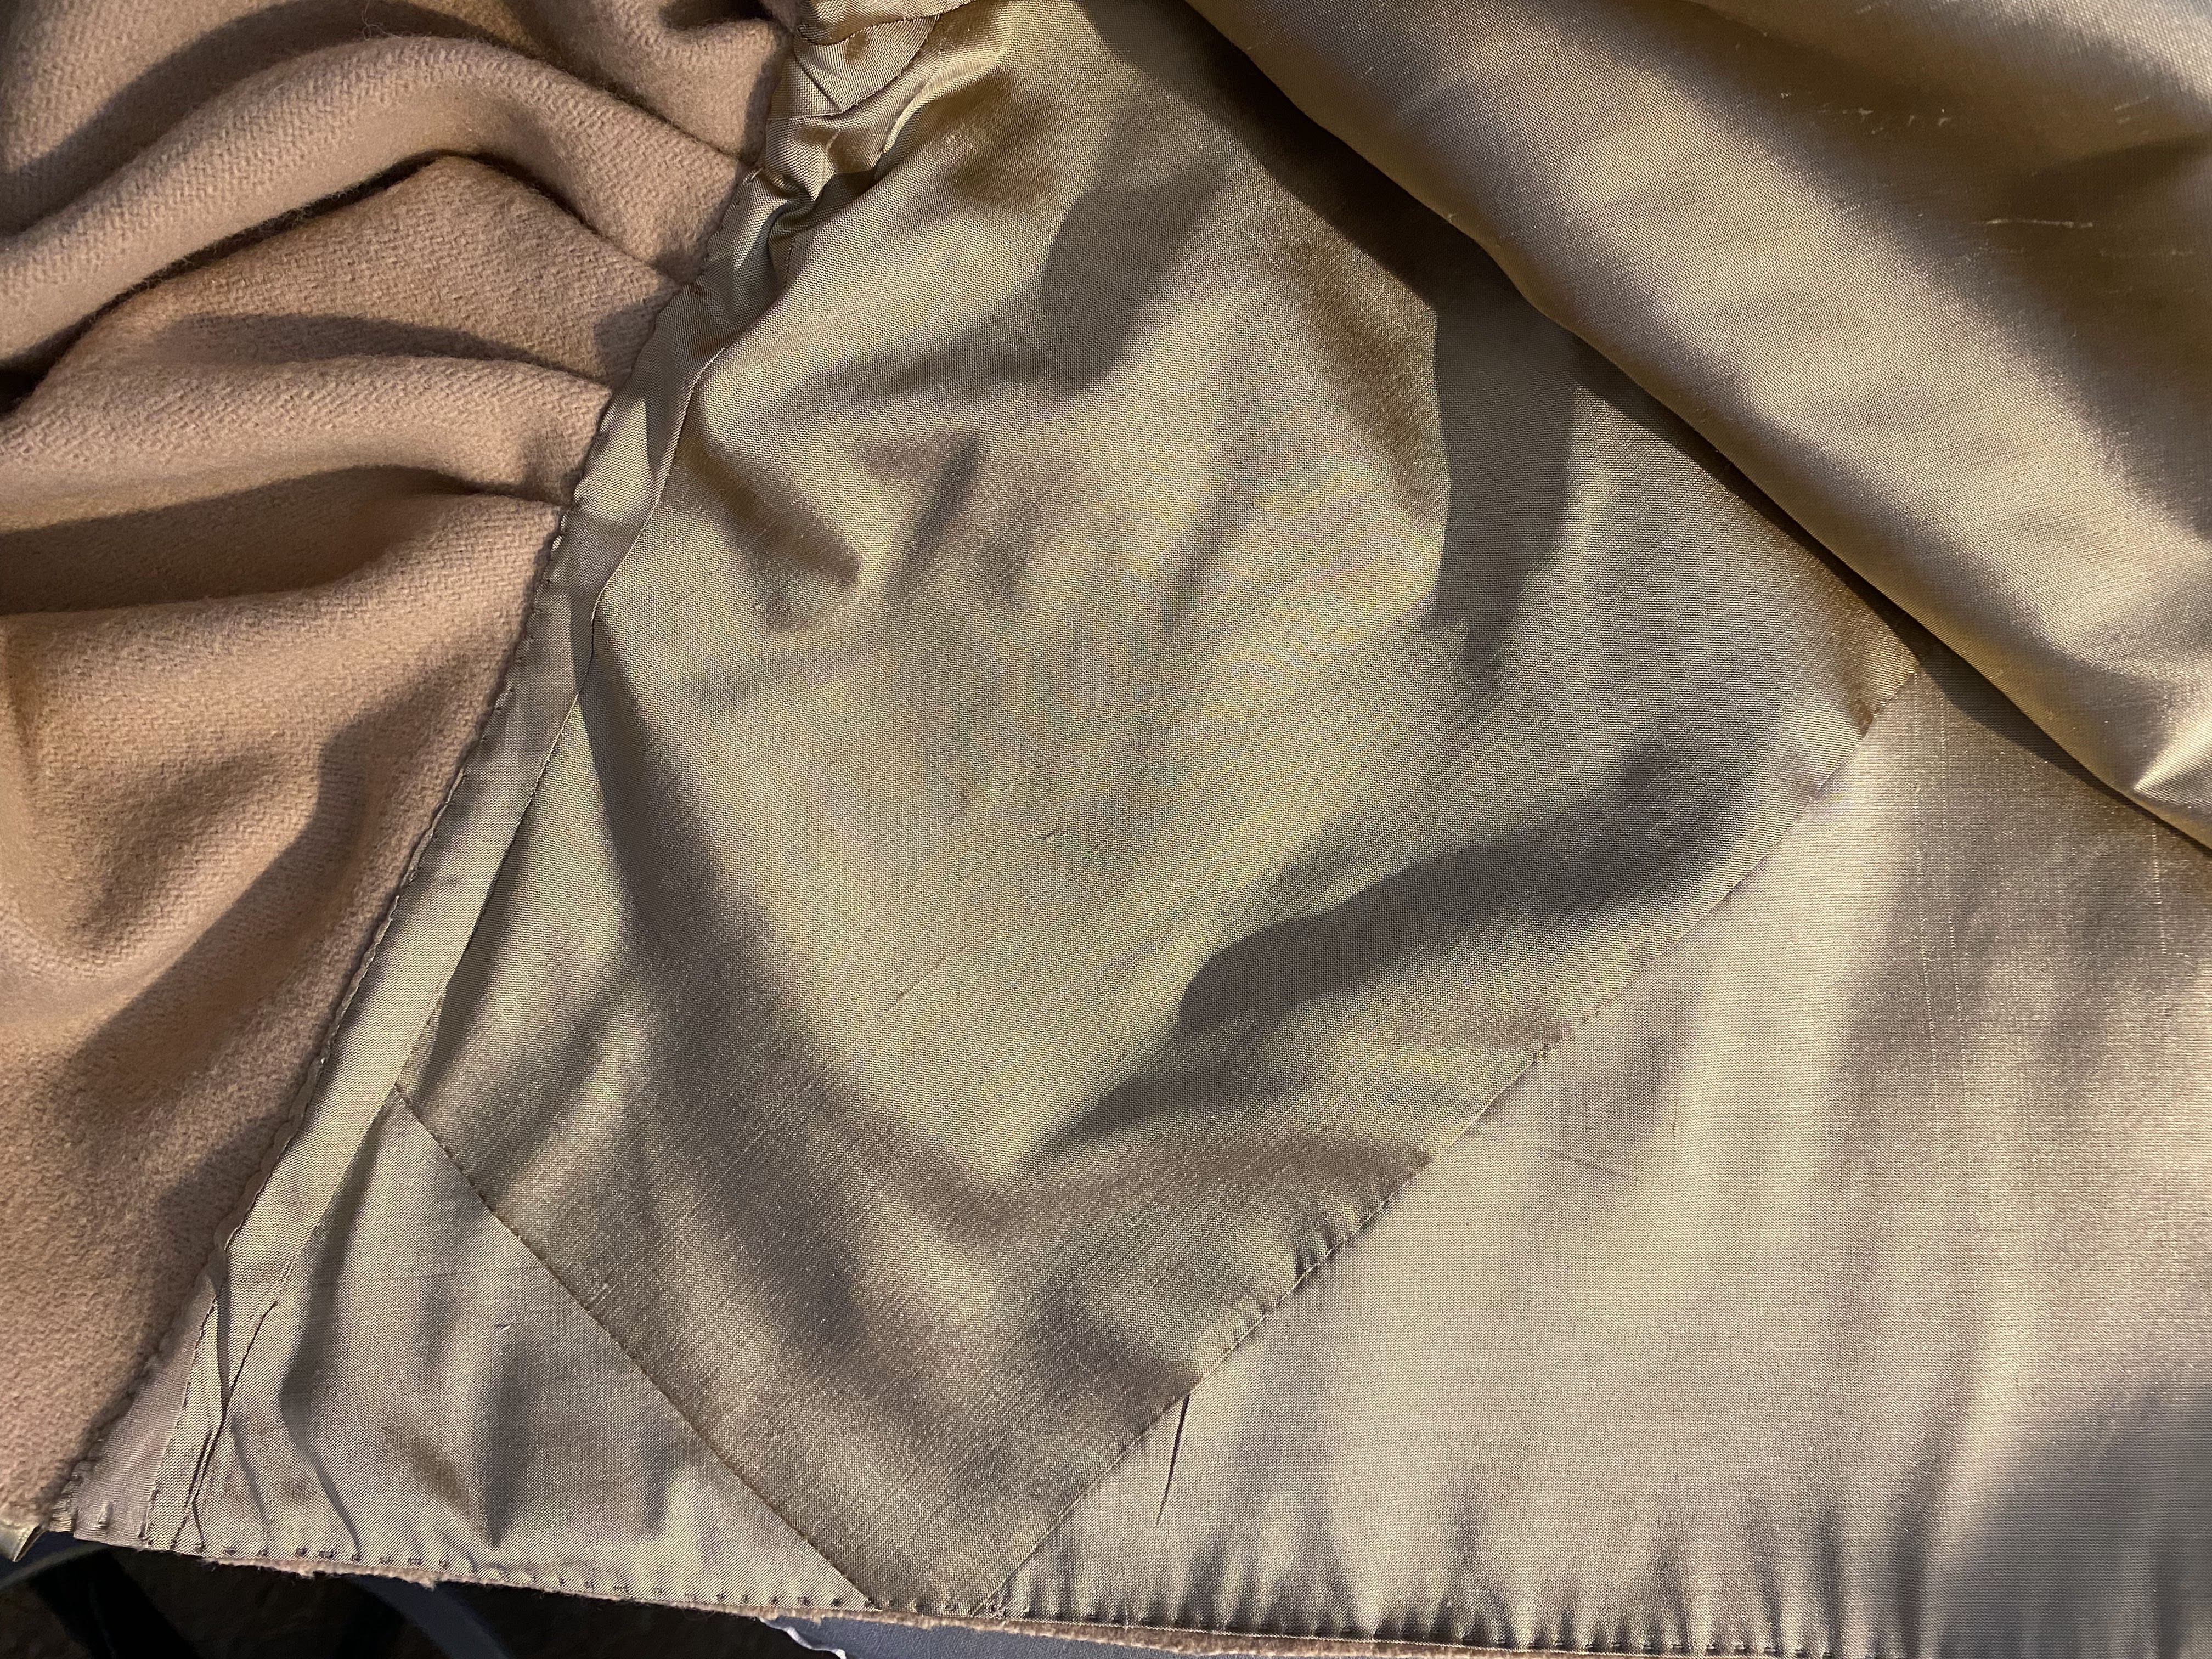
A feather bed tops the wool bed, feathers stuffed into a linen bag stitched shut. The linen is pretty tightly woven vintage material, and still the feathers escape! The case of checked linen ties shut. A ticking bolster, also stuffed with wool, supports the feather pillow in its linen case. The top sheet is, again, linen, with a center seam to mimic historical sheets.

This week, I started making the blanket. Modeled on an original rose blanket in the Colonial Williamsburg collection, I used wool broadcloth cut from a remnant. This, too, has a center seam like most originals. I have a stash of wool thread for embroidery, and matched the colors as best I could. It’s satisfying work, though I discovered that I’ve been stitching the wedges incorrectly (this is the result of having a laptop, rather than a large monitor). Oh well. I’ll stitch the last rose correctly.

Left, Colonial Williamsburg original; Right, my first attempt

The Workwoman’s Guide lays out how a bed should be made up, with layers of mattresses (beds), a feather bed, sheets, counterpane, and blankets. It’s a lot of layers. The Workwoman’s Guide was published in 1838, and although it is always dangerous to engage in backward interpretation (i.e. to apply the logic of 1838 to 1778), it is not unreasonable to think that an eighteenth-century bed would be similarly furnished. In houses without central heating, layers would be necessary.

While sheets and blankets could be made at home (butt-seaming linen or wool is easy), wealthy folks without enslaved laborers could order sheets and blankets from seamstresses or upholsterers. Betsy Cadwalader did not make her sheets, and while Martha Washington stitched cushion covers, the labor for the slipcovers or case covers was likely accomplished by enslaved seamstresses. The Cadwaladers ordered their case covers from Plunkett Fleeson, who probably had the work done by women rather than by more expensive male workers.

The new blanket will debut at the Museum of the American Revolution on Flag Day weekend, and I will once again talk about women’s work in eighteenth-century Philadelphia as they pivoted from domestic to military work during the Revolution.

Le retour au Baltimore, 1824-2024

The Marquis came back (or his analog did, at least) last October 7, and we were there.

two men in 1820s clothing stand in front of Baltimore harbor. They are wearing tall hats and long coats. The man on the left stands astride a red velocipede.
Hell’s Dandies at Fort McHenry

Way back in January 2024, Mr. K and I were asked by the Museum of the American Revolution if we would be interested in joining them (and their tents) at Fort McHenry to celebrate the Lafayette Centennial in Baltimore at Fort McHenry. Of course, I said yes, figuring that 10 months or so was ample time to prepare. 

a blue denim coat with a very worn black velvet collar
The coat, posted on social media in February 2021

Reader, I began a dress in a workshop in May. I made another dress to wear and finished it the evening before the event. Why am I like this? (ADHD, I think.) Mr. K needed a new coat, so I patterned one for him to stitch from an older Burley & Trowbridge homespun. In 2021, someone (Genesee Country Village & Museum, maybe?) posted a fabulous image of a coat and waistcoat, which was the primary inspiration, along with coats including a blue broadcloth number at the DAR seen in the An Agreeable Tyrant exhibit. (Sadly, not in the online gallery.)

a purple cotton bodice back on a female mannequin, with a frothy chemisette with a pointy collar underneath
In progress: bodice back with piping in place

An Agreeable Tyrant also provided the inspiration for the dress I wore. I had almost too little sheer purple cotton fabric with a woven stripe, purchased at Lorraine Mill in Pawtucket a very long time ago. I meant to make an early 1800s gown, and had even started on the bodice around 2018 when life began to go very sideways and I stopped. I loved the fabric, though, and the deep color. 

I started on Sunday, September 22, and finished on Sunday, October 6. I have a full-time job and am in graduate school, so I’m not entirely sure how I managed to do schoolwork, work-work, and gown-work but I’m pretty certain the One Weird Trick was to do no housework. It’s embarrassing when the cat’s fluffy tail picks up thread and lint, but it is a reliable measure of how much vacuuming is needed. 

The bodice closes in back with a drawstring, which is much the easiest method for me– I did not have time to fuss with the fittings buttons require. The front panel is a gathered rectangle with a band at the top, piped on both the top and bottom edges. A waistband joins the bodice and skirt. The sleeves and skirt were based on shapes I drafted in the Burnley & Trowbridge workshop (I swear I’ll finish that dress). The sleeve has a piped petal cap, which was a pain to make but very gothic, to go with the points that decorate the bodice neck edge, and of which I have no images. Since I had the space at B&T to draft the skirts full-size, they actually work now– astonishing– and make a satisfying conical shape. I’ve struggled with skirts since 2014, and it’s nice to have that solved after a decade! 

gold colored geometric shapes on a white background show the layout of skirt pieces for a historical garment
1820s gown skirt layout

I’ve started using Illustrator to figure out layouts when I am short on fabric. In this case, I only had a little more than 3 yards of fabric, but managed to get what I needed out of what I had. Sure, bigger sleeves would’ve been nice, but I managed long sleeves and that seems like an accomplishment.

a man on a red velocipede followed by a boy on a foot bike
Riding School at Fort McHenry

Mr K. was able to debut his very apt and very dangerous velocipede, another project a decade in the making. We picked it up in February in Williamsburg. It is a handsome and impractical beast, tough to ride, but fun all the same. Charles Willson Peale and his sons had the first velocipede in the States, in Baltimore, so the Fort McHenry “1824” was truly appropriate. We entertained spectators, saw Mr. McC (who also took a turn about the site), and spent the day as very decorative appendages to the Museum’s tents. All in all, a day well spent. 

A Snuff-Coloured Cloak

In August, the Museum of the American Revolution contacted me about making a snuff-colored cloak. Although many 18th-century women’s cloaks were red, some were not. Newspapers carry ads for stolen goods and runaways in brown camblet cloaks lined with baize; white silk cloaks; black silk cloaks; and cloth cloaks, which are probably “cloth colored” wool– what we would think of as drab or beige. The Museum referenced an ad from the Pennsylvania Gazette of April 30, 1777, May 7, 1777, and May 21, 1777. 

Run away from the subscriber, living in Evesham township, in the State of New Jersey, Burlington county, on the 20th of April. 1777, a certain Sarah McGee, Irish descent, born in Philadelphia; she is about 23 years of age, about 5 feet 7 inches high, very lusty made in proportion; she had on when she went away, a snuff coloured worsted long gown, a spotted calico petticoat, stays and a good white apron, a snuff colored cloak, faced with snuff coloured shalloon, a black silk bonnet, with a ribbon around the crown: She was seen with her mother, in Philadelphia, who lives in Shippen street, where it is supposed she is concealed. Whoever takes up said servant and brings her to her master, or puts her in confinement, so that her master gets her again, shall have the above reward, and reasonable charges, paid by Barzillai Coat
Pennsylvania Gazette, May 7, 1777. page 3

 “Run away from the subscriber, living in Evesham township, in the State of New Jersey, Burlington county, on the 20th of April. 1777, a certain Sarah McGee, Irish descent, born in Philadelphia; she is about 23 years of age, about 5 feet 7 inches high, very lusty made in proportion; she had on when she went away, a snuff coloured worsted long gown, a spotted calico petticoat, stays and a good white apron, a snuff colored cloak, faced with snuff coloured shalloon, a black silk bonnet, with a ribbon around the crown: She was seen with her mother, in Philadelphia, who lives in Shippen street, where it is supposed she is concealed. Whoever takes up said servant and brings her to her master, or puts her in confinement, so that her master gets her again, shall have the above reward, and reasonable charges, paid by Barzillai Coat”

I was not clever enough to latch onto the snuff-coloured shalloon facings, but I made up a hooded cloak with a snuff-coloured silk lining and dispatched it just before school started. (I doubt I could have achieved a happy color match in any modern “shalloon.”) I’d picked up the wool and silk in Natick, Massachusetts on a summer trip in 2018, and had planned — and put off– a snuff-coloured cloak of my own. Oh well. 

a hand drawn sketch of a cloak layout, showing an arc with measurements
Highly Scientific

As the semester drew to a close, the cloak started gnawing at me. That was really nice wool! And such a nice color! I really had wanted my own cloak. I succumbed to ordering some substitute wool, and over the winter break, made myself a cloak. They only a day or so, once you’ve done the math to chalk and cut the pieces. I have a handy diagram to help me figure it out, adapted from Sue Felshin’s classic post on cloaks. You don’t need much else. 

the pleated back of a cloak hood made of butterscotch colored woolThis wool is heavier than what I’ve used before, and I’m not fully enamored with the drape. Still, this will go a long way towards completing the Cinnamon Toast Crunch Quaker look when I wear it with the brown gown I made this past summer. I love my red cloak, but for a Philadelphia Quaker’s brown gown, a snuff-coloured cloak is a better match. 

The making is really simple. You do want to start with a well-made wool broadcloth or coating that will hold a cut edge– that eliminates a lot of hemming, and takes advantage of the natural characteristics of the wool just as 18th-century makers did. You don’t need a lot; I used 1.75 yards of 52-60” wool, which makes an acceptable length cloak even for me (I am 5’-10”). 

a snuff colored wool cloak on a female mannequin
The finished cloak (and a fancy petticoat)

The cloak neck edge is pleated to a neck size that suits you (annoying, I know, but that’s how this works). The hood is stitched up the center back (I used a butt stitch), with the last 6” or so pleated. This is the trickiest bit. Even strokes make a nice array, but the real trick is stitching the pleats flat so that they hold the shape. Sometimes it turns out better than others; heavier weight wool will be harder to wrangle, as this was. 

a tan and beige cloak hood seen from inside, piecing seams visible
Piecing is period, and appropriate for the inside of hood.

I ended up piecing the silk for the hood lining (piecing is period) and I’m pleased with how that turned out. I barely had the patience to do it, but the result was pleasing and I saved silk, so there’s that. For ties, I used some silk satin ribbon purchased for some other, now-forgotten project. I tend to save materials, thinking I’m not “good enough” to use them– that is, not skilled enough. Well, if not now, when? The cloak and its ribbon ties mean much more worn than that they will stashed in storage. Eat the cake. Buy the shoes. Make the dress, the cloak, the apron, the ruffles. Make whatever brings you joy.


Split Shift

img_7748
A well-patched underarm gusset

Once upon a time, I made a shift for the early 19th century– and promptly had to mend it. I have been mending that shift ever since (8 years!) whilst complaining that I need to make a new shift. 

Never mind that I could commission one. Never mind, never mind. 

Over the intervening 8 years, I learned more about sewing and shifts, and made a shift for the 1770s that I’m pleased with. That shift combined unbleached linen hand-woven by Rabbit Goody and purchased by my partner at a prop sale and white vintage linen found in a shop in Stockbridge, Mass.

56951198_10214538359594041_1091022036504936448_n
Underarm gusset of vintage linen

The vintage linen has a stain running along the center fold, but is otherwise white, soft, and more densely woven than most linen available today. It’s true that the more you make something, the better you get, and the better you will understand what you’re making. 

Another path to understanding is looking at originals (yes, reading counts, too).  I’ve been lucky enough to find and acquire two antique shifts, both from the early 19th century. While they’re not documentation for the period I interpret most often, they do provide clues to construction methods, and those clues are that aside from seams being felled for strength and durability, shifts are inconsistent. One shift uses the selvedge as the hem– which means the grain runs counter to the usual vertical orientation– while the other dispenses with the notion of bodice necklines to double down on the squares-and-rectangles trope.IMG_4592

Shifts are hard to date since they’re so basic (squares and rectangles) and don’t necessarily follow the lines of fashion. The sleeves here place this in the 19th century, though it could just be late (after 1785) 18th century.  I’m pretty sure it’s not, but the possibility points to the staying power of the basic bag-like form. 

Using this shift as inspiration, I decided that instead of patching that worn shift one more time, I would chop-and-top, that is, I would replace the top, worn section, and append it to the perfectly fine lower body of the shift. 

I measured the extant top, measured my bicep, and cut the pieces accordingly after drawing threads to create straight lines. I had one rectangular piece with a slightly shaped neckline, two rectangles for sleeves, and two squares for gussets. Although I started this process in December, I was “overtaken by events” that included a yard sale, teaching a workshop, preparing a presentation, and taking a workshop. With a possible outing in late April and an 1820s dress workshop coming up in early May, I decided it was time to finish this.

Most of the work was in the gussets, four seams in all, two to attach the gusset to the sleeve, and two to attach the gusset to the shift body. Once the seams are backstitched, the offset side is folded over and felled all the way around the gusset. It is best not to count the number of seams you stitch for each sleeve and just keep sewing instead.

Over the course of a couple of days (Monday afternoon, and Tuesday and Wednesday evenings) I finished the neckline hem, attached the gussets, cut off the top of the old shift, and grafted the new top to the old body.

IMG_5396
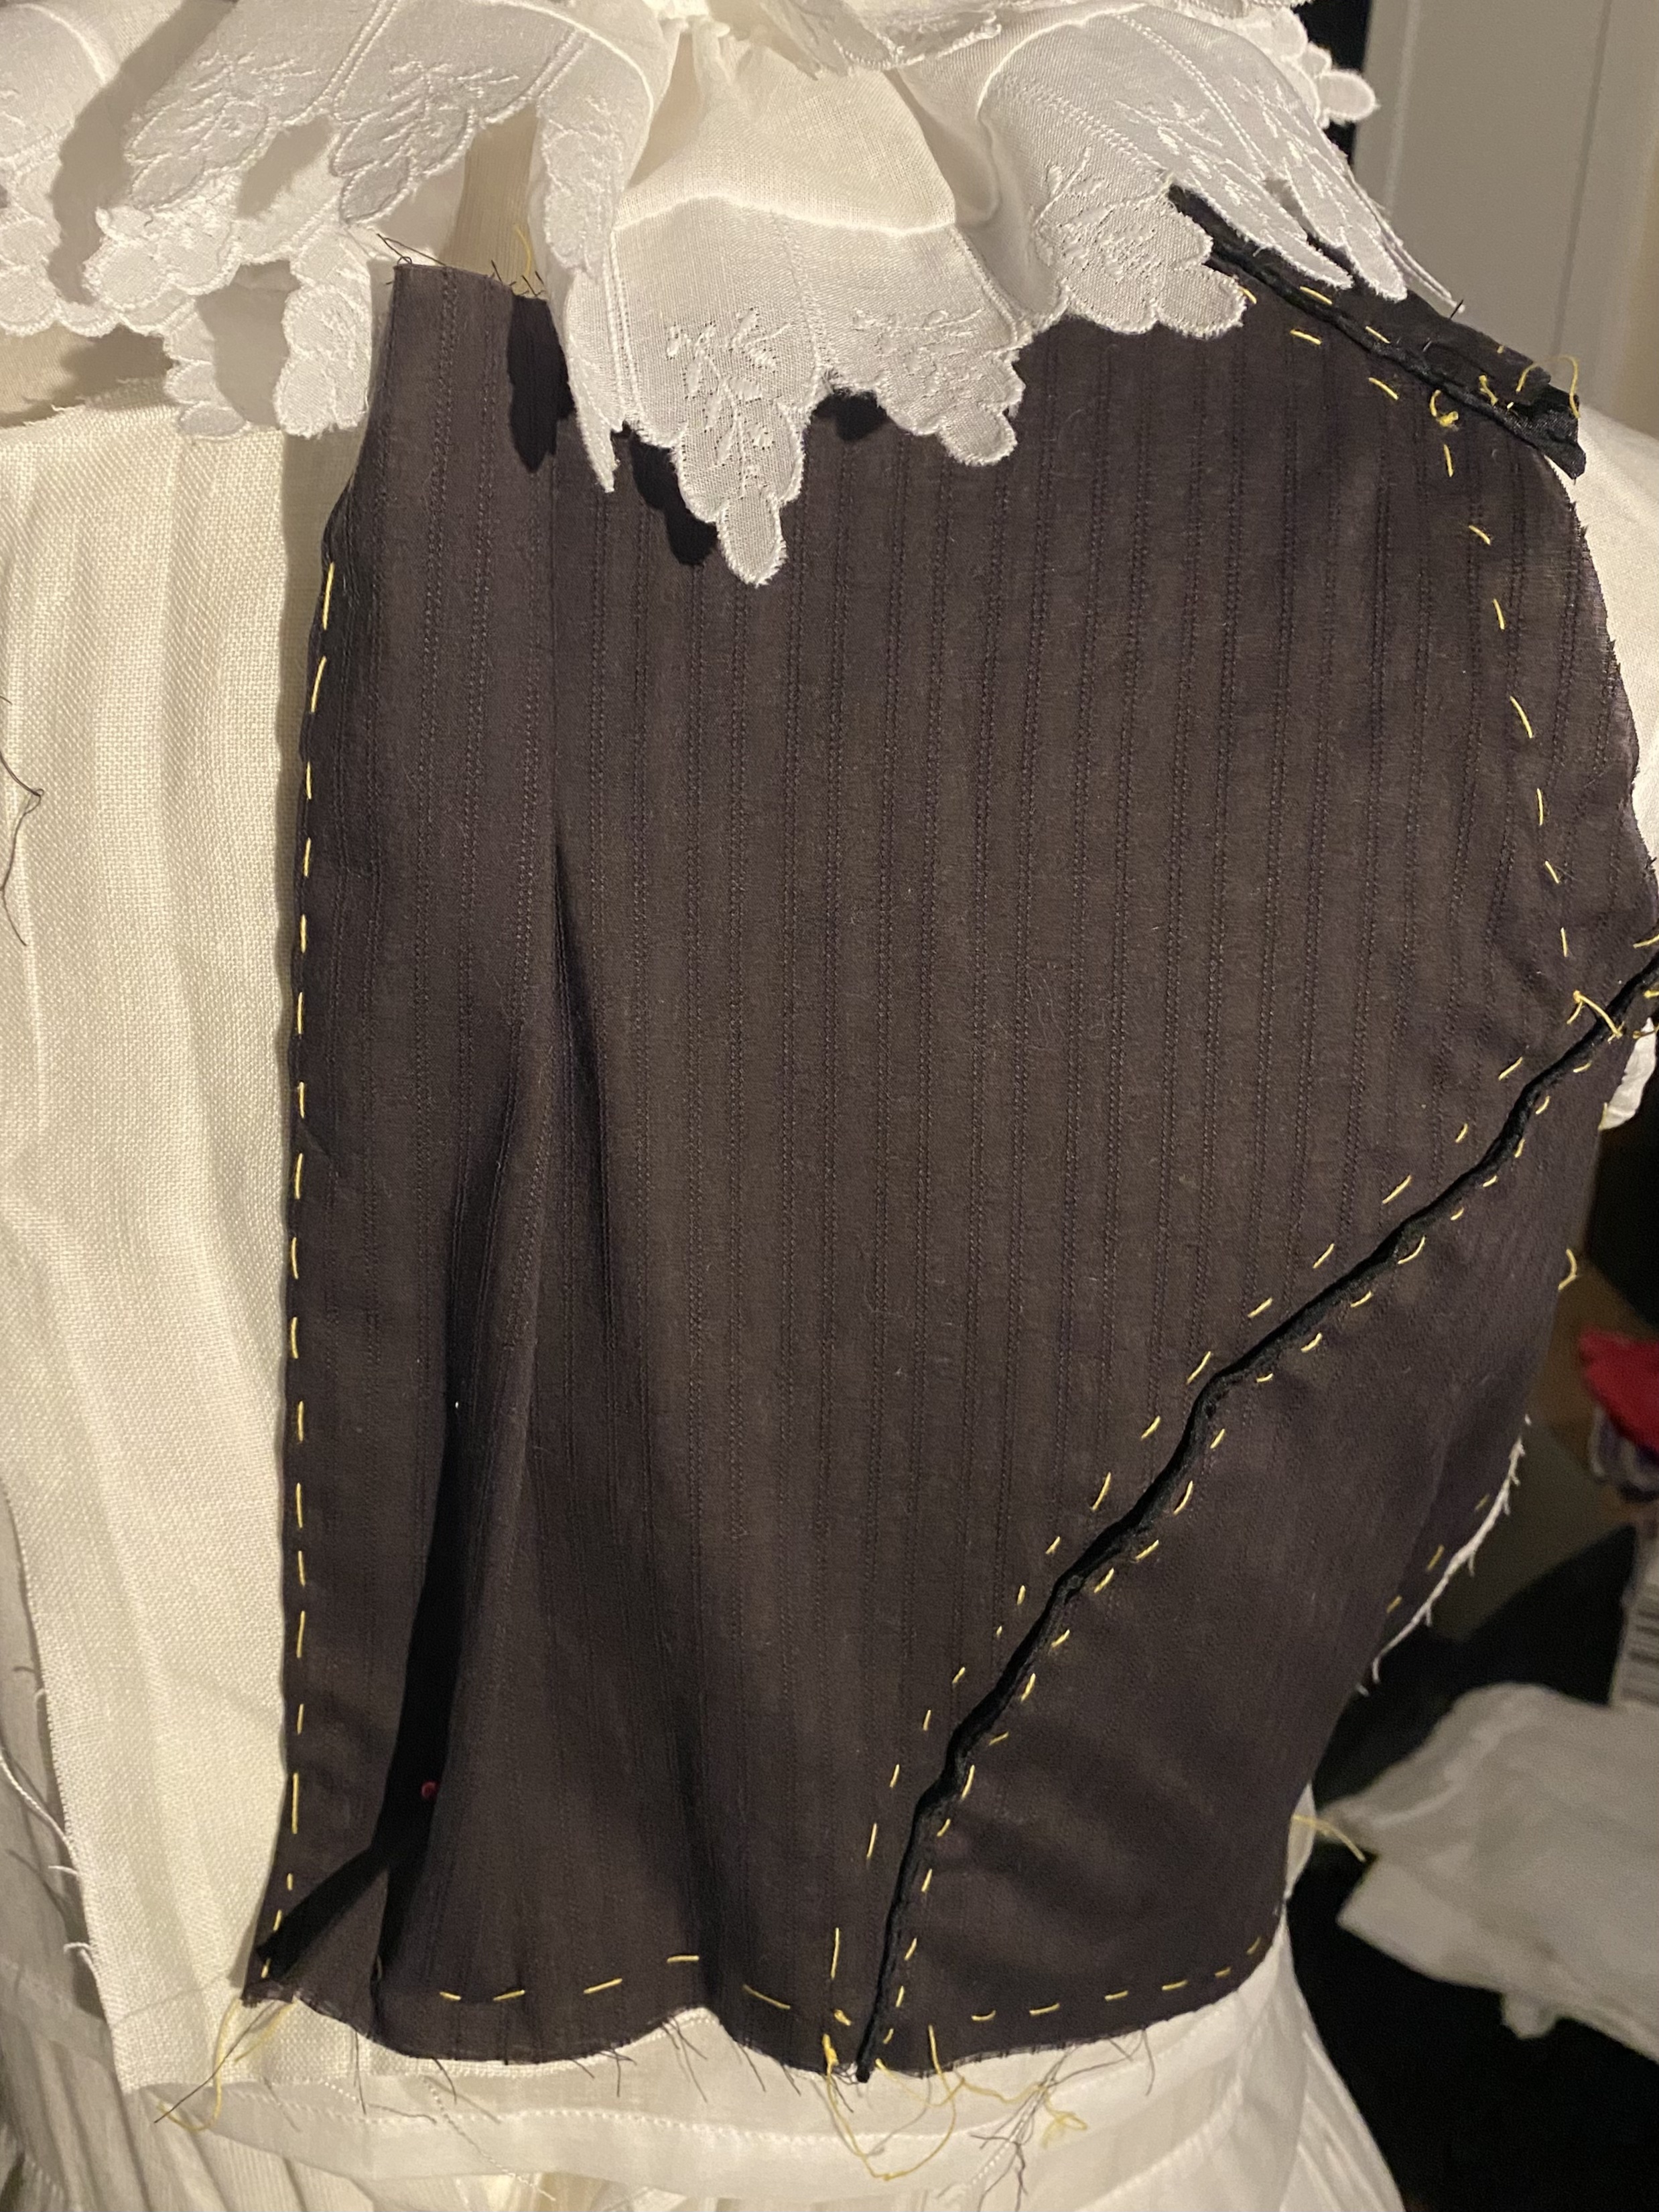
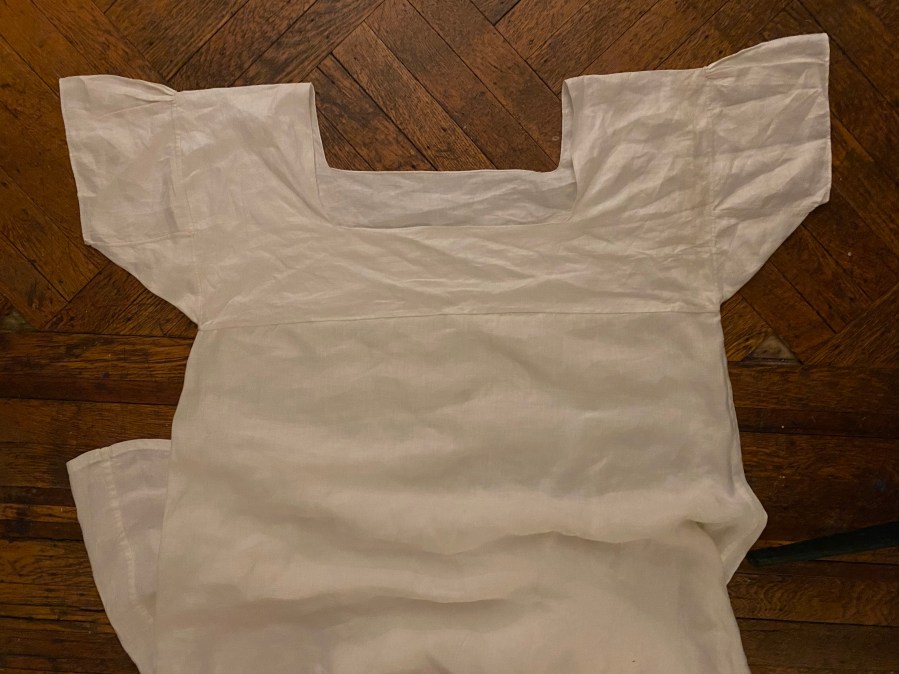
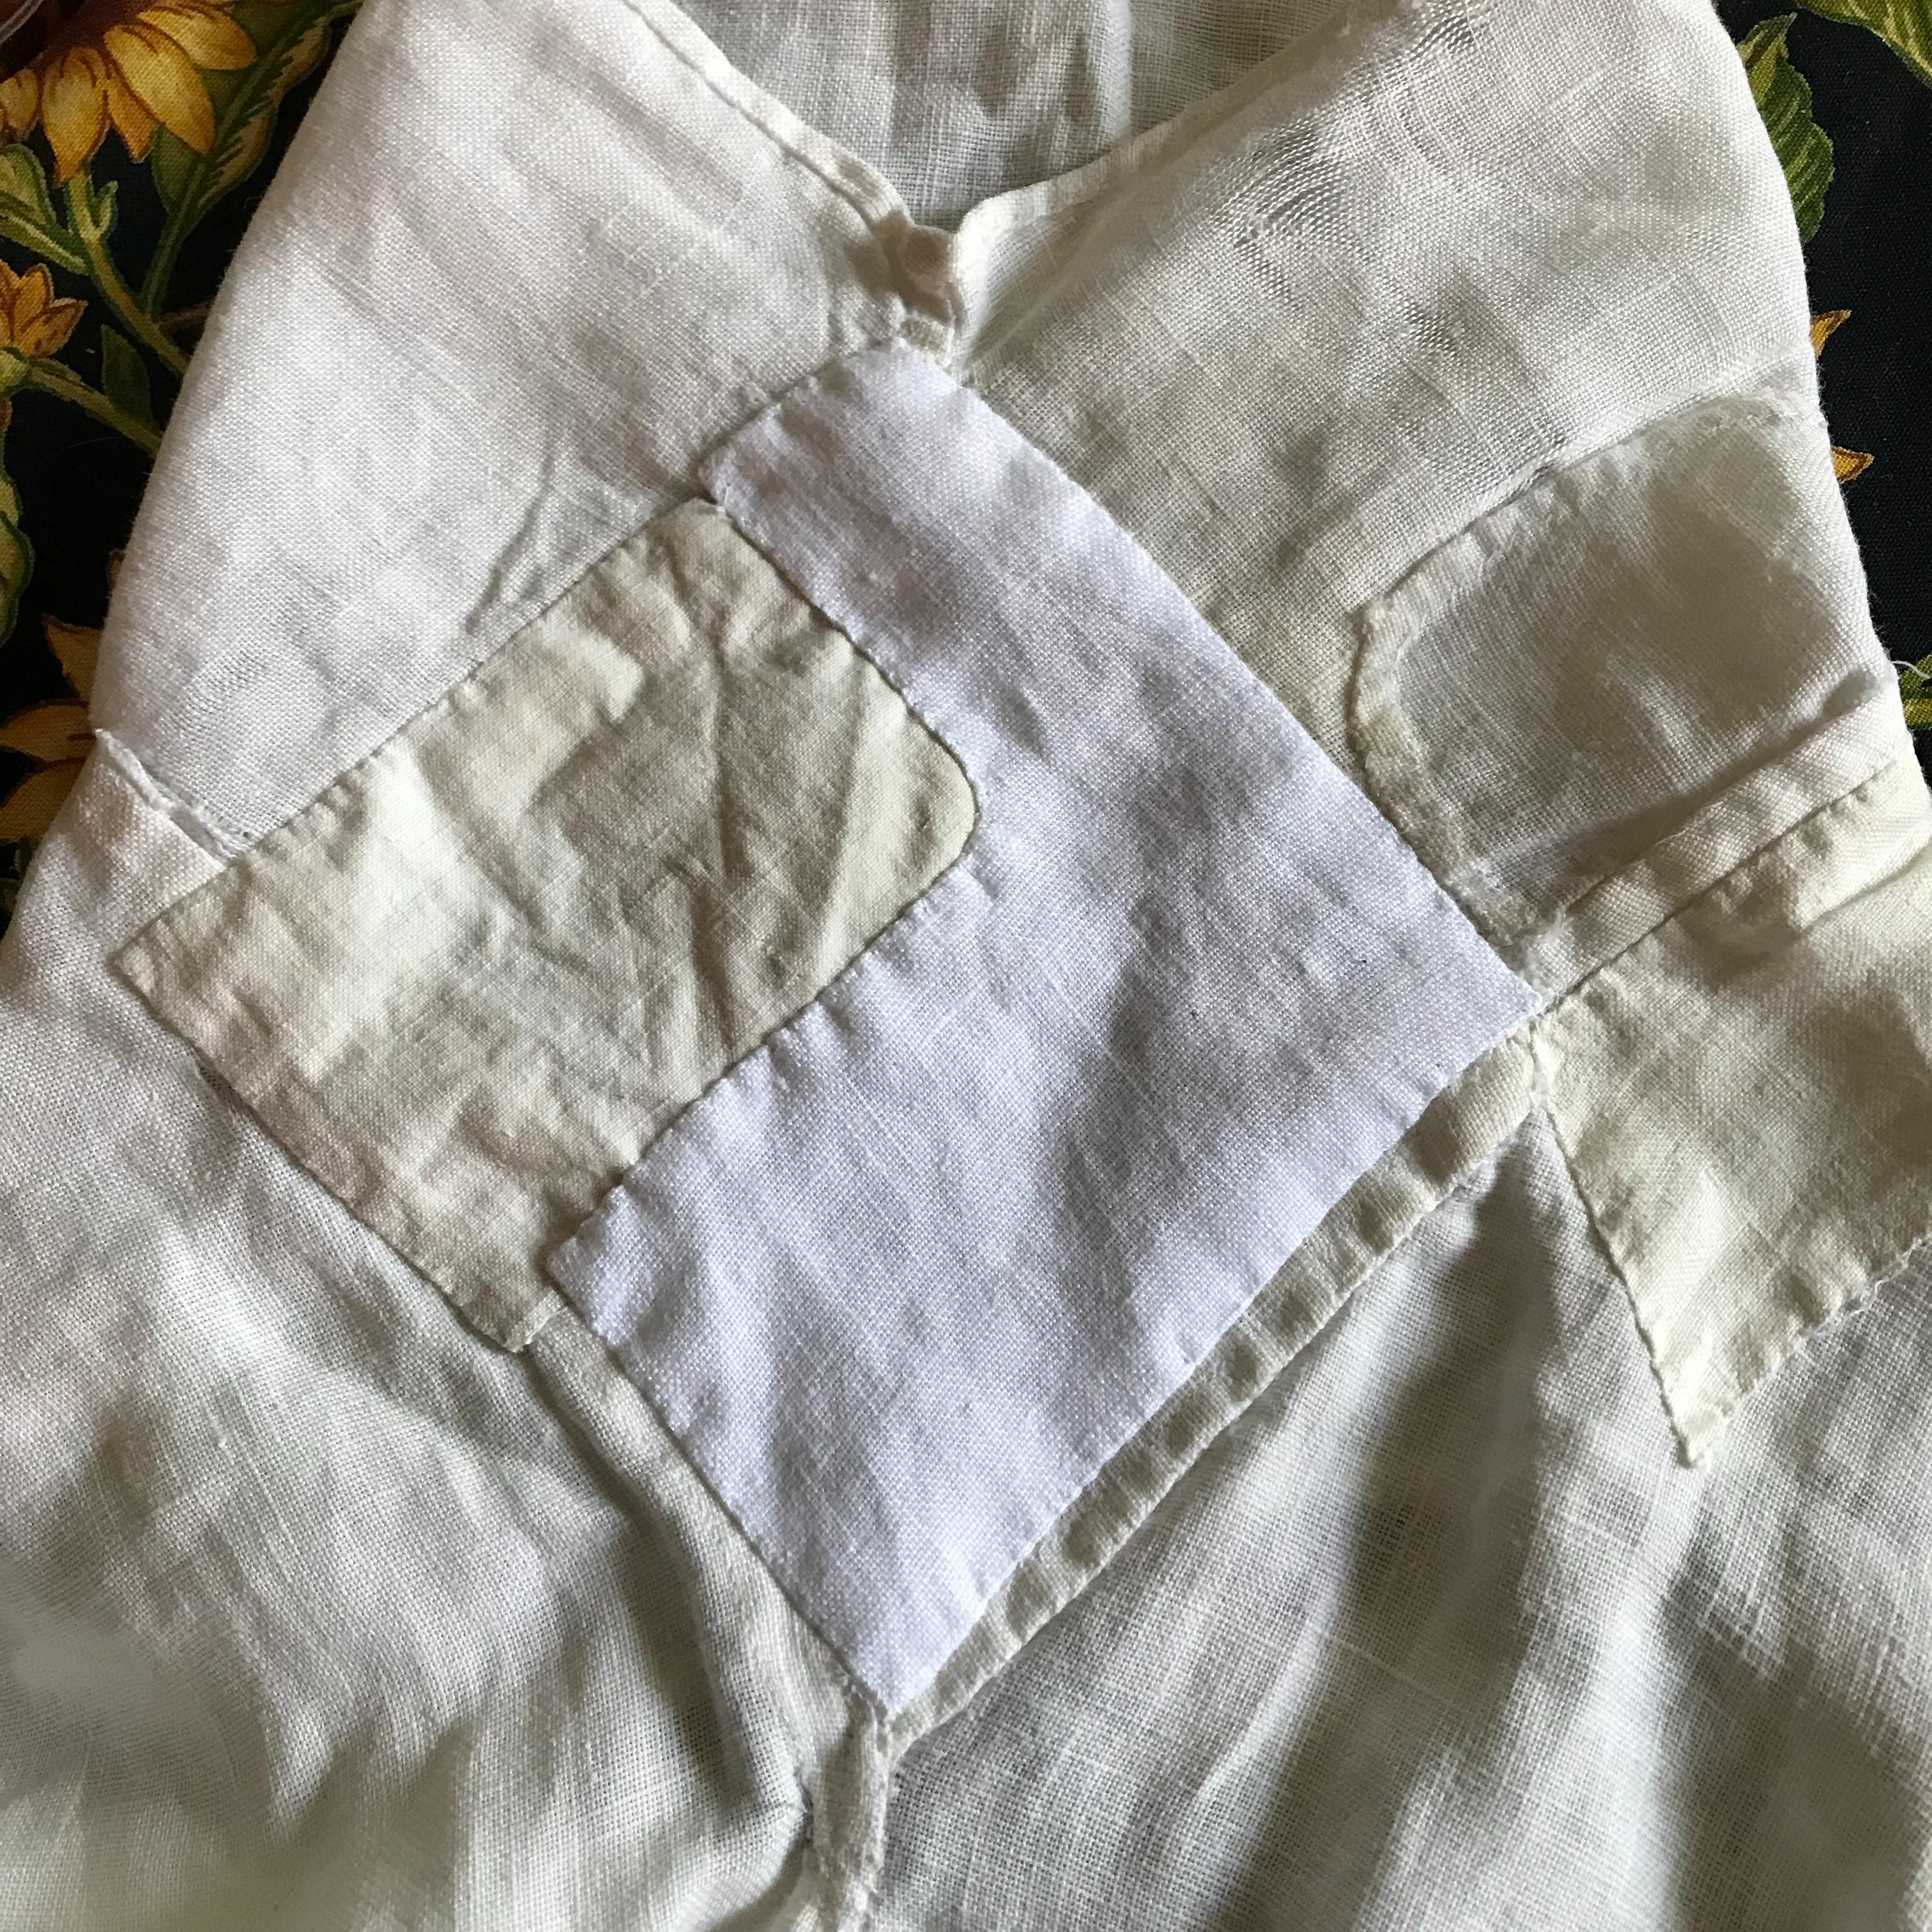
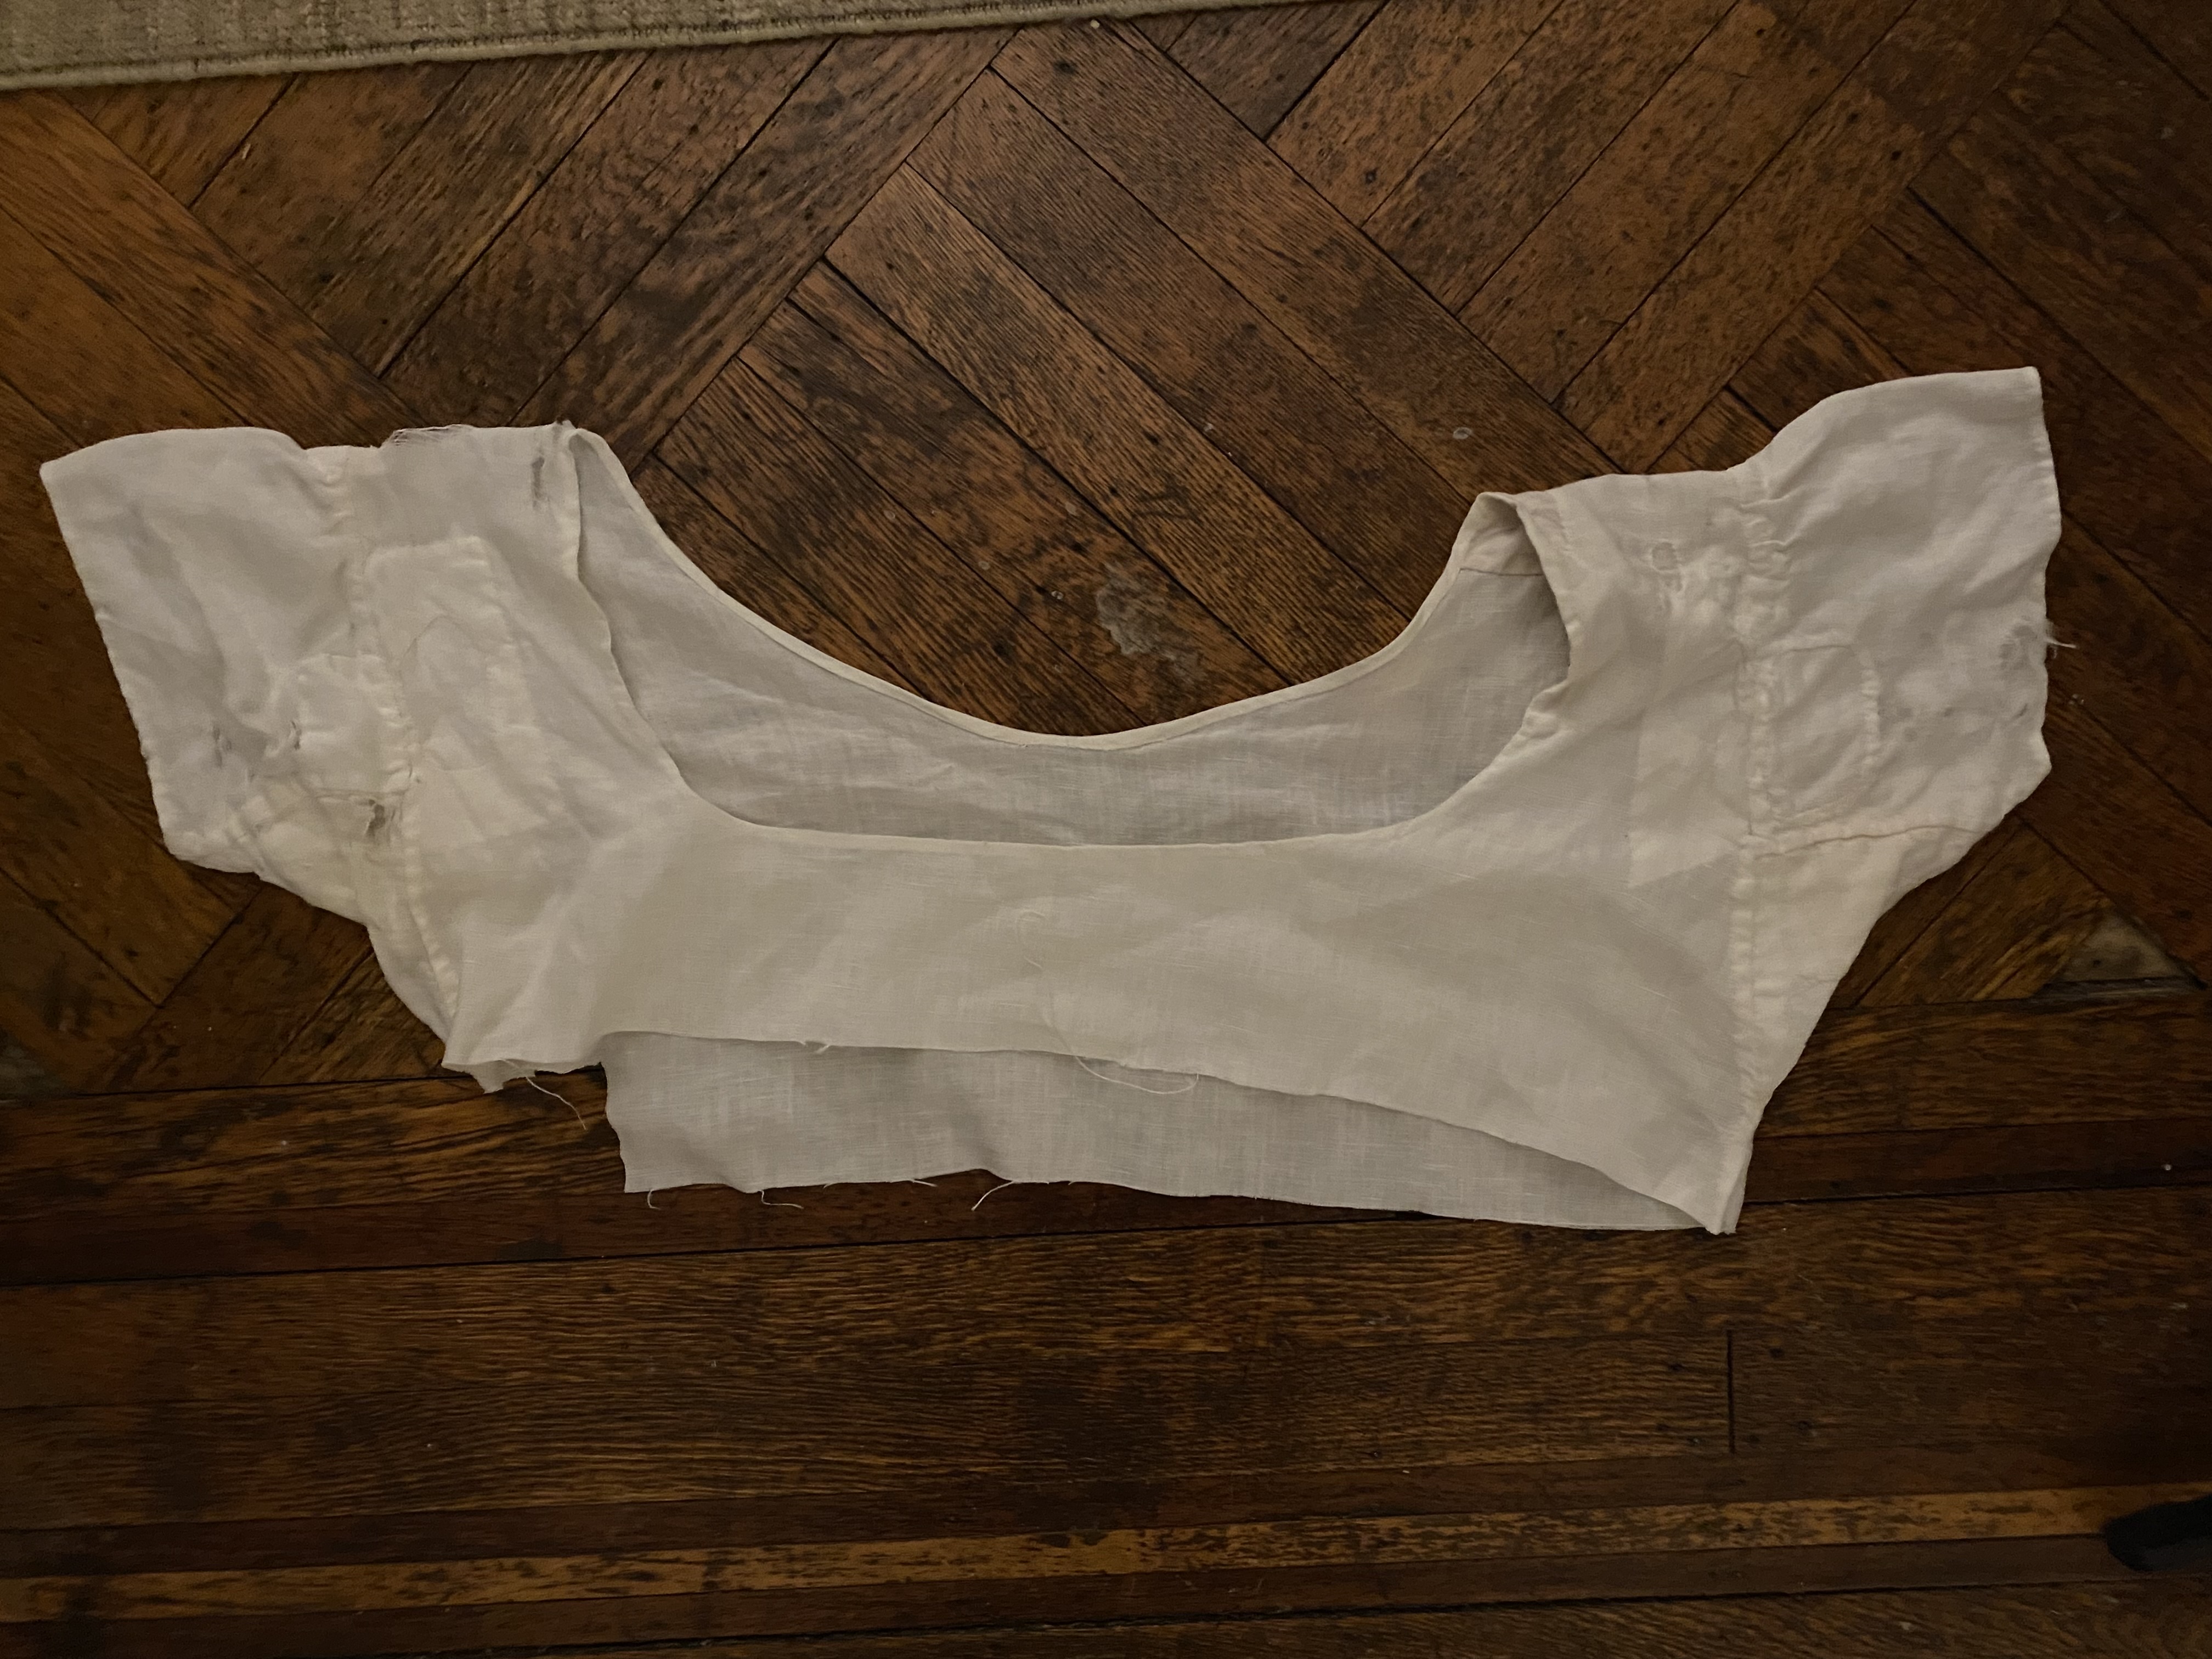
Removing the old top was not the neatest job, as I discovered part-way through the task. I decided to pull a thread across the bodice starting just under the underarm gusset. This worked well across one side but drifted badly across the other. (In which I discovered that I did NOT, in fact, cut that shift strictly on the grain.) I managed to fudge the situation but there’s no guarantee the seam and the hem don’t wander. They won’t be visible when worn, thank goodness, so I decided to live with the wobble and do better next time.

IMG_5395