Alterations in Force

Horrid Green Frock Coat at Birth

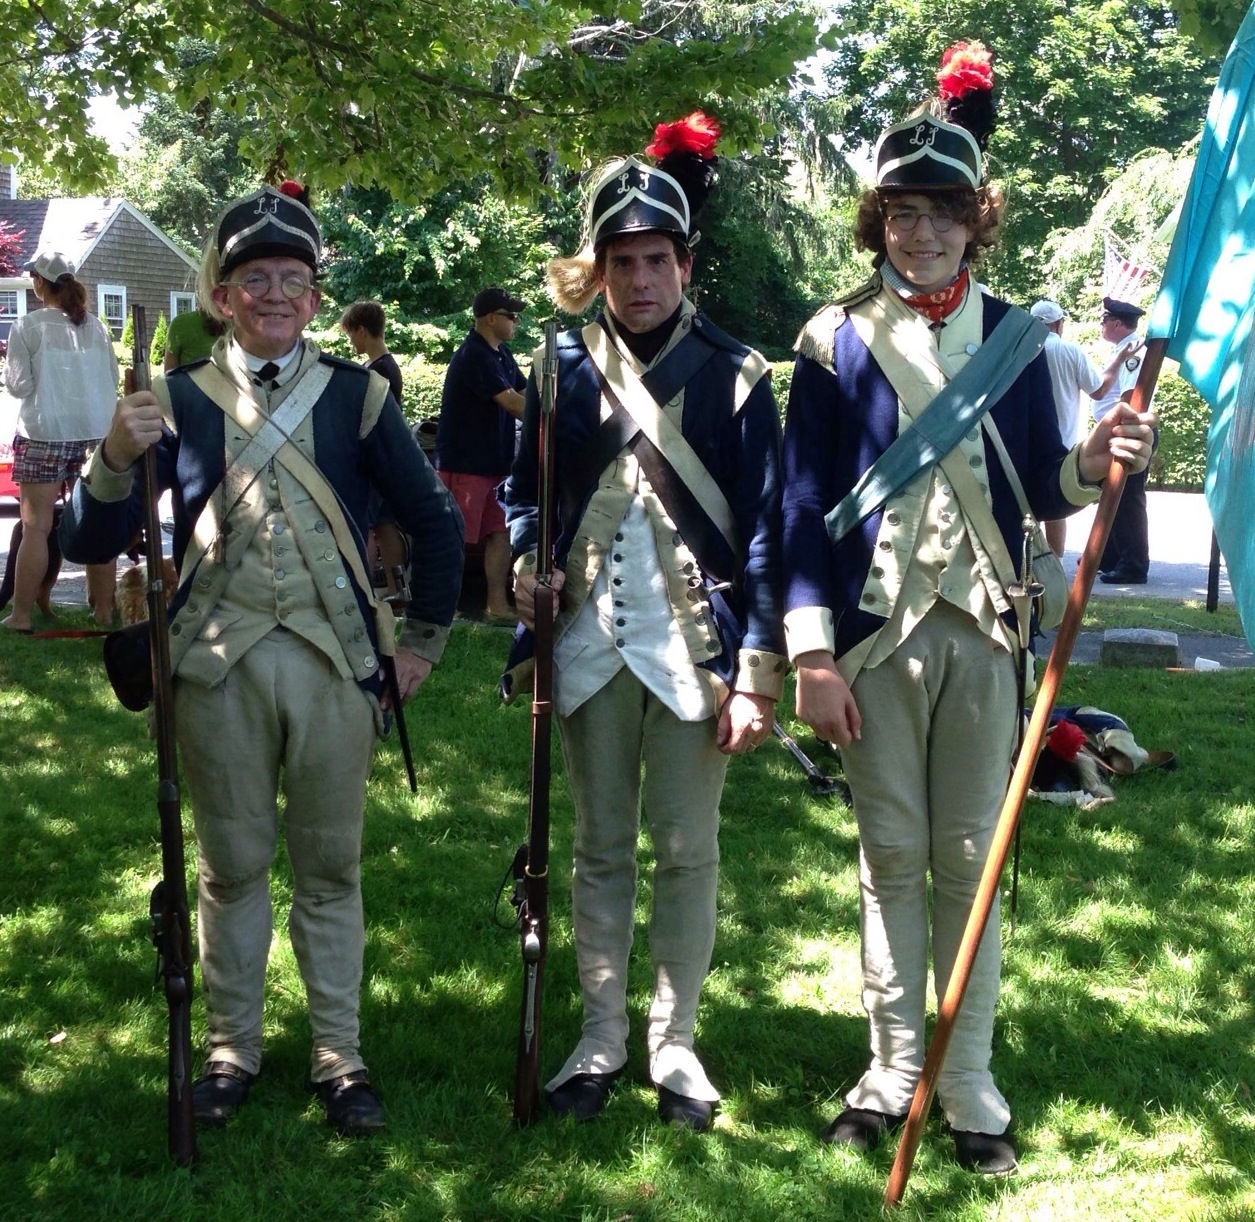
Remember this coat? I’ve been attempting to solve this coat for a while. While the Zombie Coat had to be put aside after the tail pleat debacle (what was I thinking? Sewing while tired means hems only, or simple straight seams), I finished up the Horrid Green Frock Coat. It is somewhat less horrid now. Mr S wore it yesterday to be a member of the Jackson’s militia impression of the 10th MA at Longfellow House in Cambridge.

The sleeves were removed and the seam taken in to remove excess material. Perhaps I could have slimmed it a bit more, but it needed to sit the armscye.

The shoulder seam (where back and front join) was also taken in and snugged up twice. The side seams were taken in a great deal from the armscye down, but not enough. To fix the remaining bagginess at the small of the back above Mr S’s hips, I will have to take more out of the front panel, “and work it into the side pleats.” (Easy enough for the Master to say, harder for my brain to figure out.)

Somewhat better, but two more seams to snug.

This is the closest photo to the one above. You can see that the line of the front has been changed and slimmed, and a collar added for stability and style in addition to those cuffs. I also changed the shape of the pocket flaps, and moved them to change the look of the front panels. They don’t have to match the pocket slits, as long as they don’t reveal the slits (one bag is madder linen, I ran out of large pieces of green), so I moved them to change the look of the front.

The mariner’s cuffs were fun. If the Zombie behaves decently this week, I’ll give him mariner’s cuffs on his too-short-blue-wool-sleeves. Well, I’ll probably give him mariner’s cuffs anyway, just so he can get the coat on and off.

On Brattle Street, Cambridge, while it was still “cool.”

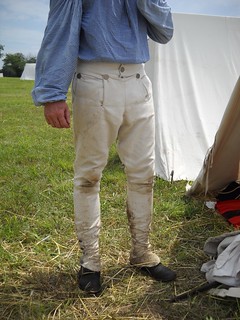
And, finally, a full-length view of the coat. It takes more than webbing and belts to reshape a silhouette. It’s taken 13 months from first making that coat to get it to this point. Thanks to an expert’s chalk marks in February, transforming it into something at least wearable was possible, though at first sight, those chalk marks were devastating and overwhelming. It took overalls to get me to face this coat, so thank goodness for the horribleness of overalls.

Getting Better, and Giving Back

Mr Cooke, Mr S and the Young Mr.
10th Mass fittings: Mr Cooke, Mr S and the Young Mr.

There is good, if slightly terrifying, news about how to get better at sewing. It took me two years to get to a decent place, but this sped up considerably in the past year because of the weeks when I sewed for 30 or 40 hours a week. This business is about practice, looking, and patience … and also asking for help. Some of the help you can get online, some of the help you can get from whatever human is handy, and some you need a master for.

The Rhode Island pair, pattern by me based on Mill Farm breeches.

Online tutorials have saved my bacon: I make gowns with Koshka’s tutorial handy because after intensive menswear, I forget how this gown business works. The random human help I get comes from Mr S, who patiently takes photos as I try to fit backs or see what’s wrong. Trust me: you cannot see your own back in a mirror, so take a photo, or get someone else to. The masters who have helped me are Sharon Burnston and Henry Cooke. From both of them I’ve learned how to look and how to think about historic costumes. Sharon’s workshop really helped my sewing, and watching Henry has taught me a lot about fit. Also from both: patience.

When it came to Mr S’s overalls, I needed a professional bail out. Mr Cooke offered to help after watching me basting the things at MMNHP, and here’s what I wrote in reply:

[the] overalls have reached a rather bad place, and are now only half-basted on the legs after a third fitting attempt. He appears to have lost more weight. The fit in the seat confounds me, and when I get one leg right, the other twists. Your help would be deeply appreciated…

In the end, my basting was ripped out and Mr Cooke sat on the floor and basted the overalls on to Mr S. The process took a bit more than an hour, during which time Mr S became very familiar with the curtain material in Mr Cooke’s workroom, and realized that it was identical to the curtains he’s had as a child. This memory transported him back to a childhood trip to Williamsburg, when he yearned to be one of the costumed interpreters at CW. It was a transformative afternoon for Mr S and his overalls.

Now that they’ve been worn, I know that I need to:

  1. Adjust the waistband and seat
  2. Add a leather strap under the foot
  3. Finish the in-and out-seams (with fit proven, felling can begin)
  4. Switch ankle buttons from plain and RI mix to all plain or 10MA
  5. Take a pattern from the legs!

There is hardly any seam allowance over Mr S’s single-speed bike-riding-up-hills calves, so a pattern from the legs would make the next pair that much easier. He has two pairs, so why should I bother? Because he will undoubtedly wear these out doing as many belly crawls, stream fordings, nettle bush tangoes and other light infantry activities as he possibly can. At some point, mending will cease to be an option.

So how would I pass on the lessons I’ve learned? In some ways, by writing honestly about the struggles and successes in getting these things right, and to let you know that practice really does make a difference. It’s also become clear that maintaining an open, curious mind willing to accept criticism and new ideas will make you a better sewer, and maybe even a better living historian/reenactor…dare I say person?

A Favorite Gown, at Last


First wearing at the Martin House in Swansea, MA

Most of what I’ve made I’ve hated. It hasn’t been perfect enough. This is pretty much how it works when you are learning something new: your eyes outrun your abilities, and you have to keep working away to build the skills to match your dreams. I’m still building skills, but I have at least managed to get to a place where I can just about trust my ability to make something I can stand to wear.

I’ve also learned that you are likely, in the process of making a gown or what-have-you, to hate the garment in question. My friend hated her Green Gown of Doom, but when it was done and on she liked it. Midway through the Cherry Seller Robe, I hated it, thought it a failure, and wanted to quit.

Persevere: the moment when you are most frustrated is often the moment right before you figure out the thing you have been trying to learn.

Paul Sandby, London Cries: Black Heart cherries... ca. 1759. YCBA,  B1975.3.206
Paul Sandby, London Cries: Black Heart cherries… ca. 1759. YCBA, B1975.3.206

The story behind the Cherry Seller Robe is that I plan to wear it in Boston on August 10, so it is very old fashioned. Based on Paul Sandby’s Black Heart Cherries watercolor, it is open with robings, and made of Burnley & Trowbridge’s wool-cotton “Virginia cloth.” The gown fits in a “v” on the front, and to my eye, has a 1750s look. (I have not finished the cuffs, attached lacing strips, or finished the stomacher; once lacing and stomacher are done, it will fit more like How Now Brown Gown.)

It was windy. Catastrophic hat failure resulted.

For August, I’ll make a white linen petticoat and a tan “Virginia cloth” petticoat, a blue linen apron and, I hope, a new lappet cap. (I had one cut out around here somewhere…) The yellow and blue or yellow-blue-white striped petticoat may have to wait; I have a lead on some in a stash, but no sightings yet.  Making new, lighter-weight petticoats is in anticipation of August weather in downtown Boston. I’m still debating about the kerchief, which seems to be a solid color with a striped border; I may just wear the one I have.

Yesterday was hot and windy, with a chance of hat failure. All in all, a fine day to sew and wear wool.

Floral Arrangements

By popular request, flowers.

The pieced lining. Click for larger versions.

I debated with myself about whether or not it was OK to piece the lining, and then I figured that it was what I had, so I would make do. It was a hot mess, all freehand, and I was convinced of total failure until I started stitching the lining down just over the millinery wire. Then the shape began to pull tightly and behave better. If I were to do this again, and if I were to make recommendations to another hat fiend, here’s are two changes I’d suggest:

1. Make an actual tidy pattern of your hat circle on a large piece of paper (newspaper, wrapping paper, whatever).

2. Trim and tidy edges so you are piecing straight, radial lines and not curves or tangents; better yet, buy a new remnant and don’t piece. I was too afraid of ‘wasting’ my scraps, so I pieced on the tangent. It’s OK, but I could have made this a bit easier for myself.

Happy birthday, Mr S!

Beyond those minor points, this is easy; piecing and fitting on the fly got a little wonky. Also, though your mileage may vary, 4:00 AM may not be the best time to start new projects. Wait till 5:00, when your coffee has kicked in.

We had real, not printed fabric, flowers in the house on Tuesday, which was Mr S’s birthday. I chose peonies because they looked so Dutch, though you cannot see the little variegated petals here.

Kitty wishes to know if you are getting all your leafy greens, because he is.

Flowers for dessert.