Once upon a time, I made a shift for the early 19th century– and promptly had to mend it. I have been mending that shift ever since (8 years!) whilst complaining that I need to make a new shift.
Never mind that I could commission one. Never mind, never mind.
Over the intervening 8 years, I learned more about sewing and shifts, and made a shift for the 1770s that I’m pleased with. That shift combined unbleached linen hand-woven by Rabbit Goody and purchased by my partner at a prop sale and white vintage linen found in a shop in Stockbridge, Mass.

The vintage linen has a stain running along the center fold, but is otherwise white, soft, and more densely woven than most linen available today. It’s true that the more you make something, the better you get, and the better you will understand what you’re making.
Another path to understanding is looking at originals (yes, reading counts, too). I’ve been lucky enough to find and acquire two antique shifts, both from the early 19th century. While they’re not documentation for the period I interpret most often, they do provide clues to construction methods, and those clues are that aside from seams being felled for strength and durability, shifts are inconsistent. One shift uses the selvedge as the hem– which means the grain runs counter to the usual vertical orientation– while the other dispenses with the notion of bodice necklines to double down on the squares-and-rectangles trope.
Shifts are hard to date since they’re so basic (squares and rectangles) and don’t necessarily follow the lines of fashion. The sleeves here place this in the 19th century, though it could just be late (after 1785) 18th century. I’m pretty sure it’s not, but the possibility points to the staying power of the basic bag-like form.
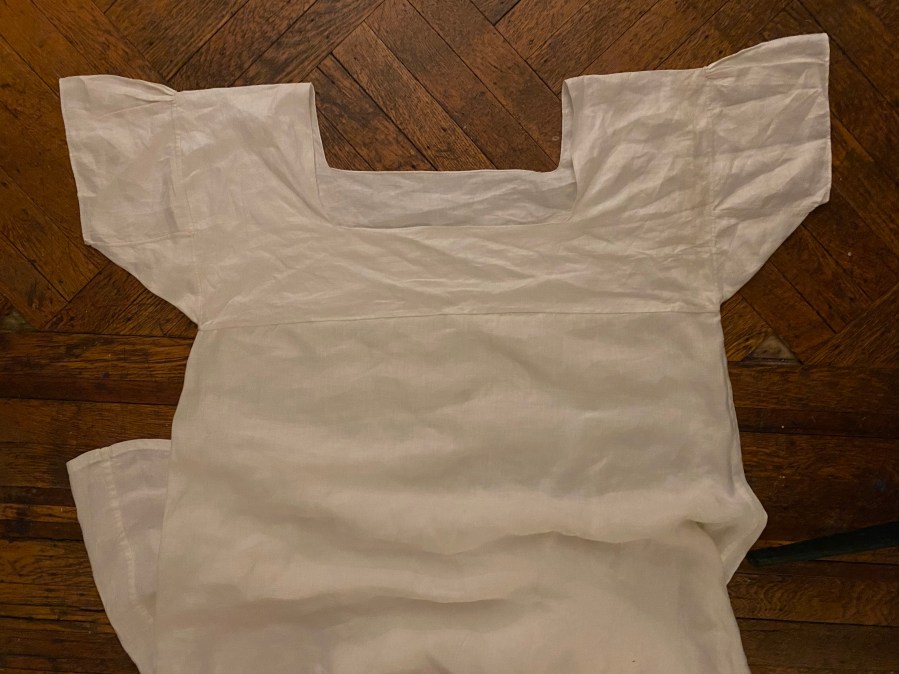
Using this shift as inspiration, I decided that instead of patching that worn shift one more time, I would chop-and-top, that is, I would replace the top, worn section, and append it to the perfectly fine lower body of the shift.
I measured the extant top, measured my bicep, and cut the pieces accordingly after drawing threads to create straight lines. I had one rectangular piece with a slightly shaped neckline, two rectangles for sleeves, and two squares for gussets. Although I started this process in December, I was “overtaken by events” that included a yard sale, teaching a workshop, preparing a presentation, and taking a workshop. With a possible outing in late April and an 1820s dress workshop coming up in early May, I decided it was time to finish this.


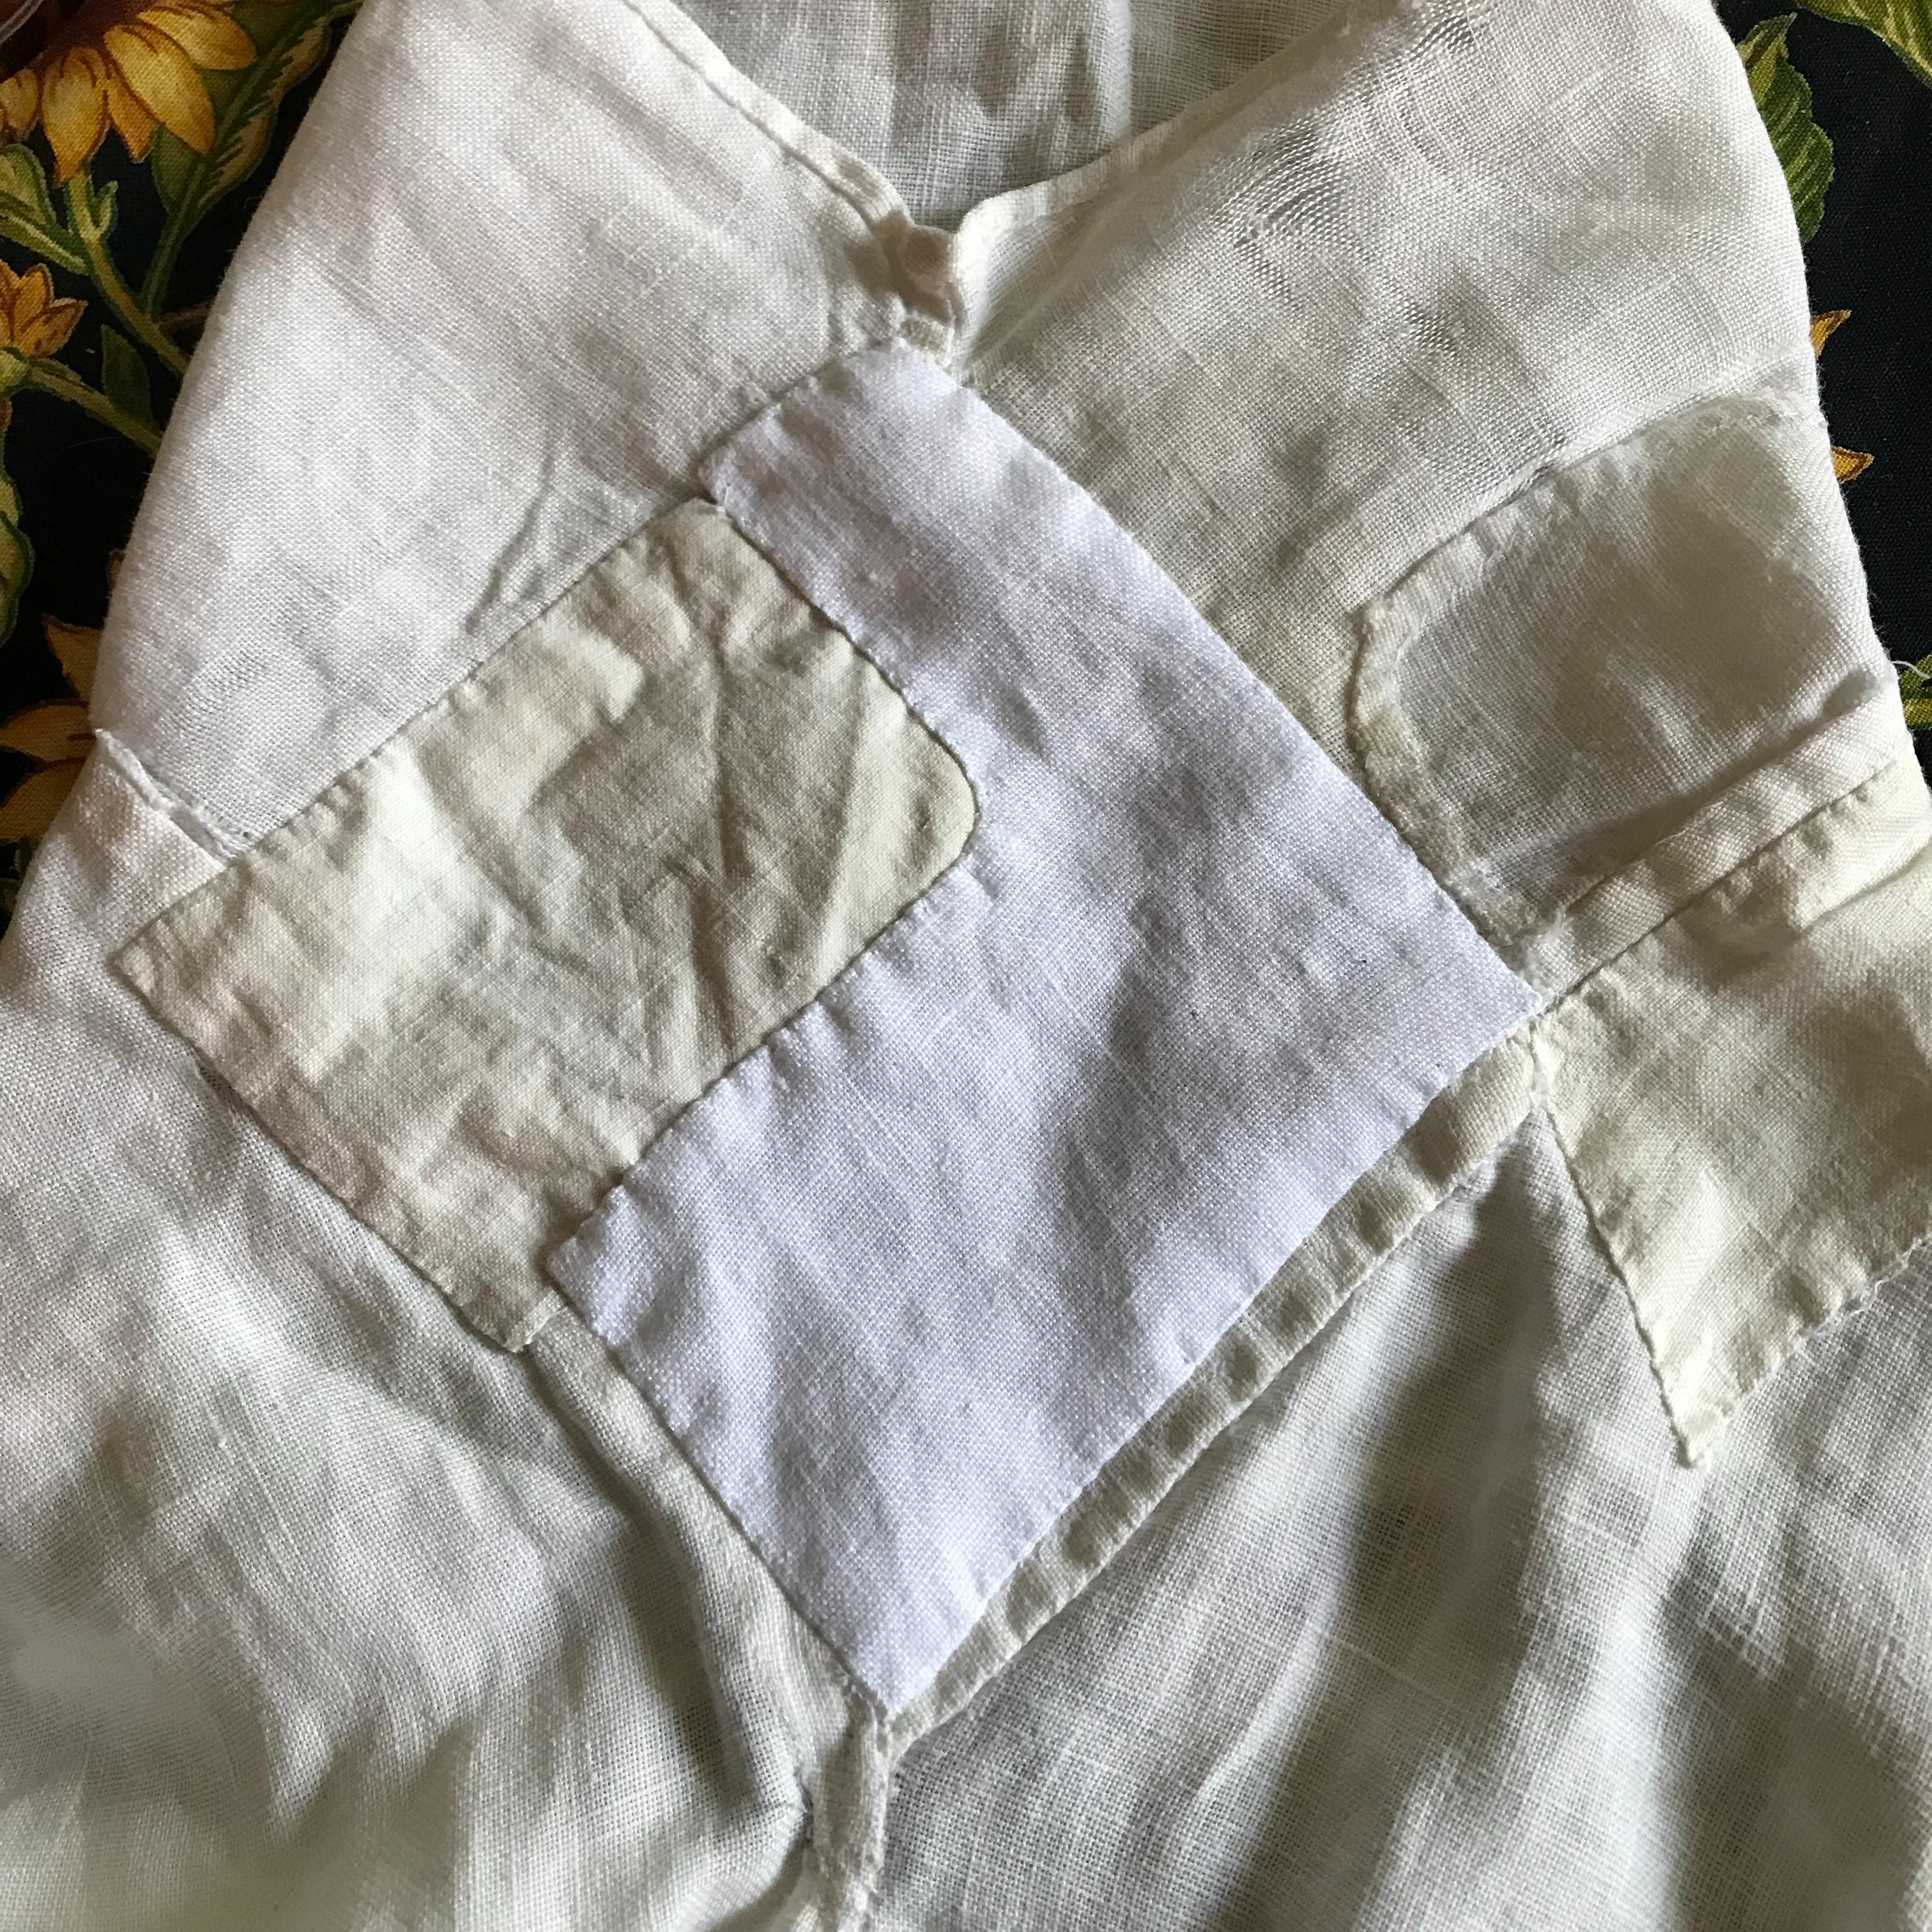
Most of the work was in the gussets, four seams in all, two to attach the gusset to the sleeve, and two to attach the gusset to the shift body. Once the seams are backstitched, the offset side is folded over and felled all the way around the gusset. It is best not to count the number of seams you stitch for each sleeve and just keep sewing instead.
Over the course of a couple of days (Monday afternoon, and Tuesday and Wednesday evenings) I finished the neckline hem, attached the gussets, cut off the top of the old shift, and grafted the new top to the old body.
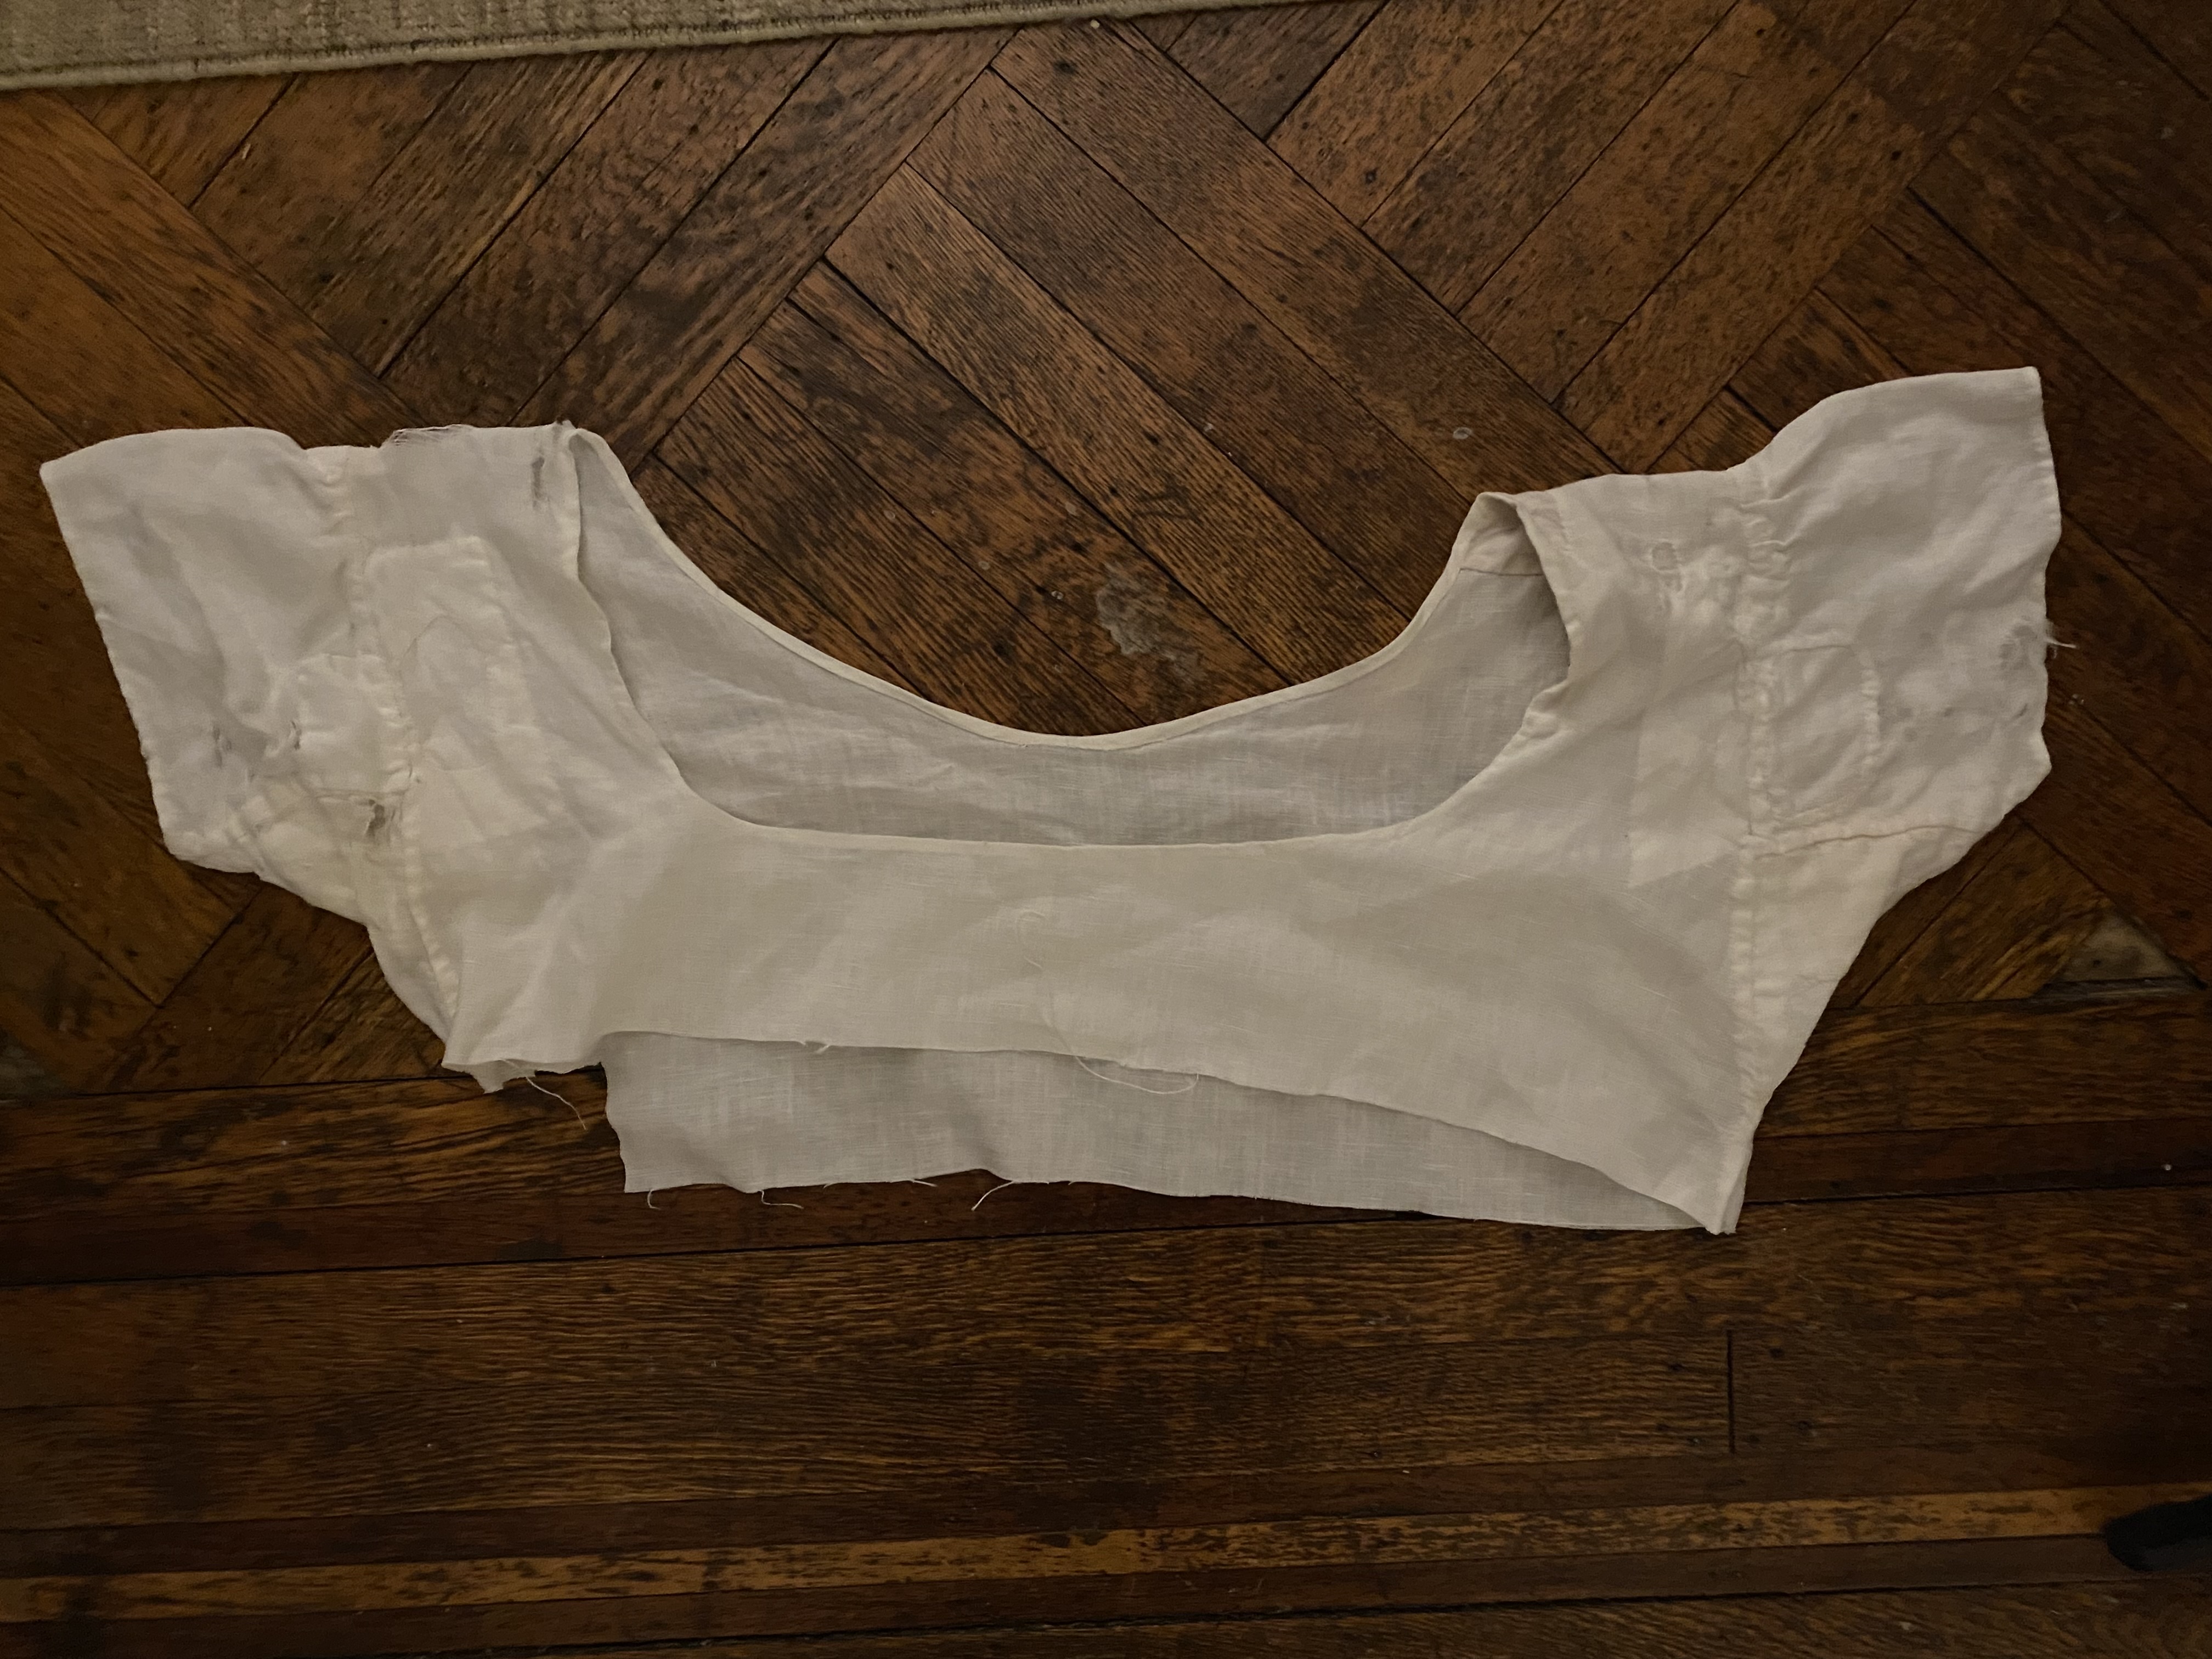 Removing the old top was not the neatest job, as I discovered part-way through the task. I decided to pull a thread across the bodice starting just under the underarm gusset. This worked well across one side but drifted badly across the other. (In which I discovered that I did NOT, in fact, cut that shift strictly on the grain.) I managed to fudge the situation but there’s no guarantee the seam and the hem don’t wander. They won’t be visible when worn, thank goodness, so I decided to live with the wobble and do better next time.


You must be logged in to post a comment.